


Need some advice on clay soil
thisismelissa
13 years ago
Featured Answer
Sort by:Oldest
Comments (24)

freshair2townsquare
13 years agolast modified: 9 years agogayle0000
13 years agolast modified: 9 years agoRelated Discussions
Need advice: Clay Soil
Comments (6)I think worms find the leaves by smell, come to eat them. I also find shredded leaves to be the most helpful ammendment to add to beds, and also use them as mulch. Worms do the work of pulling leaves down into the soil for me. My leaves are Oak, seem to last the best shredded, keep their stiffness. Yet most shredded leaves are a terrific addition to a garden bed. Avoid Walnut and Butternut leaves, they have Jugalone in them, which kills some plants. Leaves left whole, maple, sycamore, big leaves, seem to get mushy, clump and smother plants left under them. Their tissue structure gets soft in wet or snow weather, so not good mulch choices if left whole. Oak leaves left whole, doesn't seem to smother plants under them like other kinds of leaves. Many of us shred the leaves with the lawn mower, does an all right job if you mow them a couple times. Leaf shredders work nicely if you can get a deal on them. Reduces the HUGE pile to a nice bagfull! I like my clay soil, but it has a lot of organic material in it. Your raised beds will help a lot of problems, just by being above the soil levels....See MoreNovice learning more about soil, hoping for some advice.
Comments (8)Here is a website that you may find useful.http://www.extension.umn.edu/Garden/ There is a wealth of info there. It really isn't necessary to test your soil every year, I think the recommendation is about every five years. Compost is one of the best things you can do for your soil. You need to be careful adding sand to clay, you can end up with bricks. You can build raised beds, or berms if drainage is a problem.Leaf mold, compost, peat moss....any organic material will be helpful. I am mainly organic but do not rule out synthetic chemicals in some cases. You may want to research IPM (integrated pest management). An excellent book is "The Truth About Organic Gardening" by Jeff Gilman. He talks about and compares synthetic and natural chemicals and their eco impact. If you haven't had a soil test done, it would be a good idea. Also, instead of trying to change your conditions to meet plant needs you may want to choose plants suited to your conditions. Best of luck to you and have fun playing in the dirt....See MoreHow should I heal some barren hard clay soil?
Comments (29)What is white rock? Is it a rock? This stuff I have you can cut off, and ball it up and probably make a clay dinosaur out of it. I rarely dig (I am a no til gardener) that deep except to bury a bean pole, but next time I do I make make a clay?? type bowl and put it in the oven. I am no expert on soils or rocks. I do wish I did knew more on the subject. I do love my sunflowers that tend to volunteer from birdseed that the birds drag off better than the ones I plant! From what others say, I think my soil is pretty good. I did a perk test once to plant a tree, and was surprised it drained out of the hole. The hole was in a wettest part of the yard too. To missinformation, do know of a good website or book I can get that will tell me all about local conditions or the soil and the like? Are from this area too? Yes I could do a web search but unsure what to search for. And the thousand of hits out there it takes weeks to do research on a topic. I had tons gardening bookmarks , but lost them all a few weeks ago due to a computer glitch. It is depressing. I had lots of source of seeds I intended to buy one day, links to soil health sites, no till gardening, history of veggies, link to weeds I have in my yard/garden. Links to photos of trees and wildflowers I would like to get. links to neat looking trellis designs, neat sites of other's texas gardens. I had so much fun stuff. Not sure all what , but gone now....See MoreGot some cacti. Need soil advice and help with identification.
Comments (2)Nice plants. Can't help with identification but I've repotted many cactus recently to a new growing medium. You will want to pot these in a fast draining mix. Many members here like to make there own gritty mix (you can search the forum, many threads) or you can amend a commercial bag of potting soil by amending it at least 50/50 or more with something such as pumice or perlite. Sand may also work as long as it's very course, not the type of sand used in sand boxes. If possible, use a potting soil without peat/low in peat as once it dries out it's nearly impossible to re-wet and ends up just repelling water. I would recommend avoiding top soil. You can pot these in ceramic just fine as long as there is a drainage hole in the bottom. Before potting, clean as much of the old substrate as you can from the roots and let the plant rest in a shady, dry spot for a few days to a week; this gives the roots time to heal after cleaning. Once potted wait a few more days before you water. You'll want to water your plants once the soil dries out during the growing season, typically spring through fall with most cactus. The timeline can vary depending on the plant's environment, pot and medium but about once a week seems typical for me. I check my plant's soil before watering by sticking a wooden skewer into the soil along the edge of the pot all the way down, if it comes out dry the plant is ready for water. Water thoroughly until water comes out the drainage hole and make sure all excess water is allowed to drain out the bottom of the pot. During dormancy, typically winter and sometimes the height of summer as well if it's really hot, these plants will need very little water if any at all as they won't be actively growing. A good rule is if in doubt about watering, don't. Good luck with your new plants!...See Morecaliloo
13 years agolast modified: 9 years agohosta_junkie
13 years agolast modified: 9 years agofreshair2townsquare
13 years agolast modified: 9 years agohosta_freak
13 years agolast modified: 9 years ago
thisismelissa
13 years agolast modified: 9 years agohosta_freak
13 years agolast modified: 9 years agohosta_junkie
13 years agolast modified: 9 years agothisismelissa
13 years agolast modified: 9 years agogayle0000
13 years agolast modified: 9 years ago
paul_in_mn
13 years agolast modified: 9 years agoUser
13 years agolast modified: 9 years agoMary4b
13 years agolast modified: 9 years agothisismelissa
13 years agolast modified: 9 years agohosta_junkie
13 years agolast modified: 9 years ago
gardenfanatic2003
13 years agolast modified: 9 years agogayle0000
13 years agolast modified: 9 years agothisismelissa
13 years agolast modified: 9 years agocaliloo
13 years agolast modified: 9 years agothisismelissa
13 years agolast modified: 9 years ago
Eleanor B
13 years agolast modified: 9 years agoidiothe
13 years agolast modified: 9 years ago

Related Stories
GARDENING GUIDESHow to Stop Worrying and Start Loving Clay Soil
Clay has many more benefits than you might imagine
Full Story
GARDENING GUIDESGardening Solutions for Heavy Clay Soils
What’s a gardener to do with soil that’s easily compacted and has poor drainage? Find out here
Full Story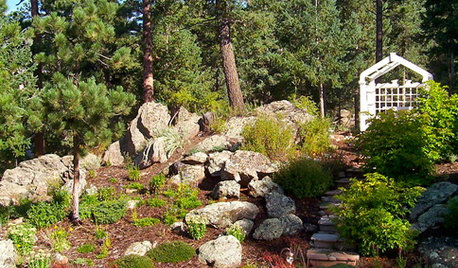
GARDENING GUIDESHave Acidic Soil in Your Yard? Learn to Love Gardening Anyway
Look to acid-loving plants, like conifers and rhododendrons, to help your low-pH garden thrive
Full Story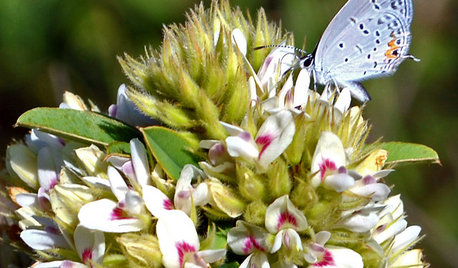
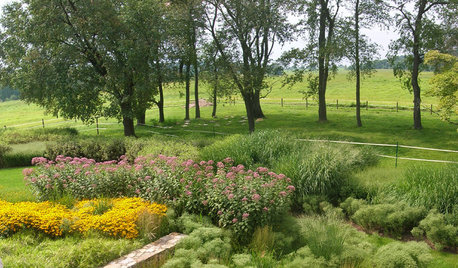
GARDENING GUIDES5 Prairie Wildflowers That Can Heal Your Soil
Get free, organic soil fertilizer with nitrogen-pumping plants that draw pollinators too
Full Story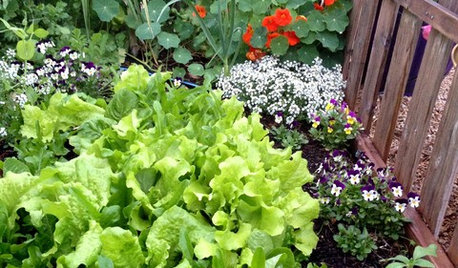
GARDENING GUIDESThe Poop Scoop: Enrich Your Soil With Good Old Manure
Get over the ick factor already — this natural super-ingredient for soil has so many benefits, you'll wonder why you ever went chemical
Full Story
GARDENING GUIDESInvite Cellophane Bees to Your Garden by Providing Patches of Bare Soil
Look for cellophane bees (Colletes) pollinating flowering trees and shrubs in U.S. gardens this spring
Full Story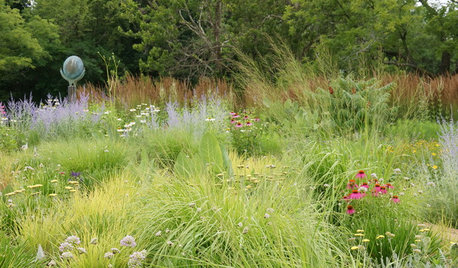
GARDENING GUIDESGet the Dirt on Your Garden’s Soil
Understand how your soil supports your plants so you can ensure your garden’s success
Full Story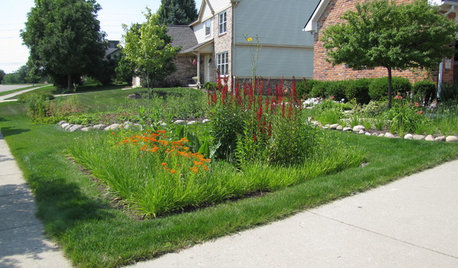
LANDSCAPE DESIGNHow to Shape a Rain Garden and Create the Right Soil for It
Learn how to grade, lay out and amend the soil in your rain garden to support your plants
Full Story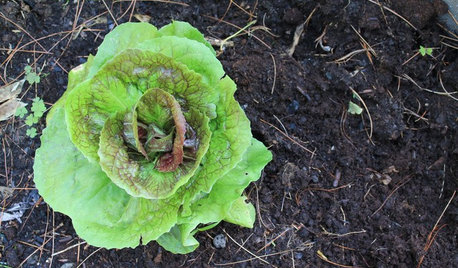
FARM YOUR YARDHow to Get Good Soil for Your Edible Garden
The nutrients in your soil feed the plants that feed you. Here are tips on getting it right — just in time for planting season
Full Story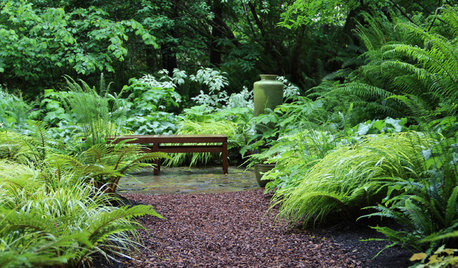
GARDENING GUIDES10 Solutions for Soggy Soil
If a too-wet garden is raining on your parade, try these water-loving plants and other ideas for handling all of that H2O
Full Story

ken_adrian Adrian MI cold Z5