


Raised platform greenhouse project
bencjedi
10 years ago
Sort by:Oldest
Comments (14)
Related Stories
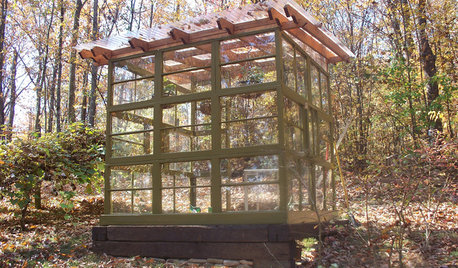
GARDENING AND LANDSCAPINGSee a Family Greenhouse Grown From Scraps
Can-do resourcefulness and less than $400 lead to a new 8- by 8-foot home for plants on a Tennessee family's property
Full Story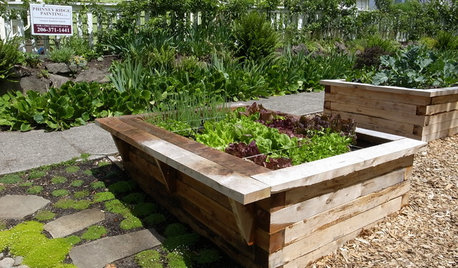
FARM YOUR YARDHow to Build a Raised Bed for Your Veggies and Plants
Whether you’re farming your parking strip or beautifying your backyard, a planting box you make yourself can come in mighty handy
Full Story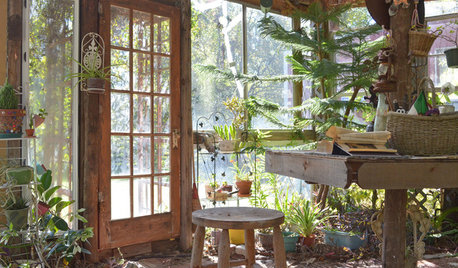
GREENHOUSESA Greenhouse Rises From Texas Tornado Wreckage
Barn damage became a blessing in disguise for a thrifty, creative couple with a hankering for more greenery
Full Story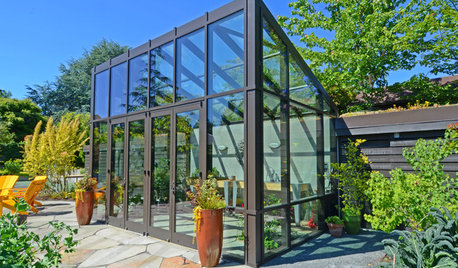
PATIO OF THE WEEKA Cozy Backyard Escape Warms Seattle Gardeners
Bold hues, a green roof, a functional greenhouse, a fire pit, an arbor and raised beds create a harmonious modern garden
Full Story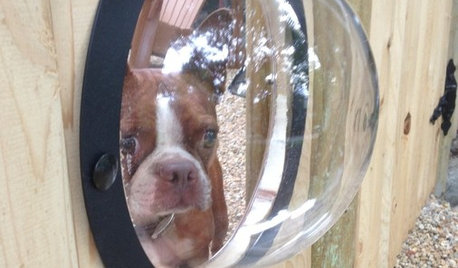
PETSHouzz Call: Show Us Your Pet Projects!
Bubble windows, fountains, doghouses, showers — what outdoor treats have you put together for your furry friends?
Full Story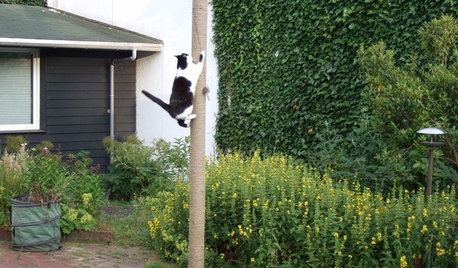
PETS15 Outdoor Pet Projects You'll Lap Up
These bubbling fountains, shelters and other creations by Houzzers are treats for pets and inspiration for other owners
Full Story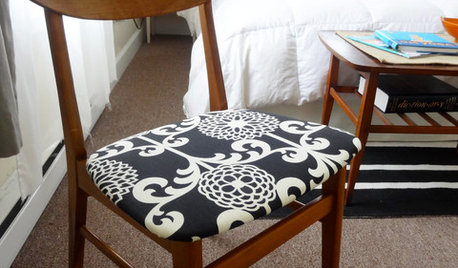
DIY PROJECTS29 Home Projects to Make You a DIY Superstar
Patch up holes, turn trash to treasure, erase stains ... these doable DIY projects will better your home and boost your ego
Full Story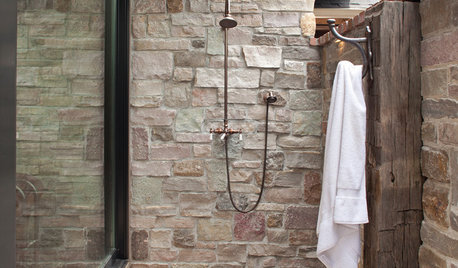
GARDENING AND LANDSCAPING28 Outdoor Projects Everyone Should Know About
Learn how to refinish your wood deck, make a garden fountain, add a shed and more
Full Story
GARDEN SHEDSHouzz Call: Show Us Your Hardworking Garden Shed!
Upload a photo of your backyard shed or greenhouse and tell us how it works for you
Full Story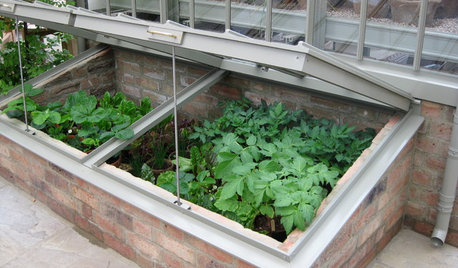
WINTER GARDENINGExtend Your Growing Season With a Cold Frame in the Garden
If the sun's shining, it might be time to sow seeds under glass to transplant or harvest
Full Story
goldenbuckeye
bencjediOriginal Author
Related Discussions
projecting costs of heating greenhouse
Q
To Greenhouse or not to Greenhouse.. that is the Question
Q
Raised Beds or Greenhouse on Sand Filled Swimming Pool
Q
pond to greenhouse project (adenium related)
Q
goldenbuckeye
cole_robbie
bencjediOriginal Author
goldenbuckeye
bencjediOriginal Author
bencjediOriginal Author
bigmrg74
bencjediOriginal Author
livelydirt
livelydirt
bencjediOriginal Author
bencjediOriginal Author