


sphere making instructions
MAE060669
18 years ago
Sort by:Oldest
Comments (30)
Related Stories

DECORATING GUIDESArmillary Spheres Set Rooms in Motion
Armi ... what? These classic astronomy models may have an unfamiliar name, but the energy and history they bring to rooms are unmistakable
Full Story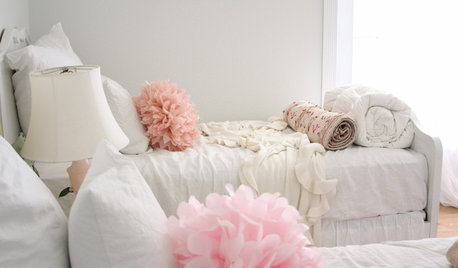
DECORATING GUIDESRound Out Your Home and Garden With Spheres
Circular pillows, spheres as art and rounded lighting fixtures are just a few ways to add graceful curves to any decor or landscape
Full Story
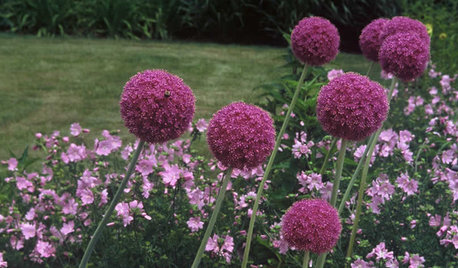
LANDSCAPE DESIGNDiscover the Music of the (Garden) Spheres
Add pleasing familiarity, rhythm and meaning to your landscape with globe-shaped plants, sculptures and accessories
Full Story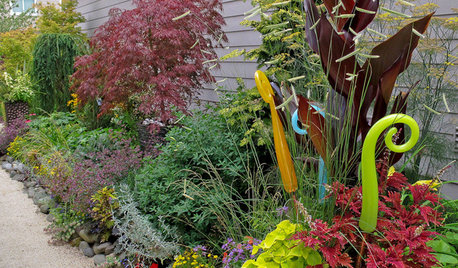
GARDENING AND LANDSCAPINGMake Your Garden Sparkle With Glass Art
Bring color, shine and even delightful sounds to your garden with glass sculptures, chimes and gazing spheres
Full Story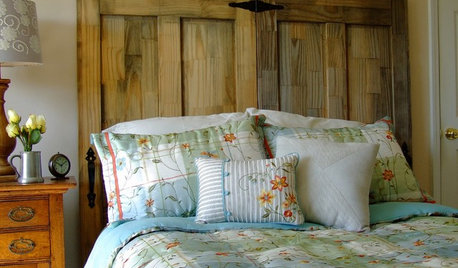
DIY PROJECTSMake Your Own Rustic-Chic Headboard From Salvaged Doors
Turn old doors into a charming headboard with these step-by-step instructions from an expert woodworker
Full Story
CHRISTMASMake a Traditional Fresh Holiday Wreath the Easy Way
Even beginners can follow these simple steps, layering greenery and bright berries to create a beautiful holiday welcome
Full Story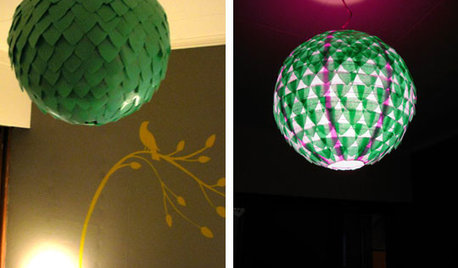
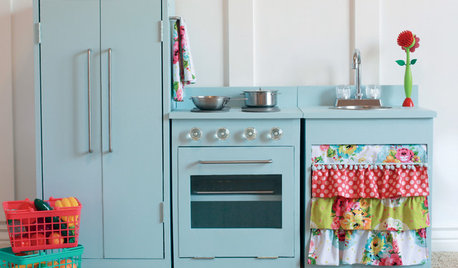
KIDS’ SPACESHow to Make an Enchanting Kids' Play Kitchen
To delight your little one this holiday season, give an adorable wood oven and sink you build with love
Full Story
LATEST NEWS FOR PROFESSIONALSHow to Make the Most of Your Photos on Houzz
Increase visibility for your hard work by choosing the right photo size, adding keywords, answering questions and more
Full Story
paws4pets
tufaenough
Related Discussions
Instructions to make fake palm trees?
Q
how to make a moss sphere
Q
Here Are Instructions For Making Grubby Tags and Other Crafts
Q
ok, who had the instructions to make an upholstered headboard?
Q
jazzbone
jeaninwa
Herb
gottatufa
tufaenough
Louisiana_greetings
gottatufa
Dena6355
jazzbone
Herb
tufaenough
tufaenough
gottatufa
tufaenough
jazzbone
spiderwoman
tufaenough
spiderwoman
Dena6355
jazzbone
tufaenough
DebZone8
dixiesmom
gottatufa
debstuart1
painterman
beaw
nancyinseattle