


New irrigation plan for next year
macheske
16 years ago
Sort by:Oldest
Comments (40)
Related Stories
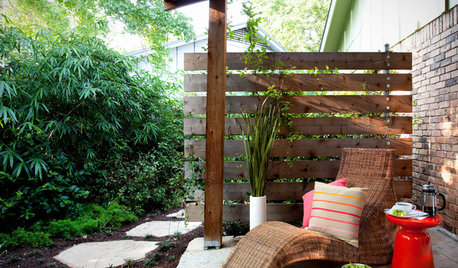
LANDSCAPE DESIGNThe Best Winter Garden Project? Plan for Next Year
Consider these 9 ideas now for a highly personal, truly enjoyable garden come spring
Full Story
DECLUTTERINGYour Clutter-Clearing Plan for the New Year
Tackle these tasks month by month for a decluttering strategy that will really pay off
Full Story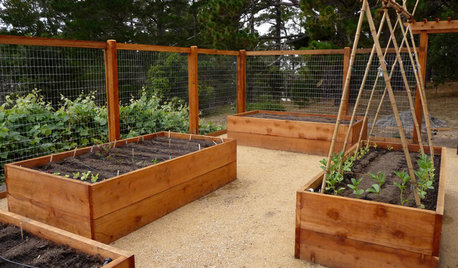
GARDENING GUIDESHow to Install a Drip Irrigation System
Save time and water with a drip watering system in your vegetable garden — a little patience now will pay off later
Full Story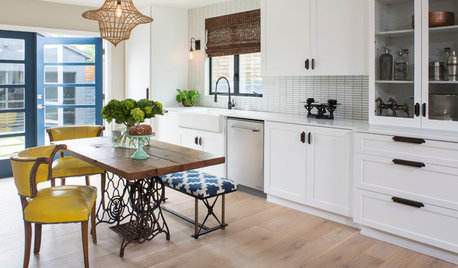
KITCHEN DESIGNGet Ideas From This Year’s Top 20 Kitchen Tours
Smart storage, functionality for cooks and families, vintage touches and lots of personality mark your favorites of 2015
Full Story
HOLIDAYSSimple Pleasures: Welcoming the New Year
Got the champagne and party hats but stumped about what to do next? Try these festive entertaining ideas to ring in the new year
Full Story
COLORPantone Unearths Emerald as Its 2013 Color of the Year
Whether you dig a natural version or go for one with polish, Pantone is predicting you'll treasure emerald green at home over the next year
Full Story
COLORColors of the Year: Look Back and Ahead for New Color Inspiration
See which color trends from 2014 are sticking, which ones struck out and which colors we’ll be watching for next year
Full Story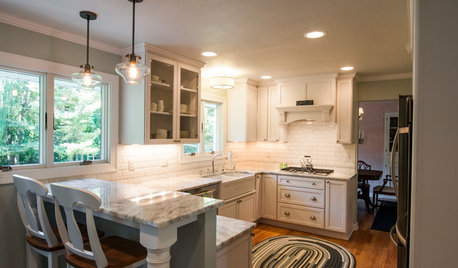
KITCHEN OF THE WEEKKitchen of the Week: 27 Years in the Making for New Everything
A smarter floor plan and updated finishes help create an efficient and stylish kitchen for a couple with grown children
Full Story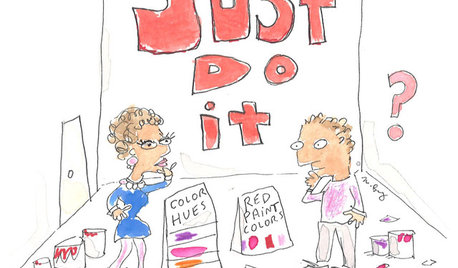
LIFEHouzz Call: What's Your New Year's Resolution for the House?
Whether you've resolved to finally finish a remodeling project or not stress about your home's imperfections, we'd like to hear your plan
Full Story
REMODELING GUIDESWhat’s on Your Design Wish List This Year?
Use winter days to begin planning your 2016 projects. Here’s a bit of inspiration to get you started
Full Story
Violet_Z6
macheskeOriginal Author
Related Discussions
help planning garden for next year?
Q
Any Plans For Your Farm This Next Year?
Q
Planning next years garden. Need some suggestions.
Q
While we're sprouting--next year's plans?
Q
gumby_ct
bigoledude
korney19
Violet_Z6
macheskeOriginal Author
Violet_Z6
barrie2m_(6a, central PA)
macheskeOriginal Author
billv
barrie2m_(6a, central PA)
macheskeOriginal Author
thistle5
el34
barrie2m_(6a, central PA)
korney19
macheskeOriginal Author
skagit_goat_man_
macheskeOriginal Author
dottyinduncan
macheskeOriginal Author
barrie2m_(6a, central PA)
John A
macheskeOriginal Author
bigoledude
wayne_perrier
macheskeOriginal Author
macheskeOriginal Author
raisemybeds
macheskeOriginal Author
John A
thistle5
korney19
macheskeOriginal Author
korney19
macheskeOriginal Author
korney19
macheskeOriginal Author
korney19