


DIY mulch dye
tonya499
16 years ago
Featured Answer
Sort by:Oldest
Comments (11)

bullthistle
16 years agobarefootinct
16 years agoRelated Discussions
Playground mulch vs. cedar mulch vs.pine mulch
Comments (5)Playground mulch is actually designed to standards that have mostly to do with impact (and liability to those who specify it). The knock on cedar mulch, as I remember it, is that it is very fibery and can give you little tiny splinters if you contact it a lot (refering to western red cedar). Pine mulch is a widely varying thing as there is no standard, there are lots of species of pine, and then there is the whole thing between recycled wood, wood chips, and actual bark (won't even go into dye).... and in the south they use pine needles as mulch (usually called pine straw). Pine mulch can mean a lot of different things. My mulch of choice is finely ground pine BARK. The problem is that it is more often than not "cut" with other crap (recycled wood or wood chips) these days and you wind up with a bunck of wood chips on top after about a month to the weather....See Morestraw mulch; I'm usually not compulsive, but....
Comments (8)Hi Penny, Of course you are right about the light not getting in. Plus I have a big bucket of lime. I'm assuming I could check the pH (with my handy dandy pH checker that has never been out of the box), and add lime and then go gather some pine straw and then use it in the front beds. I'll quit poo-pooing my natural resources :). My husband will be very happy with the idea of NOT spending money on mulch anyway! I plan on trying the other ideas too for comparison purposes. I received an e-mail response from the pinestraw direct people after asking them if I could use their dye on my regular straw yesterday. They said, "Provided the straw is dry enough to absorb water, this will work fine. If it is fairly fresh and green, it may not be. You might put a little water on it and see what it does. This is a water based dye and will work on just about anything that is porous." I must say that my straw doesn't seem so porous, but I'll try it anyway. As I get older, it seems like after I work through an question like this, I feel like I knew the answers all along-- I just didn't have them coagulated in the ole' noggin. Sooo, I really appreciate everybody's input! Barbara...See MoreDo-It-Yourself Wall-O-Water
Comments (29)For a couple of years I had a garden spot away from my house, with no water supply available so if I wanted to supplement rainfall I had to haul gallon jugs of water. To make my watering efficient, when I planted my peppers & tomatoes in the spring, I dug down and buried empty gallon plastic jugs, one between each plant. I had poked 4-5 holes in the bottom of each, of course, and left the caps on until later in the summer. Once the weather warmed, and after a good soaking rain, I mulched the beds 4-6" deep with chopped leaves, being sure to cover the tops of the (so far empty and still capped) bottles to protect them from the sun since I had found that the plastic degrades and becomes brittle when exposed to the sun. (In previous years, just cultivating around the bottles inevitably resulted in my breaking the tops off by midsummer.) When the weather reached a point where I actually needed to water, I cleared the mulch away for the moment and poured a gallon of water into each buried bottle. I set the cap loosely back atop each bottle to keep the leaf debris from falling in and clogging the exit holes in the bottom, then pulled the mulch back up to protect the plastic. I did not care about how long it took for the bottle to empty-- it seemed like a gallon or two a week per plant was sufficient, and the best part is that by burying the bottles the water went right down to the root zone where it was most effective. As for using wall-o-waters, since I had gotten some free from a friend, I tried them last year with 3 really early tomato plants I started specifically to experiment with. While they survived a good bit of frosty weather, in the end the plants I had started weeks later and planted out a month after the first ones when the weather had warmed quickly caught up to the wall-o-water ones and all the tomatoes pretty much bloomed & set fruit at the same time & rate. So my conclusion is that it was satisfying to my eager gardener's soul to be out planting early, but it really made no difference in overall plant performance. I have found the same to be true with early plantings of such things as peas and salad crops, too. Early plantings may survive, but later plantings quickly catch up and may even surpass earlier ones that have been stressed by the weather....See Moremulch-plant or plant-mulch?
Comments (5)I also prefer to mulch after planting. When I mulch before planting I find that the mulch gets too mixed up with the dirt from my plantings and I don't have that clean and clear cover look that I prefer. I also live in an old house. Digging out each new plant bed, or just cleaning up exisiting beds, is always an adventure. I have dug up enough flagstone to create a walkway, several old medicine bottles, an old lysol bottle, chips of broken china, and two pieces of stone substantial enough that I moved them to a more prominent plant bed with a severe slope for "decorative" effect. I've also found other things that are just plain trash, old toys, cleaning sponges, brooms, and most recently deteriorating plastic cups from casinos in AC. Yuck, yuck, yuck!...See Moreduluthinbloomz4
16 years agorhodium
16 years agotonya499
16 years agostoloniferous
16 years agoplainguy
13 years agolaag
13 years agoColleen.B
10 years agoashlee83
9 years ago
Related Stories
GARDENING GUIDESHow to Pick a Mulch — and Why Your Soil Wants It
There's more to topdressing than shredded wood. Learn about mulch types, costs and design considerations here
Full Story
DECORATING GUIDES8 Ways to Decorate With Indigo Tie-Dye
Make a statement big or small using this fabric rooted in an ancient Japanese art form
Full Story
REMODELING GUIDESPro Finishing Secret: Aniline Dye for Wood
Deeper and richer than any stain, aniline dye gives wood stunningly deep color and a long-lasting finish
Full Story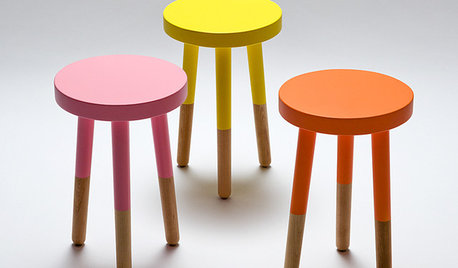
DECORATING GUIDESOn Trend: 10 Ways to Dip Dye
This fresh take on color adds splashes of style all around the house, from kitchen stools to bedding
Full Story
DECORATING GUIDESRetro Chic: The Return of Tie-Dye Decor
See how this psychedelic trend is making its mark in home decorating
Full Story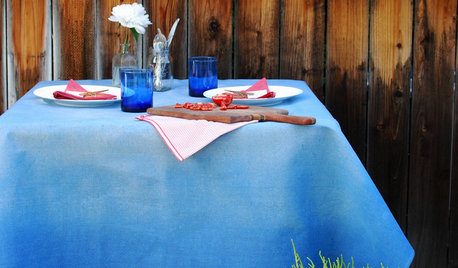
DIY PROJECTSMake a Fashion-Forward Ombré Tablecloth
Create a dashing dip-dye effect on a canvas drop cloth the easy way with this DIY project
Full Story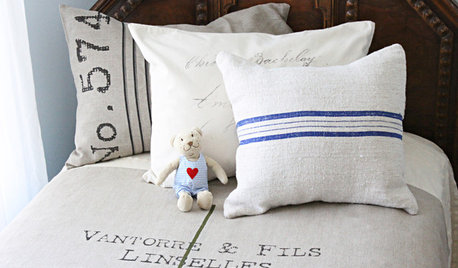
DECORATING GUIDESUtility Fabrics That Go the DIY Distance
Durable, easy to find and inexpensive, these utility fabrics can bring surprisingly high-end results to your everyday DIY projects
Full Story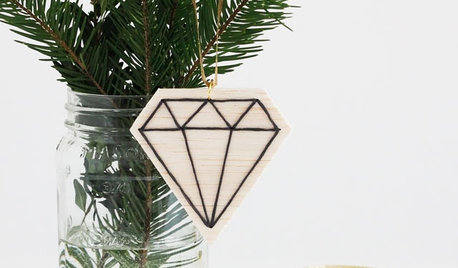
CHRISTMAS20 DIY Ornaments to Give or Keep
From classic to quirky, easy to more involved, these Christmas ornaments will perk up your tree or make a great gift
Full Story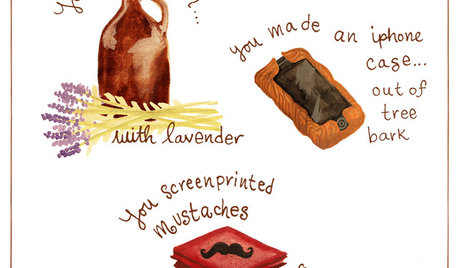
DIY PROJECTS12 Signs You've Caught the DIY Bug
Been making inventive things from scratch? Repurposing salvaged pieces creatively? It may be more serious than you think
Full Story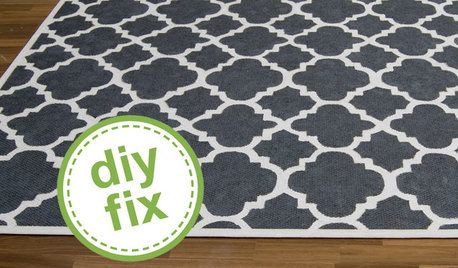
DECORATING GUIDESDIY: How to Paint a Sisal Rug
Two designers show how to give old beige sisal rugs a colorful new life
Full Story


gardengal48 (PNW Z8/9)