


5g bucket SWC success??
bdobs
15 years ago
Sort by:Oldest
Comments (49)
Related Stories

ENTERTAININGEasy Hospitality: 3 Basics for Successful Hosting
Make guests comfortable even if resources are tight by getting these entertaining essentials down pat
Full Story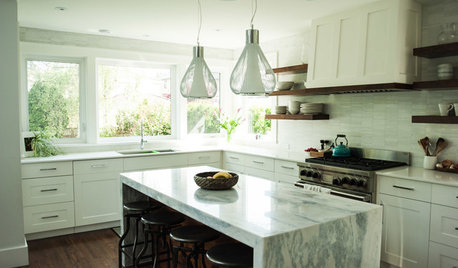
MOST POPULAR15 Remodeling ‘Uh-Oh’ Moments to Learn From
The road to successful design is paved with disaster stories. What’s yours?
Full Story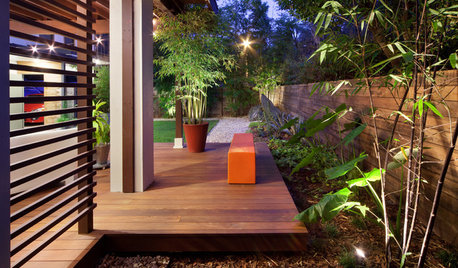
LIFEThe Top 5 Ways to Save Water at Home
Get on the fast track to preserving a valuable resource and saving money too with these smart, effective strategies
Full Story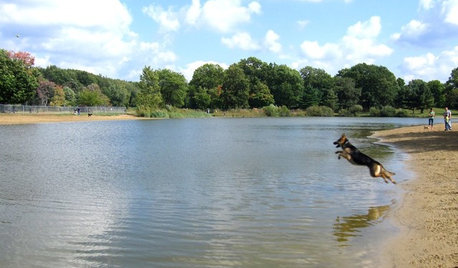
COMMUNITYDesigned for Dogs: 5 Fantastic Dog Parks Across the U.S.
Let your favorite pooch run wild at one of these specially designed public spaces. Not close by? Learn how to start a dog park yourself
Full Story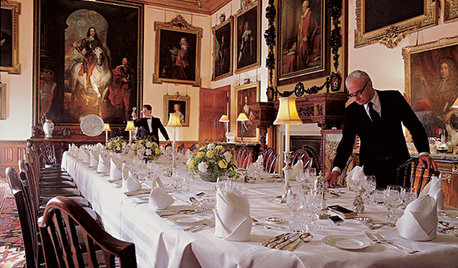
FUN HOUZZEverything I Need to Know About Decorating I Learned from Downton Abbey
Mind your manors with these 10 decorating tips from the PBS series, returning on January 5
Full Story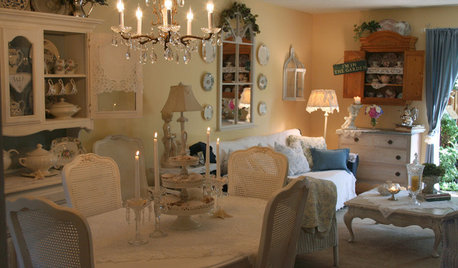
WORKING WITH PROSInside Houzz: How to Contact a Home Pro and Get Your Project Going
When you're ready to begin that remodeling project or landscape design, here's how to contact a pro on Houzz and get started
Full Story
GARDENING AND LANDSCAPING8 Ways to Beautifully Integrate an Outdoor Hot Tub
Harmonize your hot tub with your landscape for good looks and great relaxation
Full Story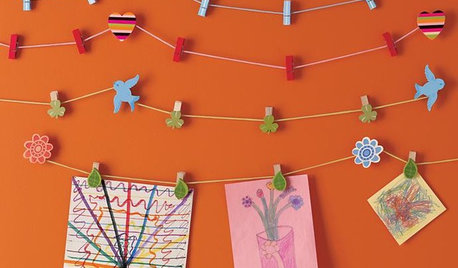
PRODUCT PICKSGuest Picks: Create a Home Art Center for Kids
Motivate little ones to create with tools and accessories for inspiring, making and organizing art at home
Full Story
FEEL-GOOD HOMESimple Pleasures: 10 Ideas for a Buy-Less Month
Save money without feeling pinched by taking advantage of free resources and your own ingenuity
Full Story
flyingfish2
bdobsOriginal Author
Related Discussions
Overwintering Strawberries in SWC
Q
SWC method for large container
Q
how to increase 5 gal bucket SWC reservoir size
Q
Please need desperate help with SWC tomatoes....pictures included
Q
tokapeba
bdobsOriginal Author
bdobsOriginal Author
kwyet1
imstillatwork
bdobsOriginal Author
imstillatwork
bdobsOriginal Author
justaguy2
bdobsOriginal Author
vmckague
briergardener_gw
tomncath
flyingfish2
bdobsOriginal Author
tomncath
flyingfish2
tomncath
bdobsOriginal Author
flyingfish2
bdobsOriginal Author
tomncath
tomncath
bdobsOriginal Author
tomncath
flyingfish2
farkee
rnewste
tomncath
bdobsOriginal Author
bdobsOriginal Author
earthworm73
bdobsOriginal Author
tomncath
tomncath
bdobsOriginal Author
bdobsOriginal Author
sprtsguy76
flyingfish2
bdobsOriginal Author
sprtsguy76
bdobsOriginal Author
sprtsguy76
bdobsOriginal Author
tomncath
andy_toms
flyingfish2