


Fermenting Rose Seeds
Formerly RBEHS Z10A/S17
last year

Featured Answer
Sort by:Oldest
Comments (6)

Formerly RBEHS Z10A/S17
last yearRelated Discussions
Fermenting seeds?
Comments (13)Here is an easy way to ferment them. I generally start fermenting as soon as I start getting lots of ripe tomatoes, and do it periodically during the Summer, so I can avoid the "end of season rush" when it could be too cold. Harvest seeds from your tomatoes by cutting the tomatoes open and squeezing the seeds and gel into a plastic cup. Collect enough to fill the cup up to 1/3 full of seeds and gel. It can be less full, too, in which case use less water in the steps below. Mark the plastic cup with the name or variety of the seeds that are in it. Generally you will want to get seeds from several tomatoes on the same plants or from 2 or 3 plants of the same variety. Add tap water to the cup. I generally put 2 to 4 times as much water in the cup as I have seeds and gel. Set the cups in a moderately warm (but not hot) place. A workroom, a garage or outside. Most of the time you want the temperature between about 65 and 85 degrees. It is true that the cups may attract fruit flies and have some odor to them, but I don't generally notice the odor, so I have even done them inside in my laundry room or similar places. If you put them outside, keep them away from the wind, or places where they might spill. It is probably okay if they have a little sunlight on them, but not where they will get hours of bright sun every day. That might heat the water too much and sterilize your seeds. Let the cups sit from 3 to 7 days, depending on temperature. The cups may develop fungus inside the water and/or a scum on top. That is okay. You don't need to do anything with the cups while they are sitting and fermenting. After 3 to 7 days, stir the cups slightly, then give them 20 or 30 seconds for the seeds to settle towards the bottom. Pour off most of the liquid that is in the cup, taking care to try to avoid pouring off the seeds in the bottom. Run more (lukewarm or room temperature) tap water into the cup. Let the seeds settle again and pour off the liquid on top again. Repeat the adding water and pouring off process until the water runs clear and the seeds are clean. Then pour off ALL of the water if you can, again, making attempts to preserve the seeds in the bottom. Get a PAPER PLATE to put the seeds on (NOT plastic). Or maybe some very thick, strong paper towels. You want the paper plate to 'wick' the water away and let the tomato seeds dry within a few hours to a day or so, or the seeds may start to germinate. On the paper plate, mark the name of the tomato variety and the YEAR of the harvest. Pour the seeds remaining in the cup (after pouring off the liquid) onto the paper plate. Spread them around with your finger to avoid deep clumps (so they dry better). Set the seeds where they can air dry. You don't generally want to stack these plates on top of each other or they won't dry fast enough. Let the seeds dry for a week or two. Then take them and separate them off the plates, by rubbing them off, and putting them into little coin envelopes (with the variety name and year of harvest marked on the envelope), or if you are really lazy, put the paper plate with the seeds on it into a large plastic bag and seal it. Store them at room temperature, out of the heat and sun and cold, and away from all moisture. My seeds easily maintain good germination ability for 10 or 12 years when stored like this. This method seems complex, because I have described it in detail, but it is actually quite easy and produces professional quality seeds....See MoreHave I fermented my seeds too long
Comments (37)Left to dry for 30-60 days, then placed in either glass vials or plastic prescription drug sealed bags. No problem whatsoever. In future years, they have ALWAYS come up as well as ever. Sometimes the KISS principal can be your best friend Yea John, I agree that over-engineering and unnecessarily complicating things is not very productive and is, in fact, usually a waste of resources. Now my buddy in OH has done it both ways and now does not ferment any seeds for saving. And has had no problems either. I ferment primarily because the process "cleans" the seeds and no repeated rinsings are needed to remove unwanted detritus. If some nasties are dispatched in the process, fine. Below are about 42 gms of fermented and dried seed of one variety, saved in 3 ferments and dumps. These are now in equilibrium (constant weight... ñ 0.1% weight change on successive weighings), with ambient conditions. Reggie...See MoreProblems with fermentation of tomato seeds
Comments (6)Kudzu, I noticed that you said you rinse the seeds and then put them in a glass of water to ferment, but that isn't going to work. You need to squeeze out the contents of whole tomatoes, with the juice, seeds and all, b'c fermentation is dependent on having something to ferment, which are all the organic compounds present in the tomato innards, if you will. If you just put rinsed seeds in a glass of water they will germinate, but that's not fermentation which is a biological process that uses the carbohydrates and more present in the fermentation container to produce the organic acids and other fermentation products that help to remove the gel capsules from the seeds as well as remove many of the tomato pathogens from the seed coat. So do process several fruits of a specific variety at one time, if you can, and squeeze out the innards to your container first, and then let the normal fungi in the air form that fungal mat. And when you see gas bubbles along the sides of the container you know that the fermentation is working. Hope that helps. Carolyn...See MoreSaving Tomato Seeds without Fermentation
Comments (42)I use fermentation regardless of batch size. On the drying table right now are 30 little seeds from a variety I found growing by the road. It was one 2 inch round bright red globe - nearly perfectly round. I also just finished packing over 800 Cherokee Purple seeds from one batch. (Trudi!!!?? :>) -) I cut the larger tomatoes into thick slices and using the point of a very sharp knife, carefully cut the seed gel masses away from the meat of the fruit and into a strainer. The strainer is above a container which catches the juice. This allows me to put the remainder of the tomato into the dehydrator. The seeds which are still in the gel mass are then gently scrubbed against the screen of the strainer enough to break up the globs and catch more juice. Breaking up the globs like this, I feel gives the little "microbe critters" a head start, a thinner gel to dissolve, and a much better chance of getting their job done. I also think we have to stir the mixture often during fermentation to further help break up gel around the seeds. Several tap water rinses get rid of all the debris and a 4 to 1 water/bleach rinse followed by more rinsing until I don't smell the bleach finishes the chemistry part. I spread them on a paper plate (cheapest, flimsiest) and after 2 to 3 days take a credit card size piece of plastic and gently loosen the seeds that are still gently stuck to the plate. 2 more days and into small ziplocks and a coin envelope marked with the variety and the date saved. I don't think I care for the TSP or AJAX or Comet or other scouring cleaners. It's because I just don't like even the "possibility" of damaging the seed coat. Having said that, I DON'T KNOW that the grit WILL damage the seed coat, but until time proves differently, I choose to think the possibility is there. Good tomatoes are hard enough to grow. For me, damaged seed coats would be like starting the race with an unnecessary, self-imposed handicap....See Moreroseseek
last yearlast modified: last year
SeniorBalloon
last yearroseseek
last yearFormerly RBEHS Z10A/S17
10 months ago


Related Stories
GARDENING GUIDESHow to Deadhead Roses and Other Garden Favorites
Follow this basic guide and learn how to properly deadhead roses and other flowers
Full Story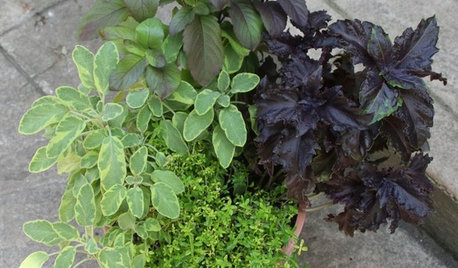
CONTAINER GARDENS8 Easy Container Plants to Grow From Seed
Get beautiful blooms and herbs in summer by starting these choice garden picks from seed in spring
Full Story
GARDENING GUIDESYour Complete Guide to Fall Rose Care
Cooler temperatures are on their way, and it’s time to get your rosebushes ready for fall
Full Story
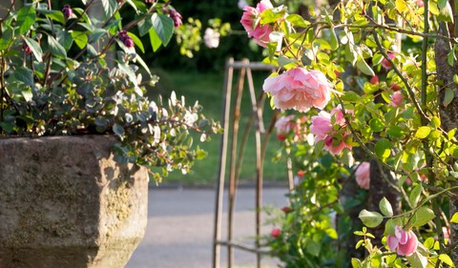
LANDSCAPE DESIGNMake Your Roses Even More Beautiful With These Companion Plants
Nourish your rosebushes and create a visual feast with these 7 classic and unexpected plant pairings
Full StoryGARDENING GUIDESLearn the Secret to Bigger and Better Roses
Grow beautiful roses using both ordinary and unusual soil amendments
Full Story
ROSES9 Roses That Landscape Designers Love
See which beautiful and reliable rose varieties are favored by designers around the country
Full Story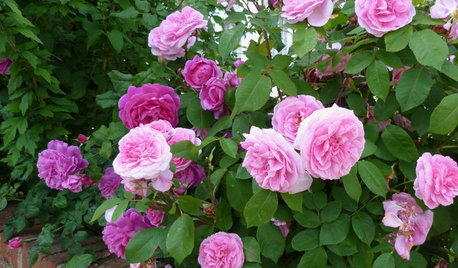
GARDENING GUIDESWhat Kind of Roses Should You Grow?
Want to add the beauty of roses to your garden? Find out which ones, from old-fashioned to modern, are right for you
Full Story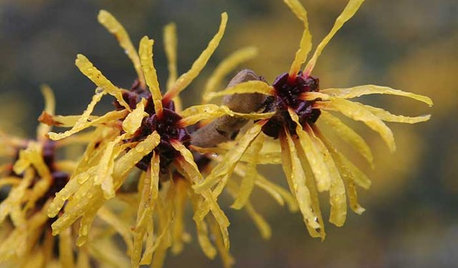
NORTHWEST GARDENINGPacific Northwest Gardener's February Checklist
Let witch hazel cast its spell, shut off your mason bees' snooze button and hit up the nursery for seeds and roses
Full Story
GARDENING GUIDESTexas Gardener's February Checklist
Show roses some love around Valentine's Day and set the stage for future garden growth with seeds and starts
Full Story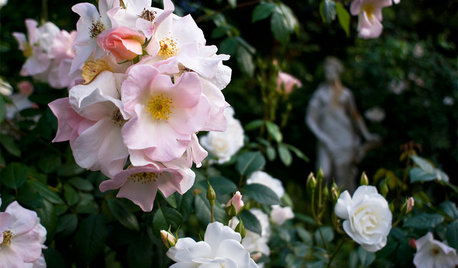
GARDENING GUIDESPacific Northwest Gardener: What to Do in July
Deadheading spent flowers, keeping up with watering and starting seeds indoors are the biggest gardening tasks for July
Full Story0


roseseek