


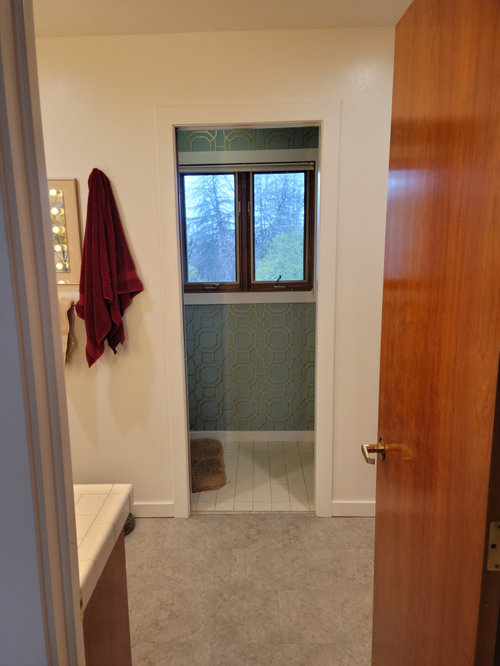
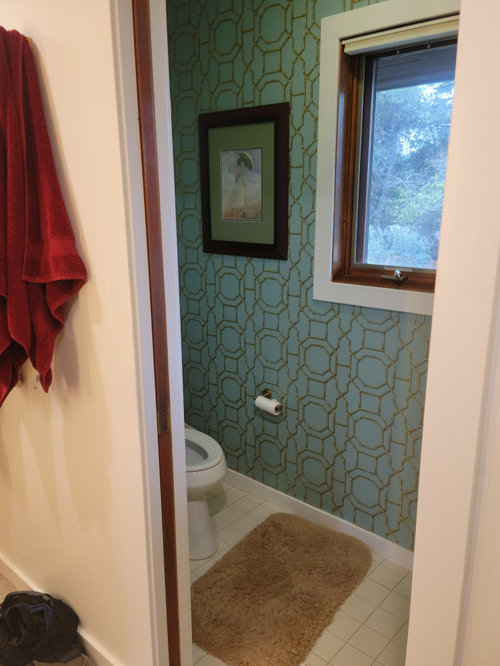
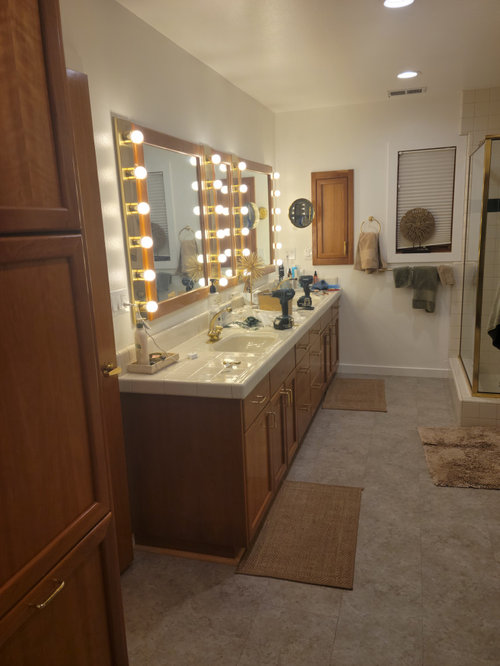
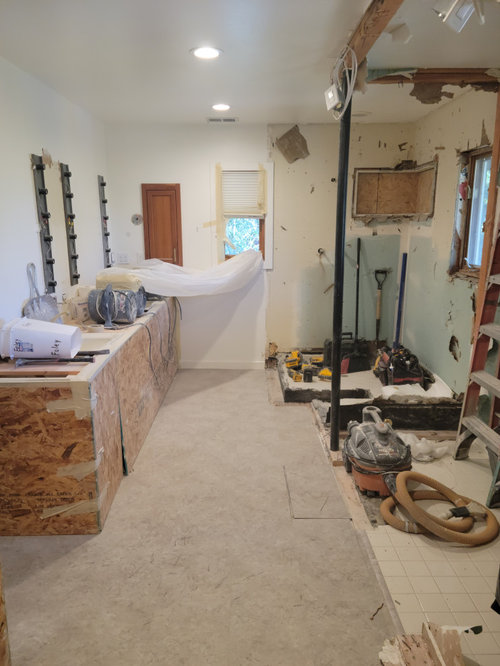
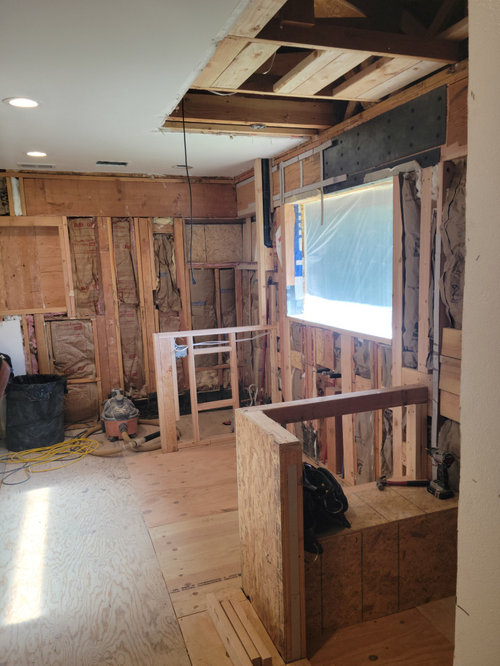
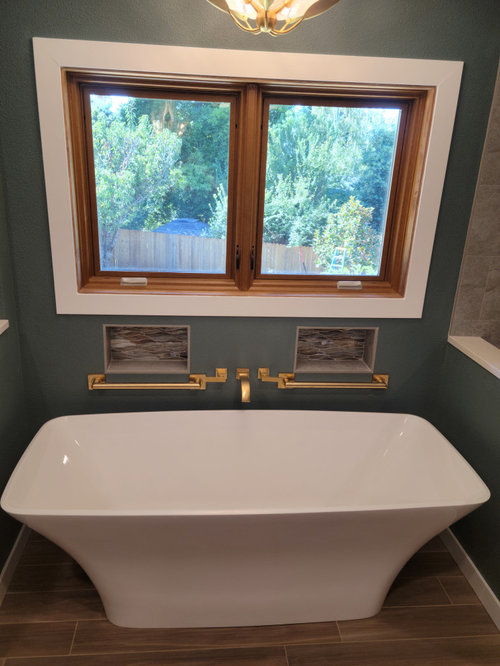
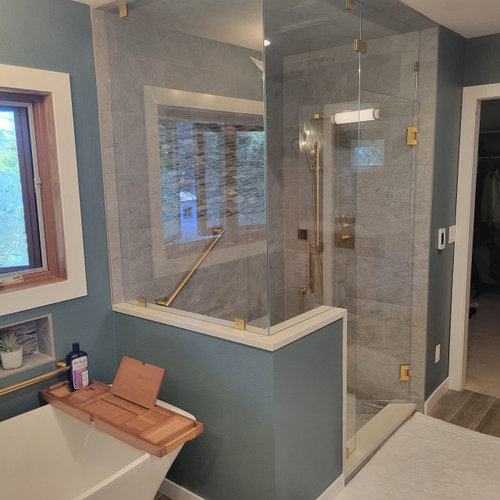
Before and After - Master bath redo of 1992 bathroom
last year


Featured Answer
Sort by:Oldest
Comments (18)
Related Discussions
Master bathroom DIY before and after pics!
Comments (6)There are other options I considered to conceal the glass of the doors.... Sheer curtains on the inside, or frosted glass spray. Of course you could put in real mirrors (but would have to remove the glass, and that is kind of a pain.) I knew I wanted mirrors because the room doesn't get a lot of light and I wanted to open up the space, but thought that real mirror might look too contemporary for the feel I was going for. In the end, the "Looking Glass" spray was what I decided to go with to get the french farmhouse feel I was going for....See MorePhotos of modest bathroom before and after
Comments (9)Thank you for the kind comments. Williamsem, we really went back and forth over the paint color and after a week, we ended up picking white over a pale blue or gray paint color. It's such a small space and the way the ceiling is (not in the pictures) that part of the ceiling has to be the same color - there is no hard stop on the start of the ceiling in the front portion of this little bathroom. I second guess the white paint sometimes, so it's nice to hear your comments. This post was edited by belasea on Sun, Jan 27, 13 at 7:46...See MoreBathrooms Before & After
Comments (7)Thanks everyone! So here's what I did. Very little prep involved. I removed all the doors, drawers, and hardware. Washed everything down with some soap & water with a sponge and dried well with a towel. Then I did VERY little sanding. I mean, less than 60 seconds per door/drawer. Just roughen it up a little. The sides of my cabinets are fake wood veneer, so I sanded those even lighter. Then I rubbed everything down with a tack cloth. Finally I rubbed everything down with mineral spirits. I used 2 coats of Java gel stain and 2 coats of poly (both by General Finishes). I brushed the stain on with a sponge brush and did NOT wipe off. I just made sure there weren't any globs anywhere. I set up a ladder in my garage and hung the cabinet doors so I could do both sides. (I'm pretty impatient!) The first coat of stain took the longest to dry. I applied it sunday afternoon and waited until Tuesday after work to apply the second coat. After that I only needed 24 hours between coats. I applied the 2 coats of poly with an old t-shirt just wiping it on. And that's it folks. Let me know if you have any questions. Here are some threads I used to get the instructions. There are also more pics from different people. http://ths.gardenweb.com/forums/load/kitchbath/msg0109393919706.html http://ths.gardenweb.com/forums/load/kitchbath/msg0112173522421.html...See More1966 straight to 2018 - before and after bathrooms
Comments (10)@Mrs Pete Thanks for the compliments. I'm not that great at envisioning the end result and was a little nervous about it, but wanted to add some pizzazz and our tile guy really knew how to guide me in the selection. The colors don't show as well in these photos, but it coordinates quite nicely. The floor was meant to be the real star of the show. The bottom niche is actually a foot prop for shaving my legs, so yes, I thought the grab bar could be quite handy, especially as we age. I really liked the fact that the mirror would let more of the glass tile show in that area since you can see behind the edges and also that it tilts for a better view of your entire outfit. Thanks for your comments!...See More PROlast year
 last year
 PROlast year
- last year
- last year
 last year
- last year
Related Stories
BATHROOM DESIGNBefore and After: A Revamped Master Bathroom Shines Bright
Layered lighting, muted colors and reflective finishes transform this Minnesota master bath
Full Story
MOST POPULARBefore and After: 7 Master Bathroom Transformations
Thinking about remodeling your main bathroom? Get inspired by looking at these before-and-after bathroom photos
Full Story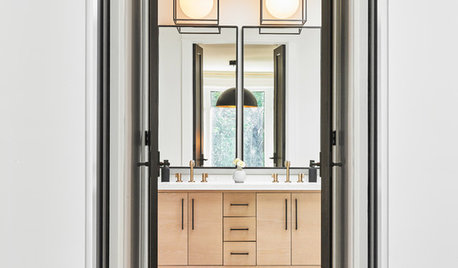
BEFORE AND AFTERSBefore and After: Master Bathroom Gains a 5-Star Hotel Feel
Carefully edited materials and a strategic layout give this master bathroom the look and vibe of a resort retreat
Full Story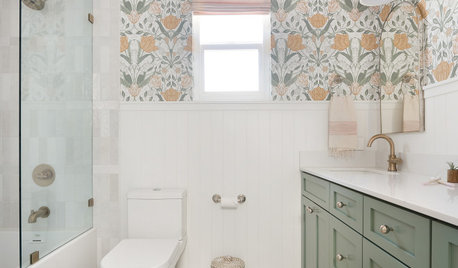
BATHROOM MAKEOVERSBefore and After: Fresh Styles, Same Layouts for 3 Bathroom Redos
See how pros worked within existing layouts to give bathrooms with shower-tub combos whole new looks
Full Story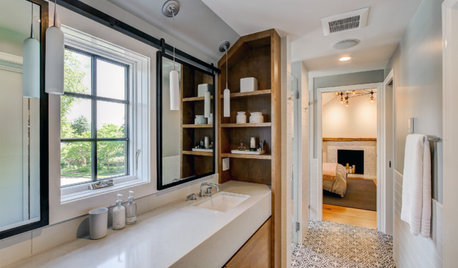
BATHROOM DESIGNBefore and After: From Cramped Closet to Open Master Bathroom
Seattle homeowners work with a design team to transform an attic closet into a bathroom with a shower and walk-in closet
Full Story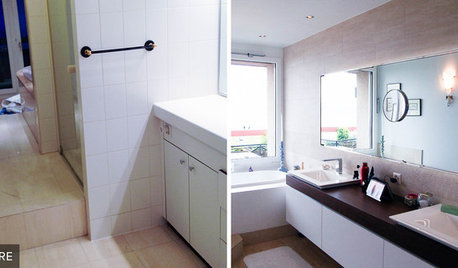
BATHROOM MAKEOVERSReader Bathroom: $25,000 to Redo Multiple Baths in Switzerland
An American couple had master and guest bathrooms that functioned poorly. Now they have spaces that work beautifully
Full Story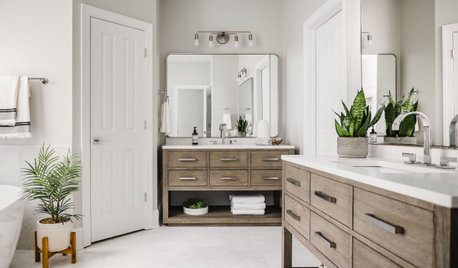
BEFORE AND AFTERSBathroom of the Week: Save-and-Splurge Strategy for a Master Bath
A designer on Houzz helps a North Carolina couple create a bright and modern retreat with budget-minded design choices
Full StoryBATHROOM DESIGNBathroom of the Week: Modern Farmhouse Style for a Master Bath
A North Carolina homeowner finds a pro on Houzz, and he updates the room with traditional and modern elements
Full Story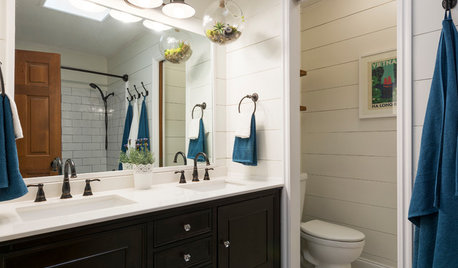
BATHROOM MAKEOVERSAfter Just 2 ‘Uh-Oh’ Moments, a New Master Bath
Thanks to their DIY efforts and perseverance, an enterprising couple get a pretty new bathroom for $1,000
Full Story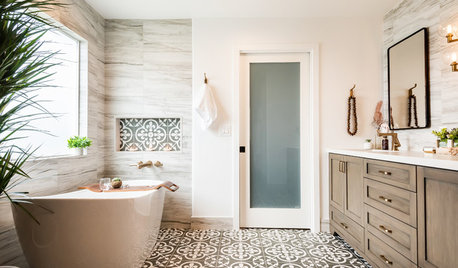
BATHROOM DESIGNBathroom of the Week: Neutrals Warm a Contemporary Master Bath
Abundant storage, elegant finishes and well-chosen tile patterns give this room standout style
Full Story

tammydaviesOriginal Author