

Anyone have a creative solution for this (and funny too)?
7 years ago
Featured Answer
Sort by:Oldest
Comments (48)
 7 years ago
 7 years ago
Related Discussions
Cabinetry around fridge - thoughts or creative solutions?
Comments (5)My kitchen remodel is a hodge podge. The new cabinets that were just built were made to flow with a pantry we had built over three years ago. That cabinet is 24 inches, top to bottom. When we had our island made last fall, we bought a counter-depth refrigerator to give us more room between the island and fridge. I LOVE that my refrigerator isn't sticking out in the kitchen so much anymore. Anyway, when we did new cabinets in December, I opted NOT to have a cabinet built over the refrigerator. I really don't like those deep cabinet so high because they just become black holes. So, my solution is to put a thick shelf over the refrigerator, bridging the two cabinets. There will be two different groove on it, at different depths, so I can just rest pictures against the wall and they catch in the groove. I will also put a tall vase and maybe a plant. Underneath I will likely put a few shallow baskets. Our carpenter is making the shelf now. Once it's in and I have some pics/accessories up there (and like it LOL), I'll share pics on here. Good luck finding your solution. Hopefully you'll get some good ideas from responses here....See MoreCreative cabinet door solutions?
Comments (17)What I would do is remove the drawer & door. Then cut the rail away from the stiles on both sides. On the left side, pocket screw & glue a vertical piece of wood to the left hand stile (scrape paint for the glue to bond) to increase the width of the stile, wide enough to allow a new (narrower & taller) replacement door to swing open. You will lose a drawer and the opening will be smaller but you'll still have better access to that blind corner cabinet. You could opt to keep the drawer in which case you'd not cut away the rail and use two vertical attachments to the stile for a more narrow replacement door & drawer. Finding an exact match for the door will be tough. If you know the cabinet brand, check to see if you can get a new door in the dimensions that you need for the altered cab. Or maybe you can have a cabinet shop build one. Otherwise, you could just go with a raised panel door for a close but not exact match. Paint all the new stuff to match. Another option might be to use a shutter for the replacement door...perhaps one of those old style shutters that had fabric inserts. Or just a fabric skirt to cover the opening...See MoreCreative pest solutions thread!
Comments (4)Mines not at all creative. I use a spary bottle and add whatever amount of biodegradable environmentally friendly dish soap and spray my plants.... First you set it on shoot mode so you blast anything with soap then you switch to spray to make sure you got everything and then repeat once more. I do this by taking the plant in the shower or outside. After the soap water is on there for a bit, I blast it with the hose (or turn on the shower) and go over every leaf a couple times.. Got mites of my Majesty twice and My Ensete once. Also read somewhere online to use cinnamon for fungus gnats. Did it and it didn't fully work but it didn't not work per say.... Also as an added plus made all my plants smell reeeaaallll nice. Wouldn't recommend it though......See MoreDoes anyone have a creative idea of what to use instead of the flange?
Comments (8)Temporatily remove the flange. Anyone with an angle grinder can easily and cleanly trim off the edge of that flange in about 10 seconds so it will sit flush up against the tile. A little bit of silicone where the tile and flange meet will prevent any rust from appearing. This would be the cleanest and least ugly solution....See More- 7 years agolast modified: 7 years ago
 7 years ago
- 7 years ago
 7 years ago
 7 years ago
- 7 years ago
- 7 years ago
- 7 years agolast modified: 7 years ago
- 7 years ago
 7 years ago
- 7 years ago
- 7 years ago
- 7 years ago
- 7 years ago
- 7 years ago
 7 years ago
 7 years ago
 7 years ago
- 7 years ago
- 7 years ago
 7 years ago
- 7 years ago
 7 years agolast modified: 7 years ago
 7 years ago
- 7 years ago
- 7 years ago
- 7 years ago
- 7 years ago
- 7 years ago
 7 years ago
- 7 years ago
- 7 years ago
- 7 years ago
 7 years ago
- 7 years agolast modified: 7 years ago
- 7 years ago
 7 years ago
 7 years ago
- 7 years agolast modified: 7 years ago
- 7 years ago
- 7 years ago
- 7 years ago
- 7 years ago
- 7 years agolast modified: 7 years ago
 7 years ago


Related Stories

OUTBUILDINGSStudio Solution: A Kit Greenhouse Becomes a Creative Private Office
See how an inventive work-from-home designer made an office from a greenhouse, for some inspired thinking in the backyard
Full Story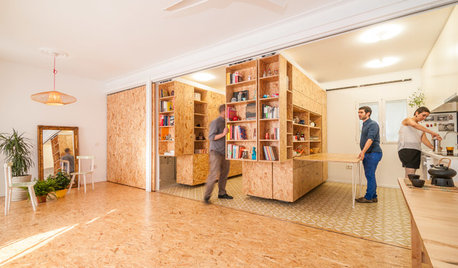
STORAGEWorld of Design: 11 of the Globe's Most Creative Storage Solutions
See the ingenious side of storage in France, Sweden, Russia and beyond
Full Story
HOUZZ TOURSMy Houzz: Creative Solutions Transform a Tricky Basement Studio
Structural issues and puzzling features give way to beautiful design at the hands of a can-do Montreal homeowner
Full Story
ORGANIZINGOutside the Box: 18 Unconventional Storage Solutions
You might never think to use household standards in creative ways like these, but you’ll be glad we did
Full Story
KITCHEN OF THE WEEKKitchen of the Week: ‘Raising’ the Ceiling in a Creative Way
A smart design solution helps a South Carolina kitchen feel more spacious and adds industrial style
Full Story
PETS12 Stylish Solutions for Ugly Cat Furniture
Bland beige post unhappily marking your living room territory? Scratch that with rakish kitty condos, perches and staircases
Full Story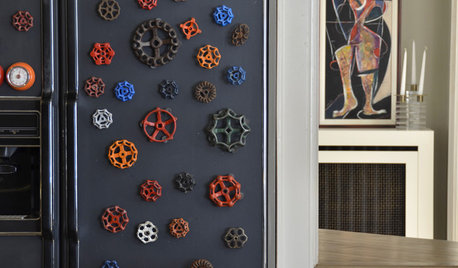
KITCHEN APPLIANCESHave an Ugly Fridge? Here Are 7 Creative Makeover Ideas
Take a peek at these designs from readers who have decorated their plain-vanilla refrigerators with decals, wraps and more
Full Story
KIDS’ SPACESCreative Ways to Tame the Mess in Kids’ Bedrooms
These cool storage features will keep your children’s rooms tidier — no threats or bribes required
Full Story
DECORATING GUIDESFix Those 'Whoopsies': 9 Fast Solutions for Decorating Mistakes
Don't suffer in silence over a paint, furniture or rug snafu — these affordable workarounds can help
Full Story
PRODUCT PICKSGuest Picks: Decorating Solutions for the Stylish Renter
Look to removable wallpaper, appliance covers and easily changed hardware for the answers to decorating woes in a rental
Full StorySponsored

Customized Award-Winning Interior Design Solutions in Franklin Cnty OH
llitm