


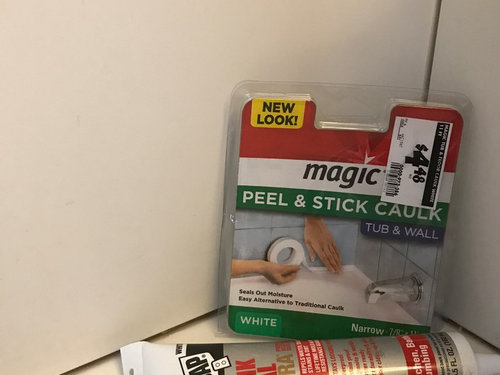
Fiberglass Tub/Shower recaulking advice- tape vs caulk?
Beth D.
5 years ago
last modified: 5 years ago
Featured Answer
Sort by:Oldest
Comments (9)
Related Discussions
cultured marble shower vs tile shower on 1st floor
Comments (13)would like follow up to this discussion we have older home in DFW area--getting ready to put it on the market shower and master bath need work shower is tiled but 25+ yrs old and probably sheetrock vs cement backed walls--could have some nasty stuff when it is torn out (as our contractor warned us--said he never regrouts older showers when doing remodeling--because most of them just have sheetrock and bad shower pans--but always goes down to the studs) counter tops and tub are cultured marble-- my husband thought to put in granite countertops and new fiberglass tub w/tile top and new tile shower our contractor gave us a fairly reasonable price except it does not include sinks, fixtures and the tile would be pretty basic... we had someone come measure for new cultured marble countertops and tub and also a cultured marble shower stall because most homes in our area have not upgraded their baths ... the cultured marble guy said that because the shower door is more narrow and there is a stepdown into the shower that they would probably have to cut the wall pieces and have a join/grout line vs having them the full length of the tiled walls I asked about having a tile insert line--like 6 x 6 glass mosaic sheets--which he said could be done... anyone have pictures of shower like that or have you done something like that yourself...See MoreContractor used grout not caulk around the tub
Comments (67)I am a DIY'er and did a pretty significant bathroom remodel where I did all the tile work. On my shower, I used Laticrete Hydroban and durock for my walls. At all corners and at the tub flange, I used fiberglass tape embedded in thinset, sort of like your video. Much cheaper I imagine. The Schluter Band is water and vapor proof I believe. You will be using Redgard to achieve the same water management goal, so I don't believe you would need the Schluter product. All changes of material and planes will be covered with the fiberglass tape and thinset. All the fasteners will be covered with thinset. All valves are set with tape and thinset, or the product included with the valves. My valves came with a taping product that I thinset into place. Then everything is coated in the water management membrane such as Redgard or Laticrete. I filled in all small voids with thinset. I don't have a picture of the bottom of my shower pan and Durock, but I think I taped it with the fiberglass tape. It has been some time since I did this job. Below, is my thinset and taped cement board. True Confessions, I don't think I have enough fasteners, nor the right kind, in my wall, and I worry about this flaw in my shower. I had drywallers hang this for me when they did the rest of the room. I assumed they used the correct fasteners, but they didn't. They started out with galvanized nails, which I believe would have been ok, but I wanted screws, so they switched to the drywall screws. I had the Durock screws, but didn't give them to the workers, assuming they had their own. They didn't. So after they left and I saw the, I tried adding my Durock screws into the wall. I couldn't do it, I just wasn't strong enough. DH was out farming and wasn't available to drive more in for me. So I proceeded. My mistake, as I learned later the drywall screws deteriorate in cement board over time because of the alkaline conditions. I confessed to DH that the walls might fall down in a few years. He said, "well when they do, we'll just fix it." What a relief I felt, I no longer carried this burden of knowing that I flubbed up: Here is the bottom where the coating is onto the shower pan. It hard to see, but the pan and walls are totally sealed in the Hydroban. Click it open to see the bottom of the walls at the shower pan, where I taped a plastic sheeting to protect the pan. Be sure to follow the recommendations for thickness with your Redgard. This is Laticrete Hydroban: If you click the picture open you might be able to see the valves sealed with the Hydroban. This green tape is by 3M and is very strong used for taping concrete I believe. It was great to use to hold hanging tiles into place until the thinset cured. You will want this tape for your tiling job, I loved it:...See Morebest caulk for fiberglass shower surrounds
Comments (7)Personally, when I apply most caulks, I use my index finger to "tool" it. Kind of slide my finger along the bead. This tends to push the caulk into the joint, and create a better seal with the two sides of the joint. And you end up with a kind of concave beveled look to the joint, as opposed to the convex bead that you get if you just apply it and don't touch after that. Have paper towels handy to wipe off the excess silicone caulk that will be on your index finger (*smile*). I also like silicone caulk that's labeled for "tub and tile" (has mold/mildewicide in it) a lot better than acrylic latex, since it flexes, like GE Silicone II Kitchen and Bath (with BioSeal). Yes, when you renew it, you'll have to remove the previous caulking, but it lasts a lot longer in my experience, adheres better, flexes, stays flexible, etc. -Roger...See MoreTub Surround vs Tile
Comments (32)I just finished a Swanstone install over a 72" Laurel Mountain whirlpool tub. This is the second Swanstone surround I have done. (I got a lot better at it this time) I was a professional tile installer for 10 years and didn't want the maintenance of grout in a tub area. Here is what you should know about Swanstone: 1) There is caulking (and the associated periodic maintenance) in the corners where the panels meet and also at the base of the panels where they meet the tub. This will have to be re-done every 3-5 years if you dry your tub/shower after use. If you don't towel down your walls, you'll need to do it more frequently. 2) Swanstone requires carbide blades to cut. Dont even think about reusing a carbide blade for cutting other materials after it has been used on Swanstone. Even carbide dulls quickly when cutting this material. YouÂll destroy a hole saw and probably 3 or more scroll saw/saber saw blades during your installation. Plus a 40 tooth finish grade carbide circular blade. Consider it part of the price of your project. Make sure you have extras before you even start. 3) Scribing and coping the panel walls so they fit closely in the corners and against the tub is a must. Swanstone is easy to sand with a belt sander (makes a mess, use a good respirator). An Accuscribe tool makes this a lot easier. 4) 2 people are required to move and dry fit the panels. They are unwieldy and the material is very dense. Both people need good dry leather gloves on. The edges, when cut with carbide blades, are sharp. 5) You want a really solid backer board behind Swanstone. The panels are a quarter inch thick so they can bow unless adhered to something that is quite rigid. I used Durrock cement backer board. The backer board should be primed with a good primer (Zinsser) before installing the Swanstone product. 6) Acetone!! They say you can clean the Swanstone product well enough with alcohol before caulking. DonÂt waste your time with alcohol. Use acetone. In my experience, Swanstone is impervious to acetone and you will create a much faster drying and oil free bonding surface for silicone caulk with acetone. I wiped all sides and edges with acetone to remove all oil and fine dust after cutting & coping and dry fitting prior to installation. The bond to the walls is very strong. 7) The biggest headache is the required 2x4 bracing. Setting this up is a royal PITA. Use masking tape to hold vertical 2x4Âs in place against the panels while you position and wedge into place the horizontal 2x4Âs that create the side to side pressure. Measure the inside dimension between the vertical 2x4Âs exactly and then add 1/16 of an inch, this is enough to create sufficient side to side pressure. Make sure you pre-drill holes at an angle through the horizontal braces so that you can screw them to the vertical braces. If a horizontal 2x4 falls out, it will damage your tub and you get to start all over. Bracing the back wall panel with shims takes time and patience. Do not be in a hurry, you have plenty of time before the silicone adhesive sets up. 8) A word on framing: Use Timberstrand studs behind the cement backer board. This will draw a lot of comments from folks, but here is the line of logic: Timberstrand is delivered with a much lower moisture content than any other kind of stud except steel. It is also perfectly straight & square. Due to its low moisture content, it undergoes much less dimensional change once installed. This is critical behind tub & shower walls. Timber strand is 3 times more expensive than regular lumber, but it is worth it in this area. When you frame with it, take the time to get everything perfectly square and plumb and you will have a much easier time with coping and fitting the Swanstone panels. Further up in this thread, there was a comment made about redoing grout in tile after 3 years. Yeah, that is true in my experience if the lumber behind the backer board was "wet" (high moisture content) when the tile was installed. This is common. Problem is, it becomes a self perpetuating problem that requires major tear out and remodeling in pretty short order. The cycle goes like this: Tile & grout is installed over high moisture content lumber. The lumber twists and shrinks as it dries out causing micro fine cracks in the grout (grout is brittle). Folks shower and the walls get wet which introduces more moisture that gets behind the grout and ultimately the tile. Do this daily for a year or so and the backer board is now wet. The backer board transfers moisture to the studs so they undergo expansion causing bigger gaps to appear in the grout and more water to be added to the system. Leave it untreated for 5 years and your studs will begin to rot and tile starts falling off the walls. Plus you have mold growing in cracks in your grout that is really tough to keep out. IÂve done two bathrooms in my current house with pretty intricate tile work. They are beautiful! Nothing looks as nice as well done tile. However, both are occasional use bathrooms that get used maybe 10 times per year. I did Durrock over steel studs in both tiled shower areas and they should hold up for 20+ years with nothing more than yearly resealing of the grout. The two daily use shower areas are Swanstone over Durrock with Timberstrand studs in one and steel studs in the other. They should now hold up for 20+ years as well with twice daily use and once every three years re-caulking of the seams....See More
paintguy22
5 years ago
Beth D.
5 years agoBeth D.
5 years agoBeth D.
5 years ago
Related Stories
BATHROOM DESIGNConvert Your Tub Space to a Shower — the Planning Phase
Step 1 in swapping your tub for a sleek new shower: Get all the remodel details down on paper
Full Story
BATHROOM DESIGNWhy You Might Want to Put Your Tub in the Shower
Save space, cleanup time and maybe even a little money with a shower-bathtub combo. These examples show how to do it right
Full Story
INSIDE HOUZZWhat Homeowners Want in Master Bathroom Showers and Tubs in 2019
Homeowners are split on tubs, while the majority upgrade showers, according to the 2019 U.S. Houzz Bathroom Trends Study
Full Story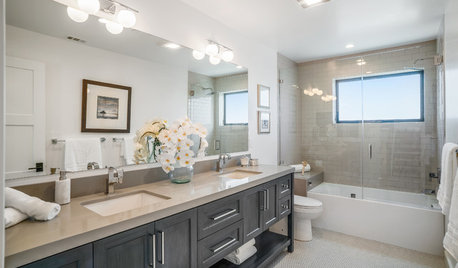
GREAT HOME PROJECTSSay Goodbye to the Shower Curtain With a Glass Tub Enclosure
A glass screen or door can make a bathroom look modern and airy, and can be easy to clean if you don’t have hard water
Full Story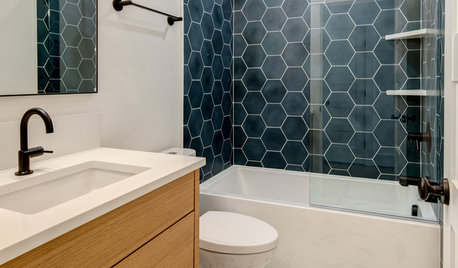
BATHROOM DESIGNNew This Week: 6 Bathrooms That Rock a Shower-Tub Combo
Designers showcase beautiful ways to make this classic bathroom feature worth keeping
Full Story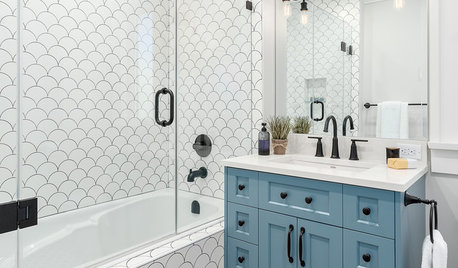
BATHROOM DESIGNShower Curtain or Shower Door?
Find out which option is the ideal partner for your shower-bath combo
Full Story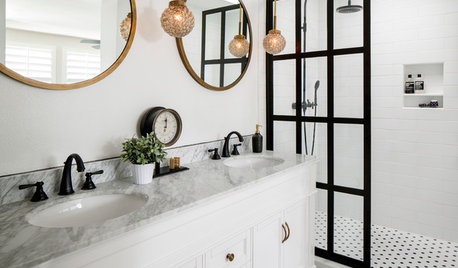
BEFORE AND AFTERSBefore and After: 6 Bathrooms That Said Goodbye to the Tub
Sleek showers replaced tub-shower combos in these bathroom remodels. Could this be an option for you?
Full StoryBATHTUBSBefore and After: Tubs That Say Hello to Glass
Clear glass enclosures give these 5 tub-shower combos a sleek new look. Could this be an option for you?
Full Story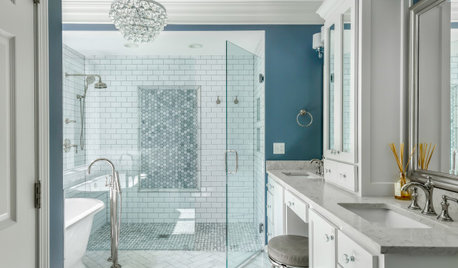
HOUSEKEEPINGHow to Clean a Glass Shower Door
See which tools and methods will keep those glass shower walls and doors sparkling clean
Full Story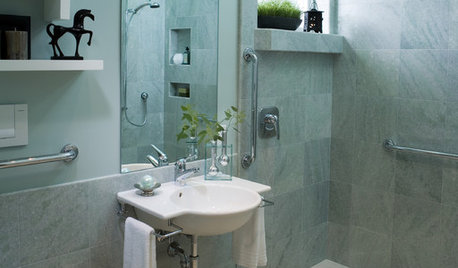
BATHROOM DESIGNHow to Design an Accessible Shower
Make aging in place safer and easier with universal design features in the shower and bathroom
Full Story


Super Lumen