

Long simmered stewed green beans
9 years ago
Featured Answer
Sort by:Oldest
Comments (34)
 9 years ago
Related Discussions
How do you folks use frozen green beans?
Comments (35)It may be the way you prepared them for freezing - did you blanch them first and then into an ice bath? If not they turn mushy. Then drain well, pat dry, spread out on cookie sheet to flash freeze and then package them. Or it may be that you are just over-cooking them once you take them out of the freezer. I do not thaw first, just dump them into already boiling water, let it return to a boil and then reduce to simmer for approx. 5-6 min. And it could also be the quality of the beans themselves. Some varieties freeze better than others. And harvest them when still young and tender. If left on the vine too long before picking some varieties will lose all flavor. Dave...See Morechinese long beans dehydrating them and green peppers...
Comments (2)Citric acid, Fruit Fresh, lemon juice, crushed Vit. C tabs, etc. all work for color preservation. I get the best results with Fruit Fresh mixed per the label. I've never tried drying green beans. When we don't have time to can them we freeze them. Easy and fast and good quality. Peppers dehydrate ok if cut into small pieces but you end up with small bits of pepper. They too freeze so easily that is what we do when they get ahead of us. Check out all the how-to dehydrate info at NCHFP for detailed instructions. Dave Here is a link that might be useful: NCHFP - Dehydrating Foods...See MoreBring Out Your Soups and Stews!
Comments (50)This recipe originally appeared in the New York Times. Seems too simple to be this delicious but it is a wonderful marriage of flavors. Red Wine Pinto Beans with Smoky Bacon Ingredients: 1/2# smoky bacon, diced 1 large onion, peeled and diced 2 celery stalks, diced 2 medium carrots, peeled and diced 4 garlic cloves, minced 1 large sprigs rosemary 1# dried pinto beans, soaked overnight 1 T. coarse kosher salt 2 c. dry red wine Optional toppings: olive oil, coarsely grated Parmesan, black pepper or red pepper flakes In the bottom of a large pot over medium-high heat, brown bacon until golden, about 5 minutes. (I like to remove the crisp bacon and add it back at the end). Stir in onion, celery, carrots, garlic and rosemary. Cook, stirring occasionally, until vegies are tender, 5-7 minutes. Drain beans and add to pot along with 1 T. salt. Pour in enough water to just cover the beans (about 7-8 cups). Bring liquid to a boil; reduce heat and simmer gently until beans are just tender, 45 mins - 1 hour. Meanwhile, in a small pot over medium heat, simmer wine until it is reduced to 2/3 cup, 20-30 mins. Remove rosemary branches from bean pot and discard them. Pour wine into beans and bring to a simmer. Cook for 10-20 mins. longer to meld flavors and thicken broth to taste. Drizzle with olive oil and sprinkle with Parmesan, if desired; add more salt and black or red pepper to taste....See MoreCherry green tomato pickles more like stewed tomatoes !
Comments (3)Have you posted at the harvest forum? They can give you some great canning tips. They (and I) always recommend the Ball Blue Book of canning - if you don't have a copy, you should pick one up, it's a great resource. These are the steps I always follow, I find that it's a good formula and always works for me. Hopefully it's not too much information - I'm probably being too thorough, but better safe than sorry. 1. Wash jars. Wash rings, rinse new lids. Put lids in a small saucepan with water on "low" so they get warm and the rubber becomes soft for canning. I set up a workstation - basically a kitchen towel spread on the counter next to my stove to set jars on while I fill them, and keep the rings at a corner of the towel, within reach. The rings don't have to be hot. I also dampen a paper towel for wiping the jar rims clean before putting lids on, and keep that handy on one side of the towel. 2. Put jars in a big canning pot**, filled so that the jars are covered with 2 inches of water. The jars will be full of water, which will sterilize them as they heat. Put the lid on the canner (if you have a pressure canner, just set it on, don't tighten). 3. Bring water in canner to a high simmer, while preparing food for canning. I usually crank the heat to high and turn it back when I hear it starting to boil. 4. When food is ready to be canned, the water in the canner should be plenty hot, so it will come back to a boil quickly. If it's not, keep your food at the ready. (You want those jars to be sterile if you're heating them in the water.) 5. Pull a jar out of the canner using a jar lifter, and carefully pour the hot water from it into the sink. I have my own angle technique that works - just be careful when you do this, because you pretty much have to pour the water toward you to keep the jar in hand with the lifter. Practicing with cold water isn't a bad plan if you haven't done the pour before. :) Or if you're more sensible than I am, you might set the jar down for a moment on your towel, then pick it up again from the side with the lifter and empty it that way. 6. Fill the jar with food to be canned, wipe the rim, put a lid on, then put a ring on. Tighten the ring to finger tight - it should be snug but not super tight. (All the ring does is apply a little pressure so that there is good contact between the lid's sealant and the jar rim - it doesn't hold the lid on; the natural vacuum will do that.) 7. Put filled jar back into canner, and pull the next empty jar. Repeat steps 5-6 until all jars are full. I do these steps as quickly (but carefully) as possible so that the first jar sitting in the hot water doesn't end up with soft pickles. 8. Put lid on canner when all jars are filled. Bring back up to a boil (should only take a few minutes, since the water has been simmering the whole time). Start timing when the boil starts, and pull the jars when the timer goes off. If pressure canning, you would wait 5 minutes (possibly more) after the timer goes off to pull out the jars. **If you're lucky enough to have a dishwasher, you can put the jars in there on sani-cycle and it will keep them hot as long as it's closed. Still, you'll have to be sure to get the canner simmering with enough water to cover the filled jars by 2 inches, and starting the heating while you're prepping food is good timing. With a dishwasher you won't have to deal with pouring hot water down the sink. That's how my mom always canned. I wish my husband would hitch up our dishwasher. Someday......See More- 9 years ago
- 9 years agolast modified: 9 years ago
- 9 years agolast modified: 9 years agoseagrass_gw Cape Cod thanked writersblock (9b/10a)
- 9 years ago
- 9 years agolast modified: 9 years agoseagrass_gw Cape Cod thanked writersblock (9b/10a)
- 9 years agolast modified: 9 years ago
- 9 years agolast modified: 9 years ago
- 9 years agolast modified: 9 years ago
 9 years ago
- 9 years ago
- 9 years ago
- 9 years agolast modified: 9 years ago
- 9 years agolast modified: 9 years ago
- 9 years agolast modified: 9 years ago




Related Stories
KITCHEN DESIGNVintage Furniture for Real Kitchen Appeal
Keep cookie cutter and clinical at bay in your kitchen with old-fashioned pieces that bring warmth and personality
Full Story
ENTERTAININGSimple Pleasures: The Reimagined Potluck
Party guests can bring more to the table than just the food. Enlisting help with setup, decorations and drinks spreads the work and the fun
Full Story
MOST POPULAR33 Magic Household Cleaning Tips
Houzzers from around the world share their tips for transforming housework into child’s play
Full Story
FEEL-GOOD HOME21 Ways to Waste Less at Home
Whether it's herbs rotting in the fridge or clothes that never get worn, most of us waste too much. Here are ways to make a change
Full Story
FEEL-GOOD HOMESimple Pleasures: 10 Ideas for a Buy-Less Month
Save money without feeling pinched by taking advantage of free resources and your own ingenuity
Full Story
KITCHEN DESIGN5 Home Cooks Share Their Favorite Family Recipes
Peek inside the kitchens of these Houzz users and learn how to cook their time-tested, passed-down dishes
Full Story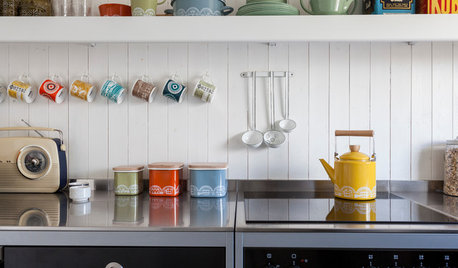
LIFEHow Do You Make Your Tea and Coffee in the Morning?
A morning cup is a must for many, and preparation comes in many guises. We look at coffee and tea habits across the Houzz community
Full Story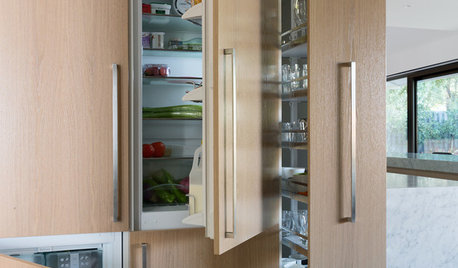
KITCHEN DESIGNHow to Waste Less Food
Here are 9 relatively painless ways to throw away less food and stretch your grocery dollars
Full Story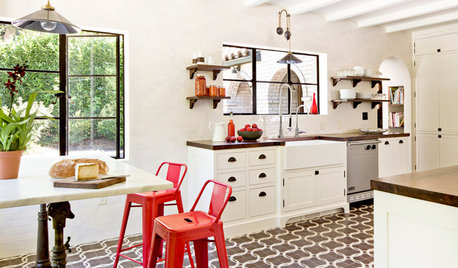
KITCHEN DESIGN16 Scrumptious Eat-In Kitchens and What They Want You to Serve
Whether apple-pie cheerful or champagne sophisticated, these eat-in kitchens offer ideas to salivate over
Full Story
FEEL-GOOD HOMESimple Pleasures: Make Do and Mend
Experience the satisfaction of fixing, repurposing and creating things yourself around the home
Full Story

plllog