


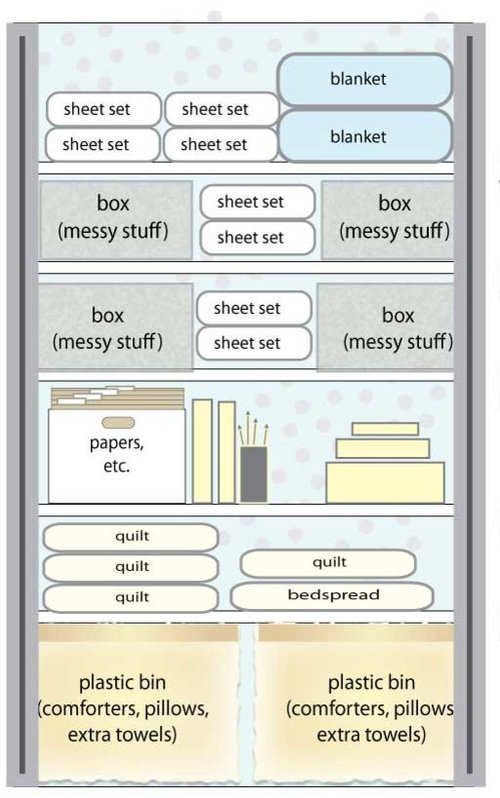
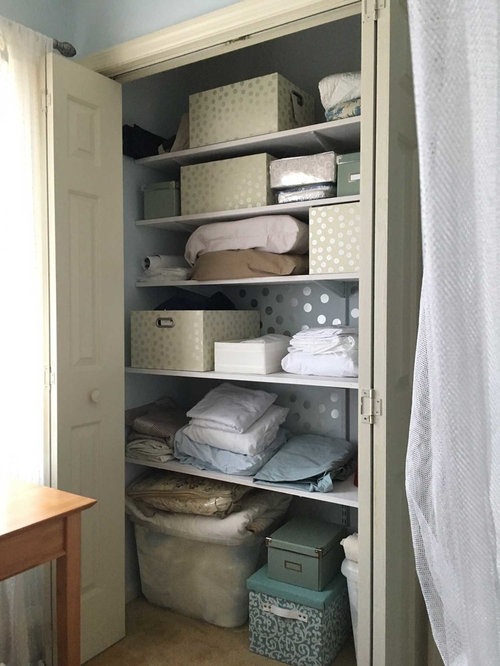
Clothes closet turned linen closet before and after
taddpeake
7 years ago

Featured Answer
Sort by:Oldest
Comments (12)
Related Discussions
what do you keep in your linen closet...& how do you organize it?
Comments (31)You could actually do a couple different things. You could have one rod and use hangers. You would have to fold them a bit to fit on the hanger and not drag on the floor, but that's usually how they come from the cleaners. For heavy cloths, use two hangers together for added strength. You could also hang multiple rods at slightly different heights and depths. If you have a walk in closet this works great, but will still work with a reach in. Hang the highest rod the farthest back, then one a bit lower and closer and even a third lower and closer than the second. Then you can hang the cloths right on the rod instead of on a hanger. I like the rod because of it's larger diameter it doesn't leave creases in the cloths. You can also overlap them on these rods. For optimum use of space, you'd need to use multiple rods and overlap. Is that totally confusing?!...See MorePlease show me your linen closet
Comments (33)Wow. Never expected this to be such a popular topic. After reading the Young House Love blog, I WAS motivated to do some reorganizing of my linen closet. I keep towels, bathroom cleaning supplies, a hamper, and cosmetics/health & beauty stuff in ours. Sheets are in another, smaller hall closet. First, I checked the expiration dates on cold medicines, etc., and found a lot of stuff expired. That was easy to pitch. THEN, I looked at old make up, etc. (Much harder to part with, even though I haven't used some of it in ages...) Also pitched half-used bottles of shampoo I tried but didn't like, etc. It felt VERY wasteful. I went to the Christmas Tree Shop and bought 8 square baskets - 2 of 4 different sizes. (They actually nested inside each other.) Nearly $80. (A-Hem? For a BATHROOM CLOSET? Hmmm.) Took them home and was thankful they didn't really work to hold the stuff the way I had hoped. Returned them. Since I used to be a Longaberger Basket consultant, I have an attic full of baskets. I decided that, in the meantime, I would just grab some of those baskets and use them to corral my cosmetics, etc. It works, but isn't as neat as I'd like. I also have two plastic 'drawers' that I use. One small one has 3 little drawers - I use it for eye makeup and lipsticks. The other is bigger (about 8x10x16 deep) that I have cold medicines and anything else I don't know where to put. I guess the mix of plastic and baskets, to me, make the whole effect a little sloppy. While at the Christmas Tree Shop, I noticed photo boxes for $1.99. They stack neatly on top of each other and have a little metal label spot on the side. I may go back for those. Would especially work for stuff like first aid items and other things not used daily. So...if I ever get the closet looking 'photo' ready, I'll post a picture... Parsuzi. PS I also was taught the 'right' way to fold fitted sheets so they fold flat, but mine never look that nice. I don't generally put them on a table to fold, though. That might be the key....See MoreUpdated Linen Closet pics
Comments (39)So pretty! I bet those lower drawers will be great... I'd rather have those than the full-height linen closet in my upstairs hall. A bit OT... but would you mine posting a picture with more of your railing? I have a couple railings that are looking dated to me (part of an early 90's build), or they're just not my style. I really like the simple, clean lines of yours and the color of the wood. Thanks!...See MoreMaster closet...before and after
Comments (20)I'd put the mirror on the wall to the right of the entry, near the laundry baskets. The stool can be by the hooks. If that was my closet, i'd have so much crap on those hooks, id have to move it to see myself in the mirror. On the wall to the right, you will never have obstruction for viewing because that space is designated for the drawers. A flat mirror there is perfect for that wall. Wonderful closet! :) ETA, I have that same laundry sorter. Got it from Costco some years ago. Love it. Its in my basement laundry area. DH uses it for his farm clothes....See More
taddpeake
7 years ago PRO
PROStohlman & Kilner Remodeling Contractors
7 years agotaddpeake thanked Stohlman & Kilner Remodeling Contractors PROtaddpeake thanked Fratantoni Luxury Estates Design/Build/Remodeling
taddpeake
5 years ago
Related Stories

CLOSETSBest Storage Secrets for Clothes
Closets and dressers don't need to be pricey. Here's how to fold, file and hang your way to beautifully stored clothes using what you have
Full Story
ORGANIZINGSmart Solutions for Clothes Closets
The Hardworking Home: Explore these ways to store your clothes, shoes and accessories to make the most of your space
Full Story
BEFORE AND AFTERSA Makeover Turns Wasted Space Into a Dream Master Bath
This master suite's layout was a head scratcher until an architect redid the plan with a bathtub, hallway and closet
Full Story
LIFETurn Off the Video Games and Turn On Your Kid's Creativity
Going nuts planning summer activities? Kids overdosing on screen time? It may be time to foster more self-directed play
Full Story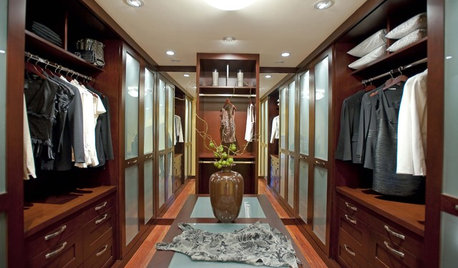
GREAT HOME PROJECTSTurn That Spare Room Into a Walk-in Closet
New project for a new year: Get the closet you’ve always wanted, starting with all the info here
Full Story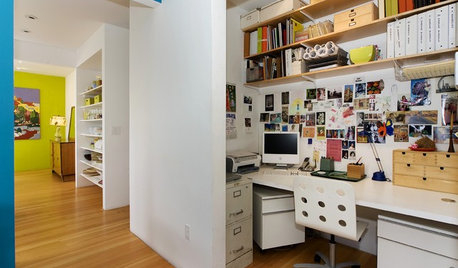
CLOSETSHow to Turn Your Closet Into an Office
15 tips and lots of inspiration for small (but mighty) home offices
Full Story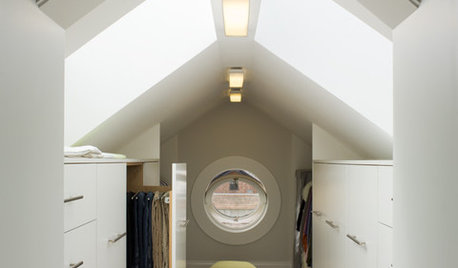
CLOSETS9 Tips to Turn an Attic Into a Boutique Closet
For everyday dressing luxury or off-season clothing storage, explore your attic's potential
Full Story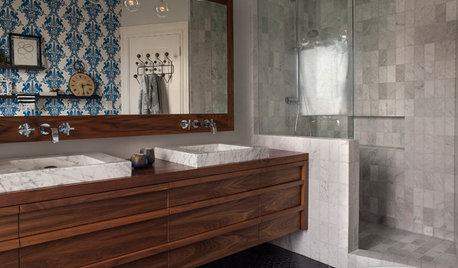
BEFORE AND AFTERSBefore and After: 19 Dramatic Bathroom Makeovers
See what's possible with these examples of bathroom remodels that wow
Full Story
TRADITIONAL HOMESBefore and After: Beauty and Functionality in an American Foursquare
Period-specific details and a modern layout mark the renovation of this turn-of-the-20th-century home near Boston
Full Story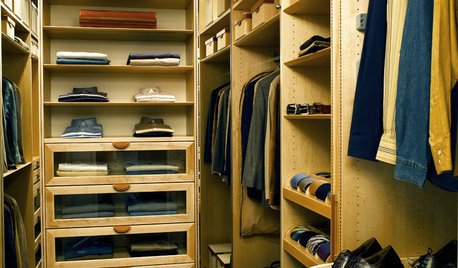
CLOSETSCloset Storage Solution: Fall Clothes In, Summer Clothes Out!
7 steps to packing away your seasonal clothes (and editing the rest)
Full Story


Jo N