


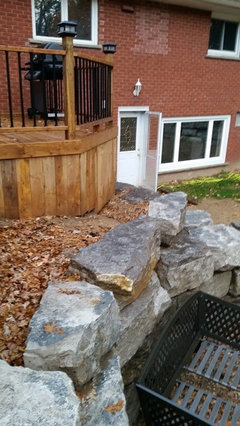
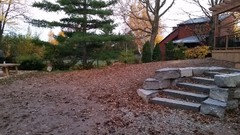
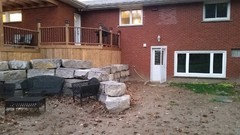
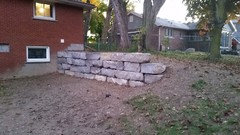
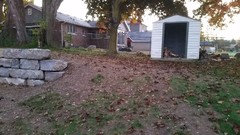
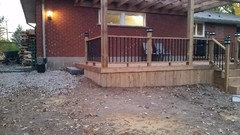
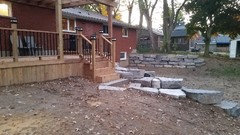
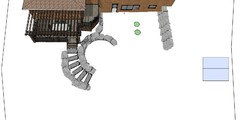
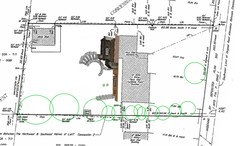
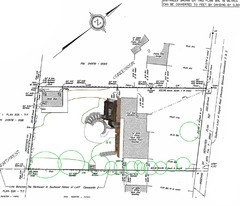
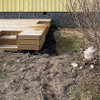
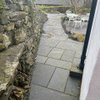
Deck/retaining wall garden
Craig
7 years ago


Featured Answer
Sort by:Oldest
Comments (30)
 PRO
PROYardvaark
7 years ago
Craig
7 years agolast modified: 7 years agoRelated Discussions
Retaining wall garden ideas?
Comments (2)It's a bit difficult to help you when we don't know your zone, your soil, and how much water you can supply. Can you give us a bit more information?...See MoreDeck and stone retaining wall garden help
Comments (1)Hello, you might want to post this in the Landscape Design forum, I'm sure you'll get great advice from professionals....See MoreRetaining wall vs deck
Comments (8)"...builder screwed up and didn't plan an appropriate exit..." Well I guess. Is the builder willing to rectify the situation? It looks to me that it may be possible to build a deck outside the back door which projects beyond the face of the house, with minimal steps and/or ramp in the direction of the left side of the photo, parallel to the face of the house. In other words, a deck projecting out beyond the house for whatever dimension you want with access/egress toward the left margin of the photo, where the grade appears highest. It appears that the ground slopes off so much to the right side of the house that it's impractical to build anything in that direction. What do you prefer to do?...See MoreHELP! struggling to pick decking and retaining wall!
Comments (2)Thank you for responding! I love the last pic! The gray stone on the hot tub and retaining walls looks really good with the brick! Then the decking being a similar tone keeps everything from clashing with the brick. Different textures without too many colors! Great inspiration! I will be taking this to the next design meeting. Thanks again!...See More- PRO
Yardvaark
7 years ago 
Kim in PL (SoCal zone 10/Sunset 24)
7 years agolast modified: 7 years ago
mad_gallica (z5 Eastern NY)
7 years agoCraig
7 years agoCraig
7 years agolast modified: 7 years ago- PRO
Yardvaark
7 years agolast modified: 7 years ago Craig
7 years agolast modified: 7 years ago- PRO
Yardvaark
7 years agolast modified: 7 years ago Craig
7 years ago- PRO
Yardvaark
7 years ago Craig
7 years agolast modified: 7 years ago- PRO
Yardvaark
7 years ago Craig
7 years ago- PRO
Yardvaark
7 years ago Craig
7 years ago- PRO
Yardvaark
7 years ago Craig
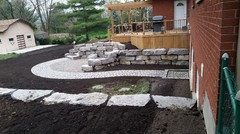
7 years agolast modified: 7 years agoCraig
7 years agolast modified: 7 years agoCraig
7 years ago
l pinkmountain
6 years agoCraig
6 years agolast modified: 6 years agol pinkmountain
6 years ago
emmarene9
6 years ago- PRO
Yardvaark
6 years ago Kim in PL (SoCal zone 10/Sunset 24)
6 years ago


Related Stories
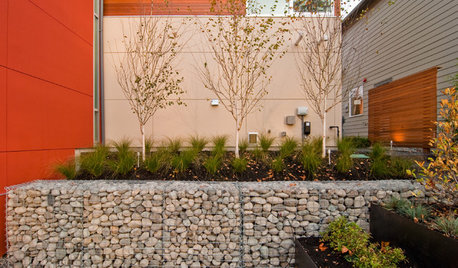
LANDSCAPE DESIGNGarden Walls: Gabion Evolves From Functional to Fabulous
The permeable rock-, concrete- or glass-filled steel cages are showing up as retaining walls, planters, benches and more
Full Story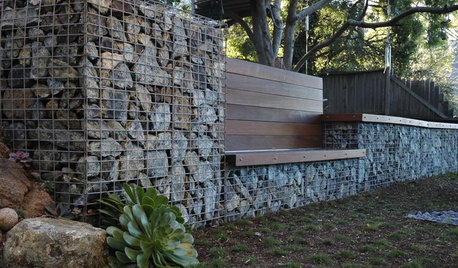
GARDENING AND LANDSCAPING7 Out-of-the-Box Retaining Wall Ideas
Go Beyond Railroad Ties With Stylish Rock, Metal, Blocks, and Poured Concrete
Full Story
LANDSCAPE DESIGNHow to Pick the Right Paving and Decking Material
Once you’ve got the walls or fences of your garden figured out, it’s time to consider the ground surface or floors
Full Story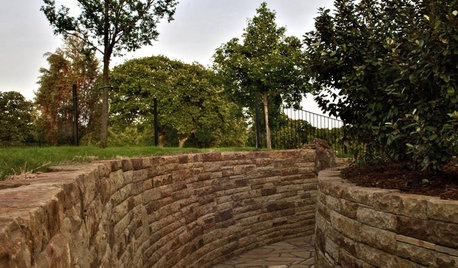
LANDSCAPE DESIGNPile On Style With a Dry-Laid Stone Retaining Wall
Durable, natural and practical, this landscape feature is an art form unto itself
Full Story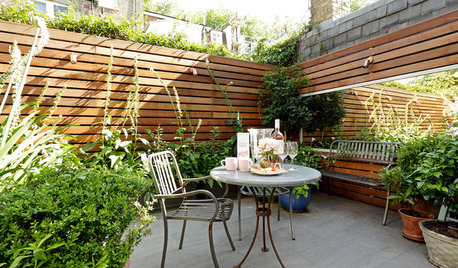
CONTAINER GARDENSPocket Gardens, Pint-Size Patios and Urban Backyards
A compact outdoor space can be a beautiful garden room with the right mix of plantings, furniture and creativity
Full Story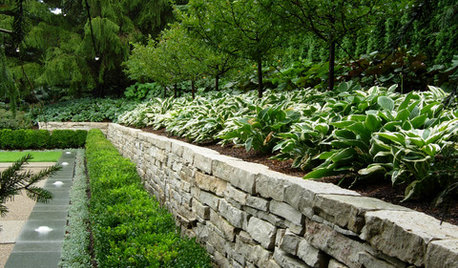
LANDSCAPE DESIGNGarden Walls: Dry-Stacked Stone Walls Keep Their Place in the Garden
See an ancient building technique that’s held stone walls together without mortar for centuries
Full Story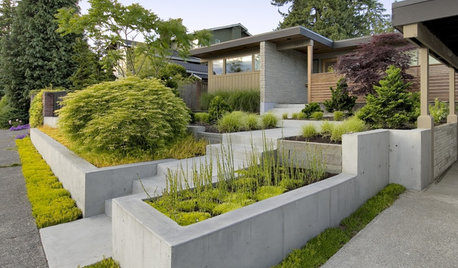
LANDSCAPE DESIGNGarden Walls: Pour On the Style With Concrete
There's no end to what you — make that your contractor — can create using this strong and low-maintenance material
Full Story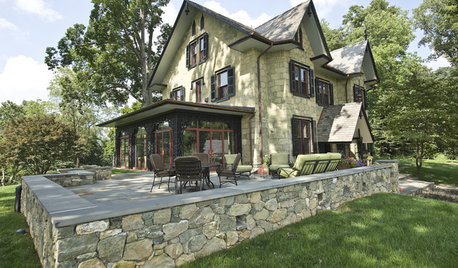
LANDSCAPE DESIGNGarden Walls: Mortared Stone Adds Structure, Style and Permanence
Learn the pros and cons of using wet-laid stone walls in your landscape
Full Story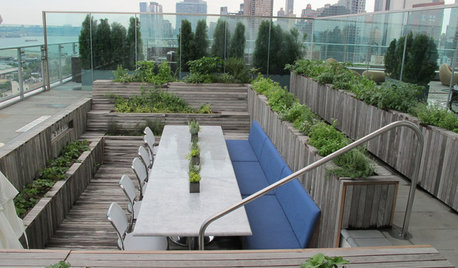
EDIBLE GARDENSLessons From an Edible Garden on a City Roof
Reincarnation of New York City rooftop pool proves edible landscaping is possible just about anywhere
Full Story
SHOP HOUZZShop Houzz: Decorate Your Outdoor Walls
Planters, fountains, trellises and decor for your garden or deck walls
Full Story0


CraigOriginal Author