

How much of a DIYer are you?
9 years ago
Featured Answer
Sort by:Oldest
Comments (39)
- 9 years ago
Related Discussions
Watering Cottage Gardens - Do You, How Do You, How Much
Comments (29)Right now, I need a sump pump...and I live on a hill. More rain in the forecast, too. The weather pattern has changed here - normally an El Nino year means severe drought in Oklahoma. Not this season anyway. With our normally semi-dry to dry summers, I use the garden hose to water EVERY day in most areas and every other day in other areas that prefer dryer conditions. We have our own well, so I can also use the sprinkler without ill affects on my plants. It is just like rain water. The birds, butterflies, bees and amphibians love it too. When I hand water, the birds follow me from tree to tree, so I spray up into the trees and they chirp and sing for me. The occasional tortoise will come out of hiding for a long, cool drink, too. I set the mister on the tropicals and water-loving ferns etc. to keep them happy. This takes all day. I use soaker hoses under my veggies when it is very hot and very dry to prevent scorching and so the water will get down deep where the nutrients are and encourage deep roots. For under my Phlox and roses, &etc., I screw on a fan sprayer and let it run slowly, gently and deeply under them to prevent leaf-scorch, and do this as often as needed. I even water in the winter if it is a dry winter. Soil heave (freeze, thaw, freeze, thaw) is terrible here in Okie, and in dry winters this will kill plants and even small trees and shrubs. And of course, potted plants need a drink just about every day in the summer. That is how I have to do it here to keep mine alive year round. ~Annie...See MoreHow do you determine "how much" you can build?
Comments (21)"How did you determine how much you can afford to build / how much you need / etc.? We started with discussions on desired lifestyle and goals for house. What activities did we need to plan for? What sort of space would they need, and could it be shared? You need to have these discussions before you start drawing up floor plans. Many of the construction details and materials are driven by the desire to use minimal energy for heating and cooling, to have low ongoing maintenance, and to minimize water usage. Did you say, "We can build this many square feet", or "We can spend this much money"? We have an upper limit, based on wanting to fund the building out of the sale of the current house ... square feet is determined by life style. And we're not into McMansions, we're into efficiency. One goal is to get it into as small a footprint as possible. Did this change much as you built and your budget dwindled? We've identified places where costs can be cut, and what can't be cut. We could do some DIY, and leave some things unfinished, use less expensive finish materials. Did you start with your wants and downgrade as necessary, or did you start with the budget and determine what you could have for that money? After the "how do we want to live in a house" discussions, we started with the dimensions of and the desired view from a California king bed ... seriously that was what has driven about half of the floor plan. The plan was radically revised a couple of times as the possible lot to build on changed ... you HAVE TO take the site into consideration. To get the view, the bed has to be placed against an inner wall on the second floor, facing a large, low window or a door, aimed in a certain direction. To the bed's dimensions we added clearance for access (in a walker or wheelchair - we're geezers) and the desired bookshelves and small wardrobe. Bed placement determines door placement ... which controlled bathroom placement, which controlled ... you see where this goes. To get to the second floor bedroom, we needed stairs ... and the SO's size 14 shoes controlled the tread depth, and the building codes controlled the riser height. That in turn controlled the height of the main entry. Kitchen size was determined by appliance sizes, workspaces, need for certain size walkway, etc. We will have a large pantry because it's a small town. Need to buy in bulk and have a place to store it. It's mostly been lifestyle, activity and traffic pattern driven after that. The need to "age in place" meant that one bedroom and full accessible bath had to be downstairs. ============ Some of the things we are doing to keep cost down: * Square floor plan with almost no hallways (American Four Square influenced) * Kitchen designed to use "standard" appliances - niche for frig instead of counter-depth, etc. * Straight run counters (galley kitchen) and simple layout, simple cabinet design, probably local cabinetmaker. * Standardizing bath fixtures and finishes (you get a better deal on the tile, and the contractor doesn't go nuts remembering what goes where) ============= I could easily increase the cost of the house by 50% by using the fancy stuff: designer tiles, "pro" appliances, ornate trim, and expensive lighting fixtures. I'd rather spend the money on books, art, and travel. =========== What about resale value? Screw resale value. That's the heirs' problem :)...See MoreDIY'ers - Do you own a miter saw?
Comments (15)A regular miter saw only moves up and down at a 90 degree angle to your wood. You can pivot the blade left to right (allowing yourself to make cuts that are across the wood at any angle -- so the ends of your wood piece can be triangle shaped, not just square across) but you can't tilt the blade side to side -- your cuts are always straight down through the wood. A compound miter saw lets you tilt the blade itself so that instead of cutting at a 90 degree angle through the wood, you can cut any angle. This lets you make, for example, 45 degree bevel cuts through the short side of the wood. It also lets you make the complex angled cuts you need to do crown molding. A sliding compound miter saw does everything a regular compound miter saw does, but also the blade can slide back and forth, which lets you cut larger pieces of wood. We just upgraded from our 10" compound miter saw (purchased at Lowes on black friday for $99 about 10 years ago) to a 12" sliding compound miter saw that can cut up to 16" wide pieces of wood. We did this mainly because I wanted to make a shelf that was 13-14" deep and I didn't want to have to deal with the table saw to make the cuts (plus we got a great open box deal on the demo model at Costco!) If you are just making picture frames and regular board and batten type molding cuts, a regular miter saw will do you just fine. To do crown molding or cuts that are angled throught the depth of the wood, you will need a compound miter saw. And to do any piece of wood wider than 8-10", you will need a sliding compound miter saw. HTH! Oh, and I will say that we are tricked out for power tools thanks to parents who buy my dh a new toold for every holiday. And the one we use the most, by far, is the miter saw (well, excluding the drill, which I don't really count as a "power tool)....See Moreok all you DIYers! guestion on floor patching/leveling
Comments (24)Girl I have several places to fix. Here is where the sink base was. If the new cabinets were the same depth there would be no problem but they aren't so there will be a strip about 2-3" where there is no flooring built up. But I did say I was going to put some lauan on it and I got some self leveling compound to fill in right? In this photo don't even ask why I left that little hole in the drywall. It seemed silly to cut this small a piece and the piece above it was a patch. Its going behind the cabinets but before I put them in but I will fix it. I might not mud it, sand it and paint it though.... This photo shows where I took all the framing off a doorway never to be replaced and the black is the asbestos tile on top of the pine floors, then on top of that is some lauan thae last owner put down, then a layer of sheet vinyl she put down and as you see I ripped off and then the top layer that I put down and getting ready to cover. LOL This photo is where I told you light from the basement could be seen so I filled the hole up with expanding foam. That was when I found the snakeskin in the wall and I was afraid of a critter getting in the house. I plan to cut the foam down and sand it even with the floor. I don't see any reason why this won't work... This photo shows another doorway where the framing was removed. It needs to be corrected as well. It also appears I have to remove the door sills/jambs or whatever they are called and install new ones because the ones there now are too short. :-( I just noticed that super long rusty nail in the photo. So glad I had my tetnus shot before I got all involved in tearing this kitchen apart. ewwwl so dangerous I got construction dust everywhere and I know it looks terrible. It feels worse than it loooks. NEVER AGAIN WILL I GET MYSELF IN THIS PREDICAMENT. I said it before but I mean it this time!! Here is a link that might be useful: here is the progress of my project...I changed my blog address...See More- 9 years ago
 9 years agolast modified: 9 years ago
 9 years ago
- 9 years agolast modified: 9 years ago
 9 years ago
 9 years ago
- 9 years ago
- 9 years ago
- 9 years agolast modified: 9 years ago
- 9 years ago
- 9 years ago
- 9 years ago




Related Stories
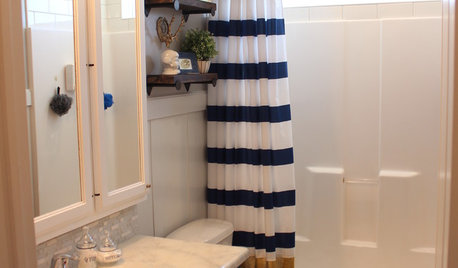
MOST POPULARShe’s Baaack! See a Savvy DIYer’s Dramatic $400 Bathroom Makeover
You’ve already seen her dramatic laundry room makeover. Now check out super budget remodeler Ronda Batchelor’s stunning bathroom update
Full Story
PRODUCT PICKSGuest Picks: Indispensable Tools for DIYers
Build your tool arsenal with these, and you’ll have the right equipment for any home project you take on
Full Story
LIFEReluctant DIYer’s Diary of a Dresser Makeover
Weekend project: Glossy new black-and-white dresser, hold the sandpaper
Full Story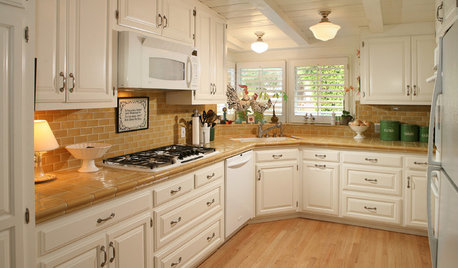
KITCHEN COUNTERTOPSKitchen Counters: Tile, the Choice for Affordable Durability
DIYers and budget-minded remodelers often look to this countertop material, which can last for decades with the right maintenance
Full Story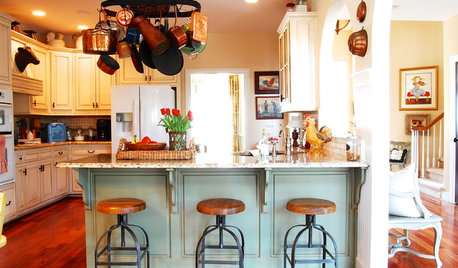
HOUZZ TOURSMy Houzz: French Country Meets Southern Farmhouse Style in Georgia
Industrious DIYers use antique furniture, collections and warm colors to cozy up their traditional home
Full Story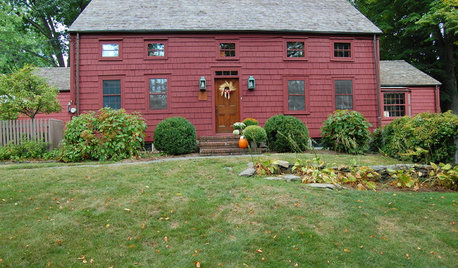
ECLECTIC HOMESMy Houzz: A Pre-Revolutionary Home for a Modern Family
A dedicated DIYer mixes colonial style with today's comforts to create a meaningful home for 5
Full Story
DECORATING GUIDES9 Tips for Managing Your Own Decorating Project
Keep shopping and decorating on track with this wisdom tailor made for DIYers
Full Story
MOTHER’S DAYDesign Pros Draw Inspiration From Mom
Architects, interior designers and a DIYer share design tips from Mom, covering art display, universal design and everything in between
Full Story
WOODWORKING7 Must-Have Measuring Tools for Woodworking
Whether you're a newbie DIYer or building cabinets from scratch, using the right woodshop tools makes all the difference
Full Story
HOUZZ TOURSMy Houzz: Feminine Chic Charms in a Chicago Rental
Rosy hues, lively patterns and an ever-expanding art collection bring approachable sophistication to a DIYer's light-filled home
Full Story
caflowerluver