


Tiny Kitchen update
divamum
16 years ago

Sort by:Oldest
Comments (61)
Related Stories
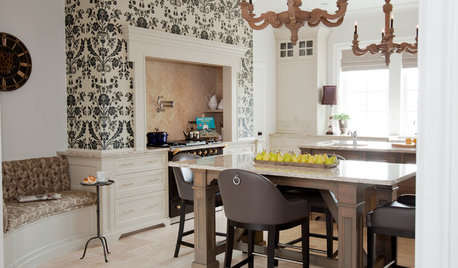
KITCHEN DESIGNKitchen of the Week: Updated French Country Style Centered on a Stove
What to do when you've got a beautiful Lacanche range? Make it the star of your kitchen renovation, for starters
Full Story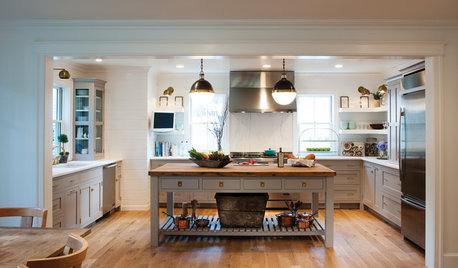
FARMHOUSESKitchen of the Week: Modern Update for a Historic Farmhouse Kitchen
A renovation honors a 19th-century home’s history while giving farmhouse style a fresh twist
Full Story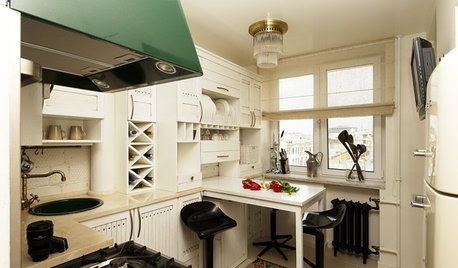
KITCHEN DESIGNKitchen of the Week: Preserving Traditional Flavor in Moscow
A tiny Russian kitchen gets an era-appropriate update that's sensitive to its history but makes better use of the space
Full Story
KITCHEN DESIGN3 Dark Kitchens, 6 Affordable Updates
Color advice: Three Houzzers get budget-friendly ideas to spruce up their kitchens with new paint, backsplashes and countertops
Full Story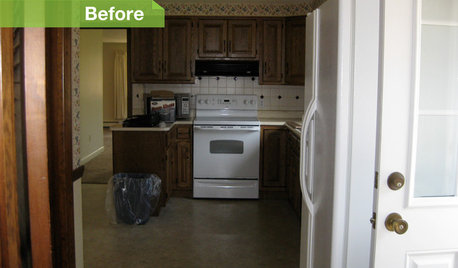
KITCHEN DESIGN6 Kitchens, 6 DIY Updates
Get inspired to give your own kitchen a fresh look with ideas from these affordable, do-it-yourself fixes
Full Story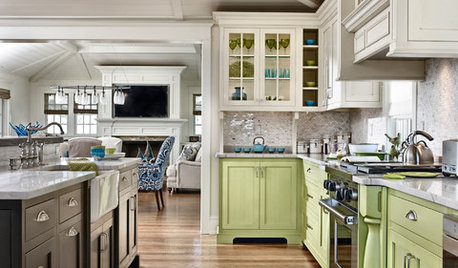
KITCHEN DESIGN11 Ways to Update Your Kitchen Without a Sledgehammer
Give your kitchen a new look by making small improvements that have big impact
Full Story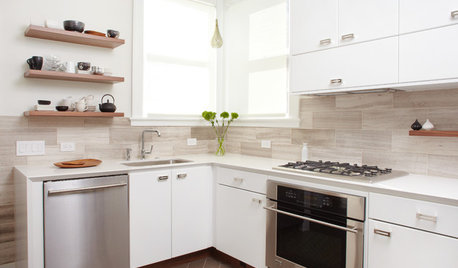
HOUZZ TOURSHouzz Tour: Cool, Calm Edwardian Gets Another Update
See the second stage of an evolving home in San Francisco
Full Story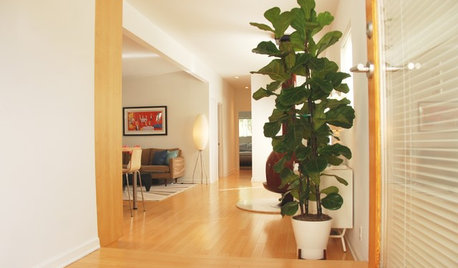
MY HOUZZMy Houzz: Airy Update With Midcentury Appeal for a California Home
See how this graphic design couple added indoor-outdoor flow to their 950-square-foot artist loft-inspired home
Full Story
HOUZZ TOURSMy Houzz: Elegant Updates for a Traditional Dallas House
First-time homeowners give their 1939 house a modern refresher that still honors its original style
Full Story
HOUZZ TOURSHouzz Tour: A 1905 Cottage Gets a Major Family Update
Historic Boston meets outdoors Oregon in this expanded California home
Full Story


pickles_ca
cat_mom
Related Discussions
Tiny Tiny black beetles in the kitchen HELP
Q
Update: Tiny 1906 Bungalow kitchen remodel
Q
Help design a teeny tiny kitchen in a teeny tiny vacation rental
Q
How to update this tiny kitchen on tiny budget
Q
sjerin
Fori
divamumOriginal Author
plllog
saskatchewan_girl
creekylis
divamumOriginal Author
plllog
divamumOriginal Author
plllog
Fori
kren_pa
jb1176
dixie615
dianalo
pcjs
divamumOriginal Author
fnzzy
sholt576
divamumOriginal Author
divamumOriginal Author
pcjs
plllog
divamumOriginal Author
divamumOriginal Author
pcjs
rmkitchen
kitchenkelly
divamumOriginal Author
sjerin
plllog
fnzzy
divamumOriginal Author
divamumOriginal Author
plllog
pcjs
divamumOriginal Author
divamumOriginal Author
claybabe
divamumOriginal Author
divamumOriginal Author
plllog
malhgold
cburch
emilynewhome
auchmedden
divamumOriginal Author
rmkitchen