


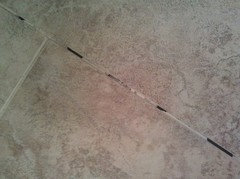
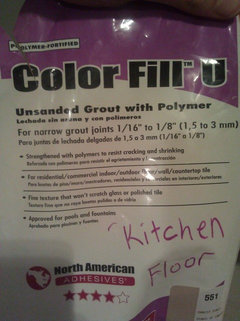
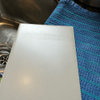
Touch-up unsanded grout shrinkage cracks with sanded grout?
samk1017
10 years ago
Featured Answer
Sort by:Oldest
Comments (29)

dan1888
10 years agoRelated Discussions
Shower wall grout cracking, normal with house settling?
Comments (20)"One shower wall is an exterior wall, another has no cabinetry on the other side, and another has very minimal cabinetry." Well then, there you go. It's not due to work that was done on the other side of the wall. ie, no one tiled a wall then had other workers beat the heck out of the other side of the wall, causing the tile to crack. Could it be settling? Sure, But if it is, it's unusual. When a house settles, cracking usually first occurs in the changes of plane (corners) because those are the weakest points in a structure. If the grout between the field tiles within a wall is cracking due to the house settling, that's significant in terms of it being a significant structural issue. Also, you have marble tiles which are not very strong. If you had significant structural issues, your tiles could crack too. But again, looking at the grout itself: pinholes in the grout, raked out grout lines, inconsistent surface texture of the grout within the grout lines. And the cracks that look more like shrinkage cracks instead of structural cracks? Those are all signs of a poor installation by the person that installed the grout. "How can you tell the grout wasn't mixed well? " Because everything you described, and everything I see in the photo, is a symptom of that. I'm not saying I'm right. I'm telling you that's my opinion based upon the evidence you have provided. And that's assuming (rut row) that he properly installed and prepared the tile backer board. If he didn't properly detail the backer board then the seams in the backer board could telegraph through as cracks in the grout. But you provide no information on that. Just the photo. But based upon the information you have provided, in my opinion it's simply a grout installation issue, and it's the fault of the installer. But again, that's simply my opinion. Good luck with your remediation....See MoreGrout - sanded or unsanded and colour
Comments (1)In general, sanded vs unsanded is predicated by the width of the grout joint. Less than 1/8" use unsanded, 1/8" or wider, use sanded. If you use sanded in a narrow joint it might be hard to get the grout into the joint. If you use unsanded in a wide joint, you might get shrinkage cracks....See MoreWe used unsanded grout for 2 in marble hex--was this a mistake?
Comments (3)Sanded versus unsanded is based on the width of the grout line: 1/8" or greater, use sanded. Sanded has...ta da...sand as a bulk filler to minimize shrinkage cracks in wider joints. If unsanded was used in a wider-than-recommended grout line, it's not a guaranteed recipe for disaster. If the grout does shrink and crack, it'll usually flake out of the joints as well. Some have simply regrouted over the cracks to fill them in. It's a band-aid approach. It can work. Or it may not work. The better bet is to remove the grout. I've only had to do it once. I used a diamond bit in a dremel-type of tool. Dusty, dirt....See MoreGrout - sanded vs unsanded - varying joint size
Comments (8)When we mixed the grout (unsanded)for our backsplash, it was very stiff, making it a pain (more work) to press into the 1/16" joints with the float. We really had to work to get it applied. I don't know if it's possible, but maybe they mixed in a little more water to make it easier to apply on the sample boards. When we made our sample boards, we mixed up small amounts of the grout by hand to use, as we were just wanted to check the color. We mixed the grout used on the actual installation with the drill and an attachment for mixing concrete type materials. You might show them the sample boards and ask why it's crumbly....See Moresamk1017
10 years agosamk1017
10 years agosamk1017
10 years agoherbflavor
10 years agodan1888
10 years agoUser
10 years agoangie_diy
10 years agoVertise
10 years ago
Circus Peanut
10 years ago
eam44
10 years agosamk1017
10 years agodan1888
10 years ago
annac54
10 years agoVertise
10 years agochinchette
10 years ago
blubird
10 years agochinchette
10 years agoangie_diy
10 years agoblubird
10 years agochinchette
10 years agoblubird
10 years agosamk1017
10 years agoVertise
10 years ago
Molly Phillips
10 years agosamk1017
10 years agoVertise
10 years ago
Bunny
10 years ago

Related Stories
TILEEpoxy vs. Cement Grout — What's the Difference?
Grout is grout, right? Nope. Cement and epoxy versions have different appearances, durability and rules of installation
Full Story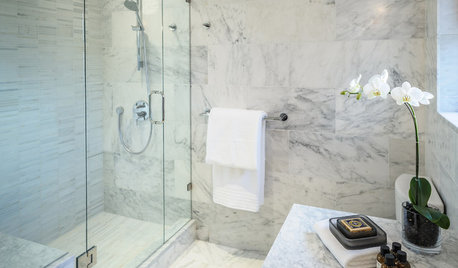
BATHROOM DESIGNConvert Your Tub Space Into a Shower — the Tiling and Grouting Phase
Step 3 in swapping your tub for a sleek new shower: Pick the right tile and test it out, then choose your grout color and type
Full Story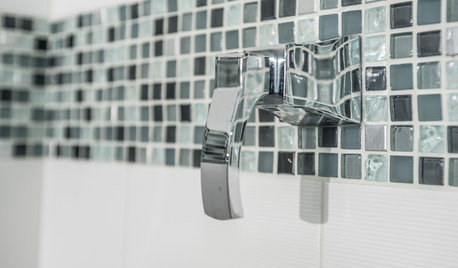
TILE3 Key Steps for Grouting That Looks Its Best
Get your grout right to keep your tile beautiful and for an installation that will last
Full Story
HOUSEKEEPINGHow to Clean Grout — Stains and All
If your grout is grossing you out, this deep-cleaning method will help it look new again
Full Story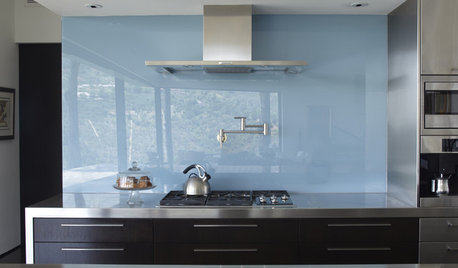
KITCHEN DESIGNThe Future of Backsplashes
Grout is out. Continuous sheets of glass, stone, metal and porcelain are saving cleaning time and offering more looks than ever
Full Story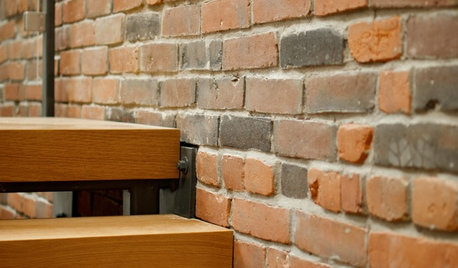
BRICKGreat Materials: Common Brick Stacks Up Style
So basic and yet so incredibly versatile, bricks can dress home exteriors, walls, roofs and more. Here's how to bring out their best
Full Story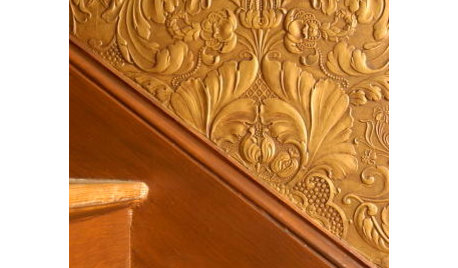
DECORATING GUIDESBrush Up on Paintable Wallpaper for a Posh Look
Customize your wall treatments the affordable way, with richly textured wallpaper painted any color you like
Full Story
BATHROOM DESIGN21 Dream Showers Let You Soap Up in Style
These sensational showers have it all: spectacular design, luxurious materials and sleek high-tech features
Full Story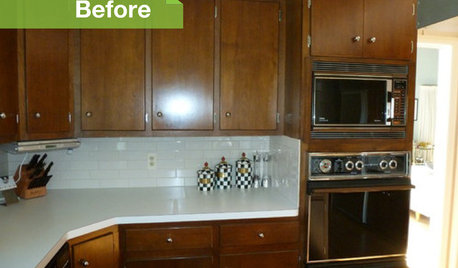
KITCHEN DESIGN3 Dark Kitchens, 6 Affordable Updates
Color advice: Three Houzzers get budget-friendly ideas to spruce up their kitchens with new paint, backsplashes and countertops
Full Story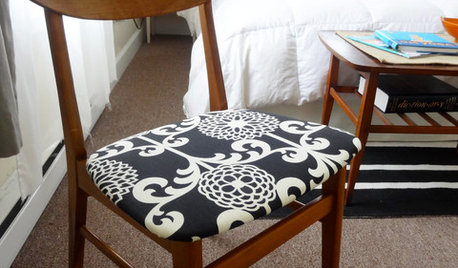
DIY PROJECTS29 Home Projects to Make You a DIY Superstar
Patch up holes, turn trash to treasure, erase stains ... these doable DIY projects will better your home and boost your ego
Full Story
samk1017Original Author