


HELP! I'm freakin' out here......
zone_envy
16 years ago
Sort by:Oldest
Comments (40)
Related Stories
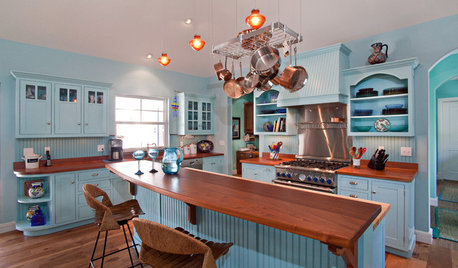
KITCHEN DESIGNHere's Help for Your Next Appliance Shopping Trip
It may be time to think about your appliances in a new way. These guides can help you set up your kitchen for how you like to cook
Full Story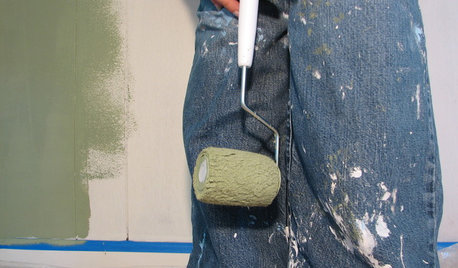
PAINTINGHelp! I Spilled Paint on My Clothes — Now What?
If you’ve spattered paint on your favorite jeans, here’s what to do next
Full Story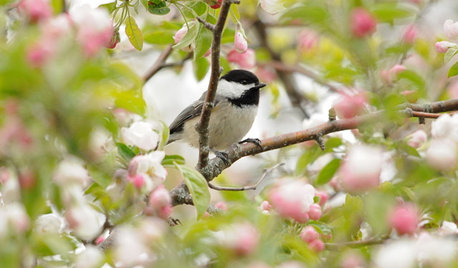
SPRING GARDENINGSpring Gardens Are Waking — Here’s What to Do in March
Excitement fills the air when gardens come back to life. These guides will help you make the most of yours
Full Story
ANTIQUESInherited an Antique? Here’s How to Work It Into Your Home
Find out how to make that beloved vintage piece fit in with your decor
Full Story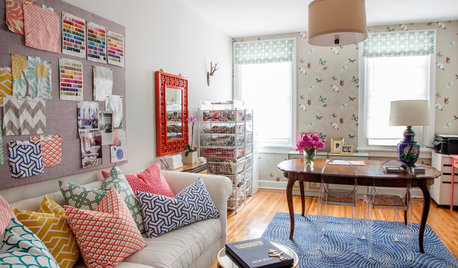
STUDIOS AND WORKSHOPSYour Space Can Help You Get Down to Work. Here's How
Feed your creativity and reduce distractions with the right work surfaces, the right chair, and a good balance of sights and sounds
Full Story
COLORWant More Color in Your Home? Here’s How to Get Started
Lose your fear of dabbling in new hues with these expert words of advice
Full Story
MOVINGRelocating? Here’s How to Make the Big Move Better
Moving guide, Part 1: How to organize your stuff and your life for an easier household move
Full Story
KITCHEN CABINETSChoosing New Cabinets? Here’s What to Know Before You Shop
Get the scoop on kitchen and bathroom cabinet materials and construction methods to understand your options
Full StorySponsored
Industry Leading Interior Designers & Decorators in Franklin County
bamasusanna
zone_envyOriginal Author
Related Discussions
help me figure out what I'm missing here
Q
In need of some help please I'm out of ideas.
Q
Oiling the Damn Freakin Ants Out
Q
LR help...I'm afraid to ask opinion but here goes!
Q
bamasusanna
texaswild
sunshine_funshine
tasymo
silvamae
silvamae
shrty411
crackpotannie
zone_envyOriginal Author
zone_envyOriginal Author
d3bbi
texaswild
barbfrizzell1955
kelly6780
chickeemama
curbdiver1954
LinLee
d3bbi
nanatricia
bamasusanna
shrty411
texaswild
curbdiver1954
barbfrizzell1955
shellybelly26
texaswild
LinLee
sunshine_funshine
kelly6780
ladyronnie
zone_envyOriginal Author
nicethyme
shrty411
squirrellycanadian
silvamae
shellybelly26
chickiebabeblue
texaswild