


Cleo - Bench/Planter
13 years ago
Sort by:Oldest
Comments (34)
Related Stories

SHOP HOUZZShop Houzz: Up to 70% Off Fresh Picks for the Garden
Wake up your garden for spring with planters, benches, birdbaths and decor
Full Story0
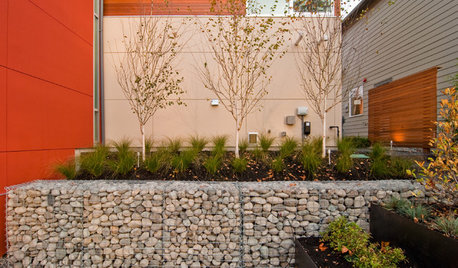
LANDSCAPE DESIGNGarden Walls: Gabion Evolves From Functional to Fabulous
The permeable rock-, concrete- or glass-filled steel cages are showing up as retaining walls, planters, benches and more
Full Story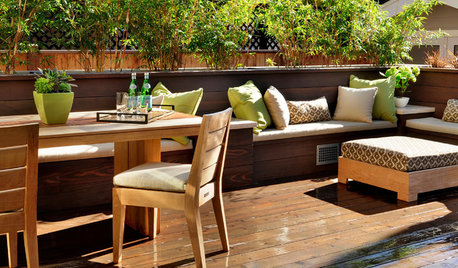
GARDENING AND LANDSCAPINGSpring Patio Fix-Ups: 9 Wonderful Ways With Built-in Benches
Maximize space and increase the welcome with a built-in bench that suits your patio or deck just right
Full Story
FURNITURE9 Ways a Bench Can Raise Your Decorating Game
Use this versatile piece anywhere in your home for instant decorating gratification
Full Story
Bring a Little of Your Garden Inside for Fall
Hold onto some of summer's joys with branches, pots, benches and more
Full Story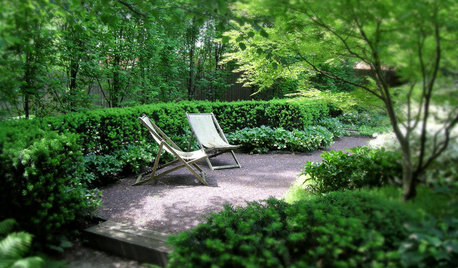
LANDSCAPE DESIGNDream Spaces: 10 Secluded Garden Nooks
Sometimes dreaminess is a single bench or a romantic table for 2 tucked amid greenery. See for yourself
Full Story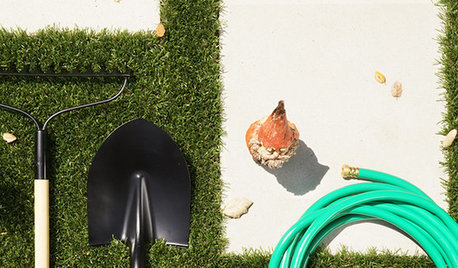
SHOP HOUZZHouzz Products: Spring in the Garden
Have even more fun in the garden this spring with handy potting benches, outdoor accessories and tools from the Houzz Products section
Full Story
GARDENING AND LANDSCAPINGSmall Garden Strategy: Built-In Seating
Building a bench or other seating into your landscape can help give a small space a cozy advantage
Full Story
GARDENING AND LANDSCAPING10 Outdoor Banquettes Create Fresh-Air Seating With Style
The popular built-in bench offers as much utility and comfort on backyard patios as it does indoors
Full Story
PRODUCT PICKSGuest Picks: 21 Seats That Work as Extras
Pull up one of these stylish chairs, stools or benches for added seating when guests come calling
Full StorySponsored
Leading Interior Designers in Columbus, Ohio & Ponte Vedra, Florida
loribee2
concretenprimroses
Related Discussions
Ideas for planters
Q
Looking for cleo_2007? pics of finished kitchen and details?
Q
Cleo Bench/Planter in Place
Q
Making special grout
Q
texaswildOriginal Author
loribee2
Calamity_J
texaswildOriginal Author
texaswildOriginal Author
loribee2
Calamity_J
texaswildOriginal Author
texaswildOriginal Author
Calamity_J
nanatricia
texaswildOriginal Author
loribee2
texaswildOriginal Author
concretenprimroses
texaswildOriginal Author
texaswildOriginal Author
loribee2
Calamity_J
texaswildOriginal Author
lizzardly
texaswildOriginal Author
lizzardly
texaswildOriginal Author
lizzardly
texaswildOriginal Author
Calamity_J
lizzardly
Calamity_J
texaswildOriginal Author
lizzardly
texaswildOriginal Author