


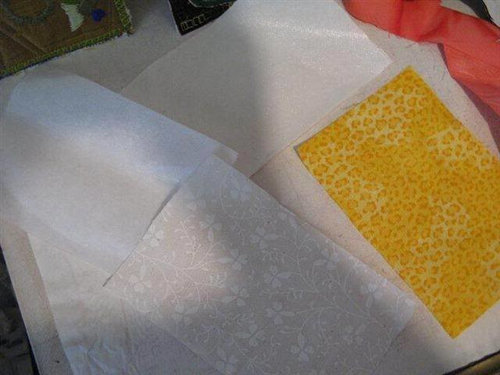
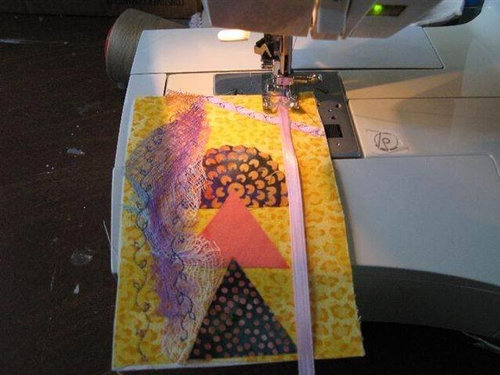
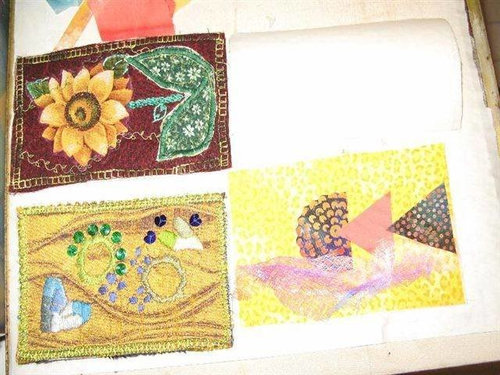
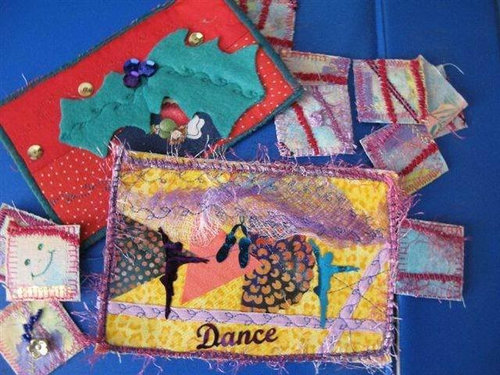
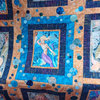
Rene's Postcard Tutorial
toolgranny
16 years ago
Sort by:Oldest
Comments (3)
Related Stories
FUN HOUZZHouzz Call: What’s on Your Refrigerator?
Magnets, menus, children’s art, coupons, perfect-attendance certificates, song lyrics — what is fridge-worthy in your house?
Full Story
DECORATING GUIDES11 Area Rug Rules and How to Break Them
How big should an area rug be? These guidelines will help you find the right size and placement
Full Story
FEEL-GOOD HOMESimple Pleasures: Make Do and Mend
Experience the satisfaction of fixing, repurposing and creating things yourself around the home
Full Story
CRAFTSSmall-Business Savvy: Personalize Your Packaging
Leave boring boxes to the big stores. Creative, personalized packaging sends a message to customers that you care
Full Story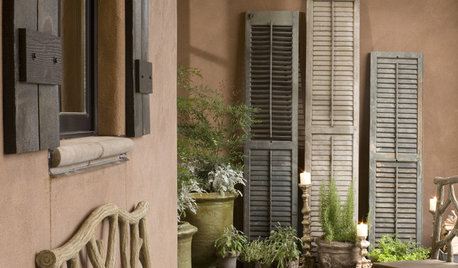
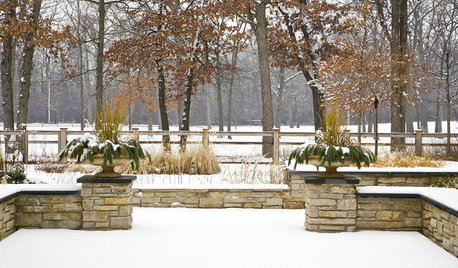
WINTER GARDENING10 Ingredients of a Beautiful Winter Garden
Winter gardens have a beauty all their own. Enjoy its bare branches, sculptural evergreens, and more
Full Story
DECORATING GUIDESCreate a Chic First Apartment on a Dorm Room Budget
Show your first solo place off with pride by incorporating these tips for budget-friendly artwork, furniture and accessories
Full Story
HOUZZ TOURSHouzz Tour: Designs for Every Space From Atypical Type A
Get Ideas for Fun DIY Style From a Graphic Designer's Creative Home
Full Story
annief
agnesd
Related Discussions
NEW: Seeds-n-Stitches Mug Rug (May Swap)
Q
Lots of Valentine printable links
Q
Gifts Tutorials Site
Q
Postcard freebies
Q
laurainsdca