


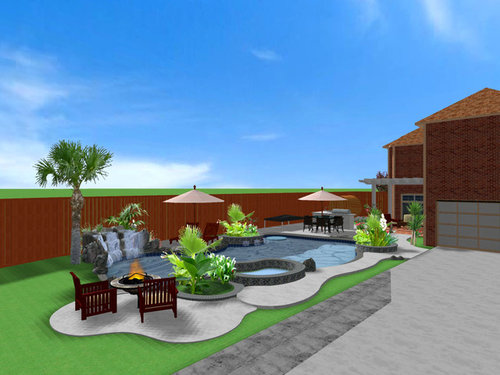
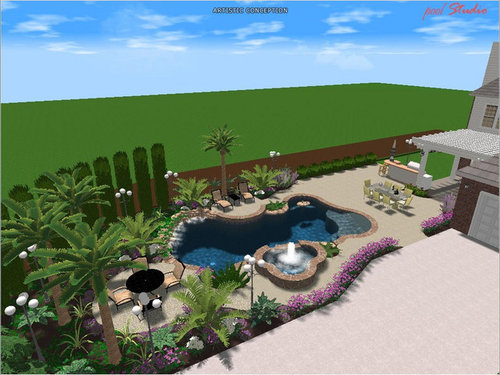
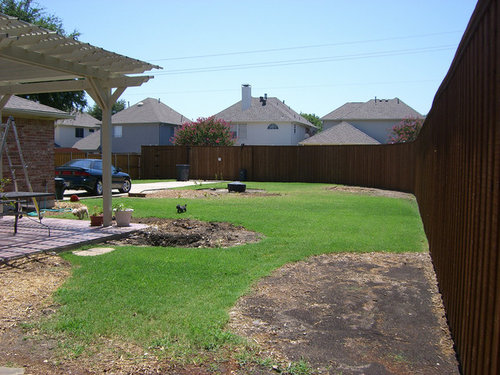
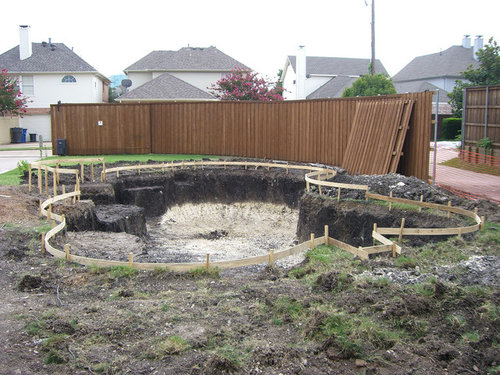
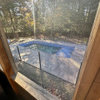
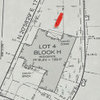
Yet another pool build - DFW area
smokeyboy2000
14 years ago


Sort by:Oldest
Comments (24)
Related Stories
FUN HOUZZ9 Places for the TV We Haven't Seen — Yet
Tube watching ventures into uncharted territory. How far would you go in your own home?
Full Story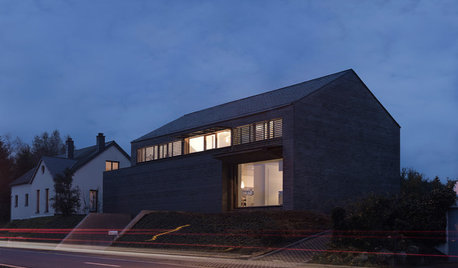
ARCHITECTURE3 Modern Homes That Are Rooted Yet Soar
These heavyweight houses show that solid looks can be deceiving, as they inspire a sense of wide-open wonder
Full Story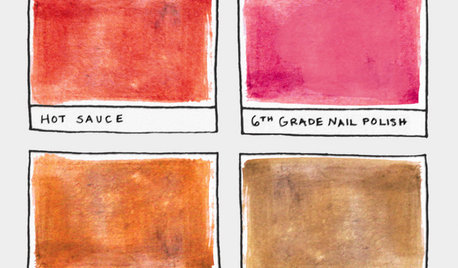
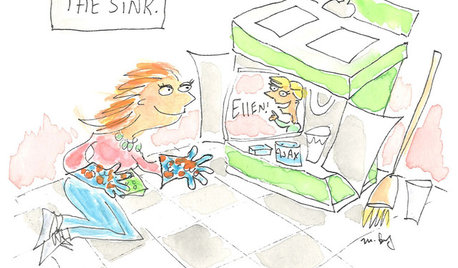
FUN HOUZZ16 Creative Paint Color Names We Haven't Seen — Yet
Someday, the namers of new paint colors will finally run out of ideas. We're here to help
Full Story
MOVINGSaying Goodbye to One Home and Hello to Another
Honor your past and embrace your future with these ideas for easing the transition during a move
Full Story
EVENTSDon't Throw Away Another Household Item Before Reading This
Repair Cafe events around the world enlist savvy volunteers to fix broken lamps, bicycles, electronics, small appliances, clothing and more
Full Story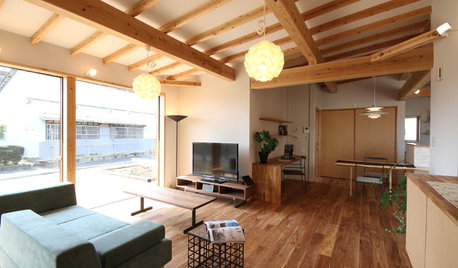
HOMES AROUND THE WORLDHouzz Tour: In Japan, a U-Shaped House Made With Natural Materials
Living areas are in one building and private sleeping areas are in another. A kitchen bridges the two structures
Full Story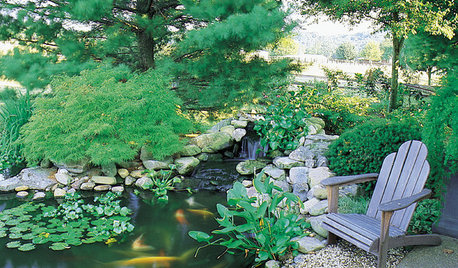
GARDENING AND LANDSCAPINGHow to Make a Pond
You can make an outdoor fish paradise of your own, for less than you might think. But you'll need this expert design wisdom
Full Story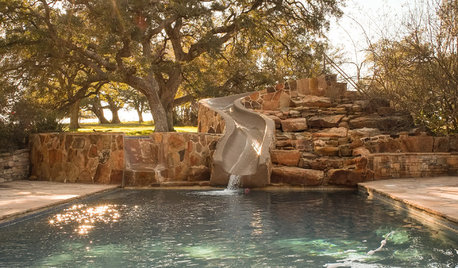
POOLSPool Slides: What's Possible, Who Can Build It and What It Will Cost
These slippery slopes will make a splash and offer an exhilarating ride that's the stuff of childhood dreams
Full Story
FUN HOUZZGeek Lab: How to Build a Steampunk Cat Transit System
Give your kitty another avenue for fun with a tubular walkway system that lets him go his own way
Full Story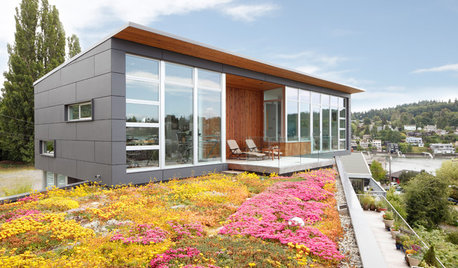
CONTRACTOR TIPSBuilding Permits: What to Know About Green Building and Energy Codes
In Part 4 of our series examining the residential permit process, we review typical green building and energy code requirements
Full Story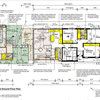

pparrish
lala2874
Related Discussions
NCTAL's Charlotte-area pool build - Winter '09
Q
Pool Build in Dallas Area � Comments & Suggestions Requested
Q
Pool price in DFW area
Q
Our very first pool build DFW!
Q
gaylek
partypond
gardenlover25
ibobi
smokeyboy2000Original Author
jparkfire
smokeyboy2000Original Author
ibobi
jenno_tx
jparkfire
hv4xpy4
smokeyboy2000Original Author
renovxpt
hv4xpy4
renovxpt
smokeyboy2000Original Author
renovxpt
smokeyboy2000Original Author
partypond
smokeyboy2000Original Author
jenno_tx
adgpoolman