


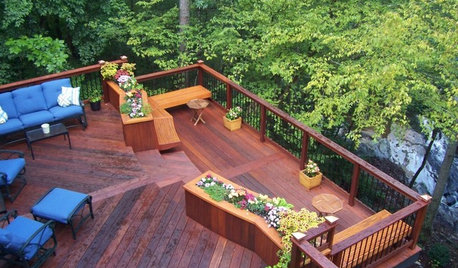
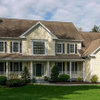
ipe deck with trex burnished amber railing
dekim5
16 years ago
Sort by:Oldest
Comments (3)
Related Stories
GARDENING AND LANDSCAPINGChoosing a Deck: Plastic or Wood?
Get the pros and cons of wood, plastic, composite and more decking materials, plus a basic price comparison
Full Story
DECKSDecking Materials Beyond Basic Lumber
Learn about softwoods, tropical hardwoods, composites and more for decks, including pros, cons and costs
Full Story
MOST POPULARWhat to Know About Adding a Deck
Want to increase your living space outside? Learn the requirements, costs and other considerations for building a deck
Full Story
GARDENING AND LANDSCAPING17 Ways to Work a Deck
Layer it, bump it out, wrap it around a tree. Get inspiration with these ideas for adding a deck to your yard
Full Story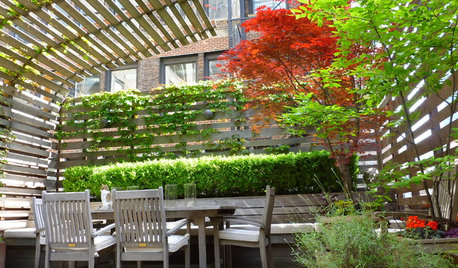
GARDENING AND LANDSCAPINGHouzz Call: Show Us Your Great Patio, Deck or Rooftop!
Give your patio a chance at the spotlight as we head outdoors for a new summer ideabook series
Full Story
LANDSCAPE DESIGN10 Compact Decks, Patios and Porches for Making Memories
From Florida to Hawaii, Houzz readers show us how they capitalize on their petite outdoor spaces
Full Story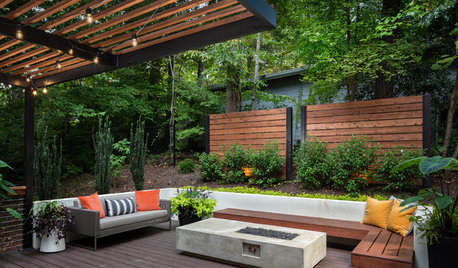
GARDENING AND LANDSCAPING8 Rot-Resistant Woods for Your Outdoor Projects
No need for chemical treatments on your deck or pergola. These woods stand up to weather, insects and time beautifully on their own
Full Story
GARDENING AND LANDSCAPING14 Design Ideas for an Exhilarating Outdoor Shower
Enhance an open-air shower with amenities and style upgrades from the all-essential towel hook to total landscape integration
Full Story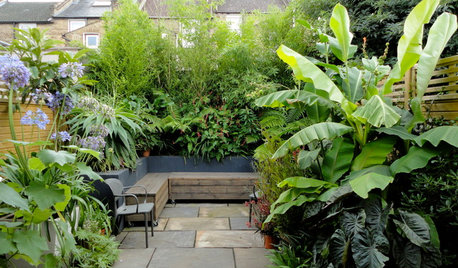
PATIOSHouzz Call: Show Us Your Pocket Patio
How small can you go? We want to see your compact garden designs
Full StorySponsored
Franklin County's Full Service, Turn-Key Construction & Design Company


john_hyatt
dekim5Original Author
Related Discussions
Ipe railing on a trex artisan or timberteck railing system
Q
Has anyone used cable railing for decks?
Q
Ipe porch /deck with pics finally complete
Q
Need help with railing for back of house please!
Q
dorothyct