


Help for a shabby chic wannabe, please
pupwhipped
14 years ago
Sort by:Oldest
Comments (27)
Related Stories
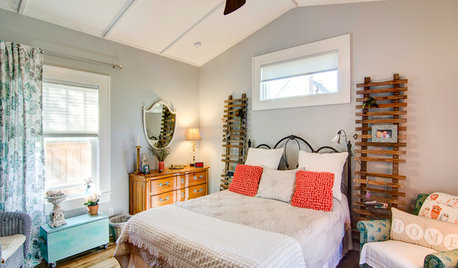
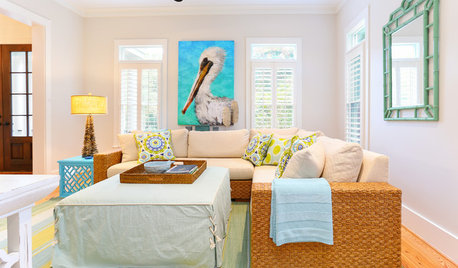
BEDROOMSRoom of the Day: From Laundry Room to Shabby Chic-Style Master Suite
A Florida bungalow addition mixes modern amenities with pieces of the past, thanks to a homeowner’s love for using old things in new ways
Full Story
TASTEMAKERSCatching Up With the Queen of Shabby Chic
Rachel Ashwell defined a style embraced by countless fans over the past 25 years. Find out what she’s turning her sights to now
Full Story
DECORATING GUIDES10 Recipes for Shabby Chic Style
Rustic furniture, floral fabrics, sparkling chandeliers. Here are 10 easy ways to bring the romantic cottage look into your home
Full Story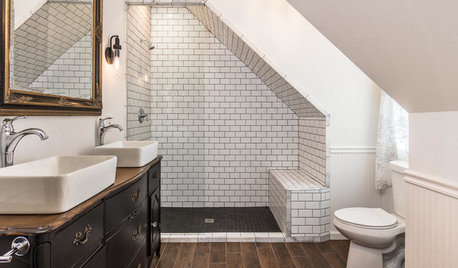
ROOM OF THE DAYRoom of the Day: Handsome Take on Shabby Chic in the Bath
A repurposed antique dresser, a claw-foot tub and dark accents add vintage appeal to this updated bath
Full Story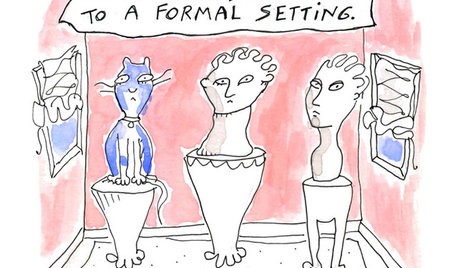
MOST POPULAR7 Ways Cats Help You Decorate
Furry felines add to our decor in so many ways. These just scratch the surface
Full Story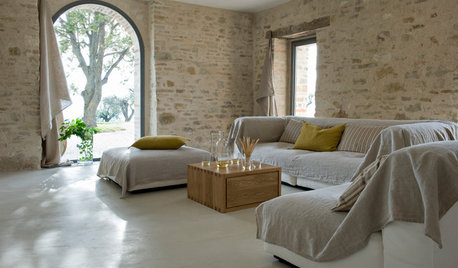
DECORATING GUIDESHow to Get Authentic French Style in Your Home
Move over Shabby Chic and French Provincial. These myths and realities reveal the real look of French decor
Full Story
HOME OFFICESDream Spaces: Home Offices You’d Be Delighted to Work In
Warm lighting, comfortable furnishings and pleasing views can make you want to head into your home office each day
Full Story
UPHOLSTERYSlipcover Magic: Casual, Washable and Fresh for the Season
Reinvent your sofas, chairs and ottomans with surprisingly chic and versatile slipcovers
Full Story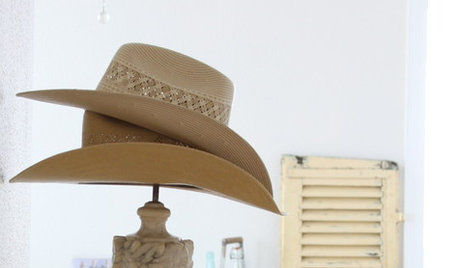
DECORATING GUIDESClassic Country Style Speaks to a New Generation
Homespun touches like animal accents, rodeo art and rustic colors help bring traditional country style to any room in the home today
Full Story


patty_cakes
luckygal
Related Discussions
Is shabby and cottage one in the same?
Q
Sources for Shabby Chic Fabric
Q
Shabby chic and dark walls...can it be done (well)?
Q
Big Entryway Dilemma.. Please help!!
Q
patty_cakes
judydel
tinam61
nicole__
joanie_b
newdawn1895
pupwhippedOriginal Author
pupwhippedOriginal Author
pupwhippedOriginal Author
patty_cakes
pupwhippedOriginal Author
patty_cakes
2ajsmama
patty_cakes
pupwhippedOriginal Author
ttodd
User
work_in_progress_08
ttodd
patty_cakes
ttodd
pupwhippedOriginal Author
cyn427 (z. 7, N. VA)
User
patches_02