

Confusing....Photo fun!
18 years ago

Featured Answer
Sort by:Oldest
Comments (6)
Related Discussions
OT: blue passionflower
Comments (55)Nothing wrong with liking him, he's just one of those that people either love or hate, not much middle ground. Barry used to be like Dick Clark, never seemed to age. Now both of them seem to have aged 40 years in about two weeks. All those ageless years caught up all at once. Missed him on AI....See MoreAnyone willing to photoshop some curb appeal for me?
Comments (123)MetroMom- FYI: There is a post on the remodel forum from someone who bought a home with a painted brick exterior. I remebered reading it so I searched and found it! You may want to read his post before you proceed. I know you mentioned something about a concern re: possible transfer in future. http://ths.gardenweb.com/forums/load/remodel/msg021538463187.html?9 Hope this helps! Here is a link that might be useful: ideas for improving exterior of this house...See MoreRootstock question.
Comments (8)Nice link--excellent photos. Sow&grow--yes, this May/June, I'll cut the the cane of the rootstock, (the Fortuniana plant) between each bud, & root it under mist. The root stock, by definition, is easy to root. It will already have a successful bud growing on it. Here's a photo of a Fortuniana cane with lots of things budded to it. You can see that several of the buds (the 2 Kordes Brilliant at the bottom, especially) have grown into substantial canes. I could harvest cuttings from these to grow own-root--they are big enough--but I'm confident enough that the Fortuniana will root this summer with the buds already developed into canes. So, you might think, why go to all that trouble? Why not bud onto rooted sticks? Well, that IS even better. NOW, I have lots of sticks of various root stocks already rooted in band pots--this summer, I am READY to BUD! Rooted Dr. Huey sticks: Rooted Banksia stick, already planted in a band & ready to bud: When you get confident that you can root & bud reliably, the very easiest thing is to root & bud together. In early summer, cut your root stock canes, sit on your porch & bud them, then stick them under mist to root & for the buds to heal. Bud & root in one operation. I've done some of this, but am not confident enough in my success to choose this method every time. Especially with marginal or scarce scions, I prefer to bud to already rooted sticks--just one operation to deal with at a time. Here's a Pink Clouds stick budded last fall. I've trimmed off the top, Pink Clouds, growth. You can see three scions sprouting enthusiastically. Yes, tape as many buds as you want on a stick. I like to do 3-4. It's shockingly easy if you use the right materials. I'd say using Parafilm is a must--it's cheap, you can get it from Amazon for ~ $2.50 per roll & it's vastly superior to the old florists' tape. I first tried it years back--in total ignorance--just fooling around. I tried to graft actual stems, not buds, I did it in cool weather, I used florists' tape---everything wrong--& got zero success. I had no real incentive to try again until I started getting interested in some of the old HTs--always hard for me to root, & often poor plants own-root (e.g. Talisman--achingly beautiful bloom, such a poor plant own-root, & getting hard to find). They weren't available from Vintage anymore & if I didn't learn to bud, I couldn't maintain them, get many flowers or be able to share them. Confusing photo, but the big cane on the right is from a Talisman bud on RR. In a couple of months growth in the late spring, that bud made a cane larger than the own-root mother plant that's a couple of years old--and this isn't unusual. You'll have much better luck using buds, doing budding during warm weather (when the plants are actively growing & pushing the sap that will feed the buds while they're knitting into the stock) & using Parafilm--which actually lets you tape over the bud, snugging it into the cane firmly. After actually studying it recently, using chip budding, Parafilm & doing it at the right time of year, I got successful takes on everything I tried: Talisman on Ragged Robin, Mme. de la Roch-Lambert on Spray Cecil Brunner, etc. Here's a photo of one of my first tries. Mme. de la Roche was dying, so I slapped a few buds on a vigorous Spray Cecil Brunner plant--what was there to lose? That was in fall. Next spring, I was astonished to see a mossy cane shooting out from Spray Cecile! Then the 2 auxiliary buds sprout canes--neat! Another confusing photo, but I'm pulling the prickly Mme. dlRL cane out from the Spray Cecile Brunner bush it's still budded to. It's now several feet long. Since the excitement of getting it right I started a bunch of things last year & am enjoying seeing them develop. It's easy & presents success with just a little playing around. I hope you'll enjoy budding this year. This page from Kim's (Roseseek's) blog has very clear photos of all steps Pushing the Rose Envelop--budding And this video, showing Burling Leong's method is also very clear: chip budding Burling Leong's method...See MoreShould I change the color of my kitchen cabinets?
Comments (4)15K live wire?? Just for painting? Although, I have to agree on that island. Here's what I would spend my money on in that kitchen. you see how this island is situated? I'd do one like this ( but orientate it so that it's square w/your stove. Then I would do a built in microwave and put it in the new island. Over your range I'd do a vent hood in a wood and paint it all to match the cabinets. can't really tell how much room you have. you do do a large square or a rectangle. Hopefully the island is built on top of the wood floor, otherwise you'll have to find some planks to fill in the spot you remove. Paint everything in your white, and get a new piece for the island. you could do a solid quartz. get new hardware, pendants over the new island, new stools. Just for a pro cabinet painter to come in and paint, would be in the 5-7K region. You want a pro cabinet painter, not a house painter. they have to remove everything and take it back to their shops to spray. it must be sanded and primed. if they merely paint them on scene, you're getting a cheapo job. Oh, and if you want a backsplash, you'll have to remove that 4" piece up the back. not a big deal to do...See More- 18 years ago
- 4 years ago


Related Stories

GREEN BUILDINGLet’s Clear Up Some Confusion About Solar Panels
Different panel types do different things. If you want solar energy for your home, get the basics here first
Full Story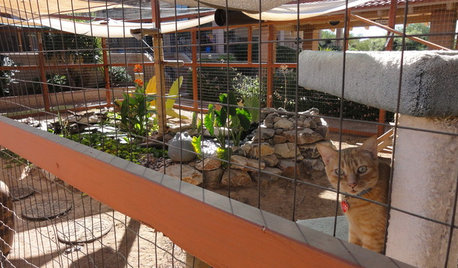
PETSSee a Deluxe 'Catio' Built for Feline Fun
Sixteen lucky cats get the run of a protected outdoor patio with ramps, steps and even a koi pond
Full Story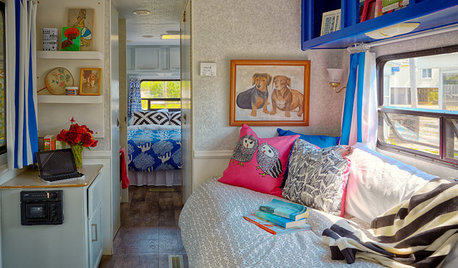
MOST POPULARBudget Beach House: A Trailer Gets Ready for Summer Fun
Punchy prints and colors star in a creative approach to Jersey Shore living
Full Story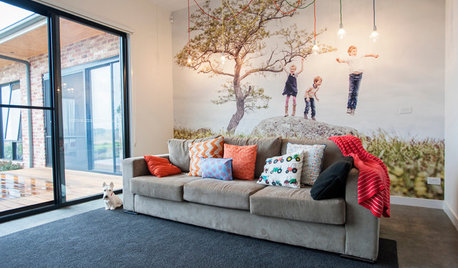
LIVING ROOMS15 Fun Features for Family Rooms
Put the family back in your family room with a colorful mural, photo gallery or table ready for your gang’s favorite game
Full Story
DECORATING GUIDESRubber Duckie Day Fun to Float Your Boat
We’ve been in fine feather at Houzz gathering all the photos of duckies making their home in yours
Full Story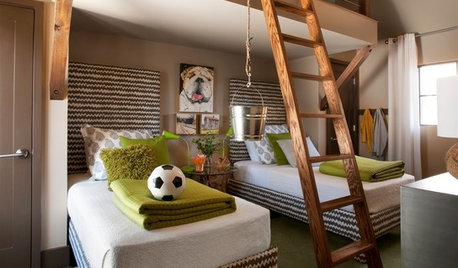
KIDS’ SPACESPhotos of 2013: The Most Popular Kids’ Spaces
Built-in bunk beds, cool colors and other smart design elements offer ideas for kids’ bedrooms, nurseries and playrooms everywhere
Full Story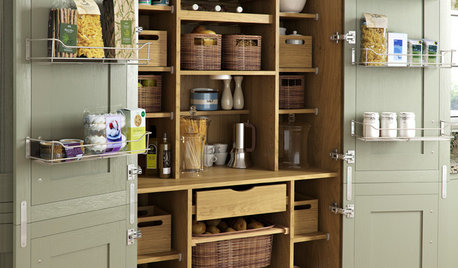
KITCHEN PANTRIES80 Pretty and Practical Kitchen Pantries
This collection of kitchen pantries covers a wide range of sizes, styles and budgets
Full Story
MOST POPULARHouzz TV: Let’s Go Island Hopping
Sit back and enjoy a little design daydreaming: 89 kitchen islands, with at least one for every style
Full Story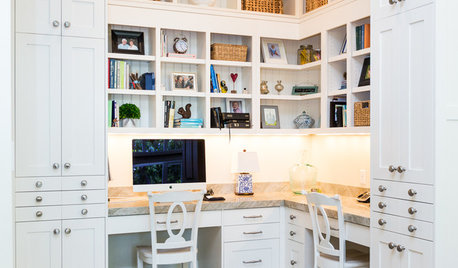
HOME OFFICESThe 20 Most Popular Home Office Photos of 2015
Technology paves the way for space-saving work areas, while designers make up for small sizes with style
Full Story
GREAT HOME PROJECTSHow to Design a Family Photo Wall
New project for a new year: Display your favorite images of loved ones for the most personal gallery wall of all
Full Story
zitro_joe