


Earthbox/SWC construction simplified
Since building your own Earthbox shouldn't be a chore or be overly expensive I've come up with a couple of ways to make it easier to build and cheaper.
Instead of a complete chamber across the bottom of the tote, as long as you have some sort of flat container to hold the water the plant will get all the moisture it needs. So I took these plastic containers (because I had a bunch in my garage), drilled a bunch of holes in it, covered it with plastic screen and drilled a 1 1/4' hole for the filler tube.
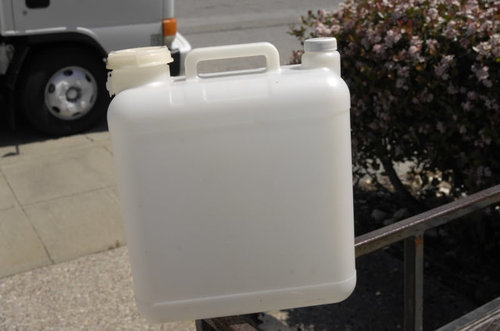
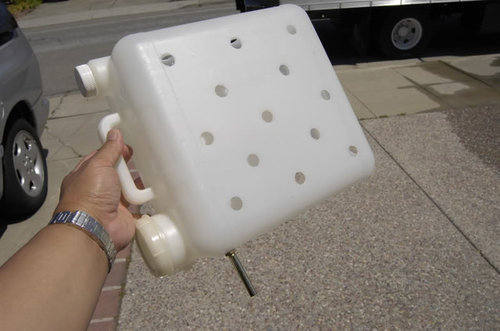

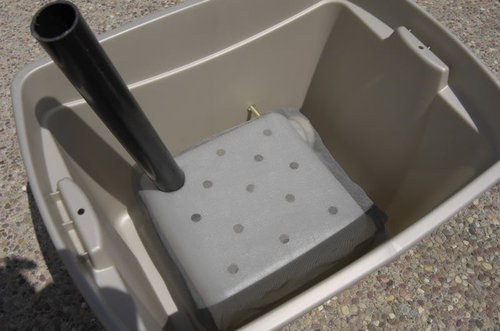
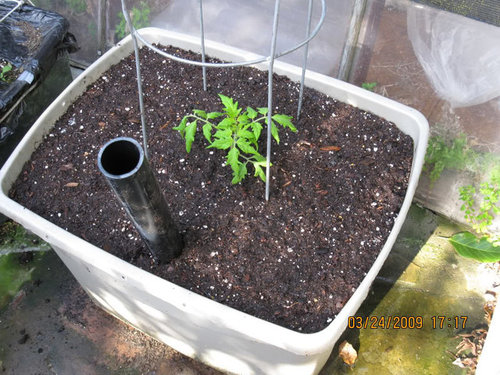
Place it in the bottom of the tote and your water chamber is finished. The first one I made had an overfill tube. But to make it even simpler I did away with the tube and just use a dipstick on all of the subsequent boxes to check the water level.
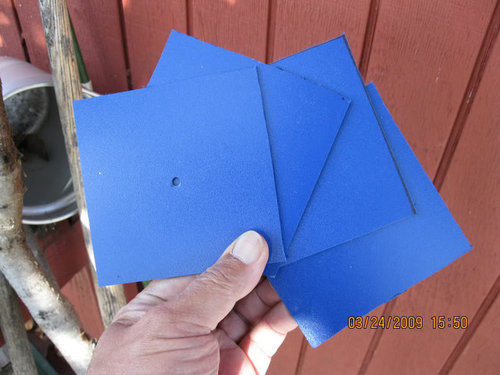
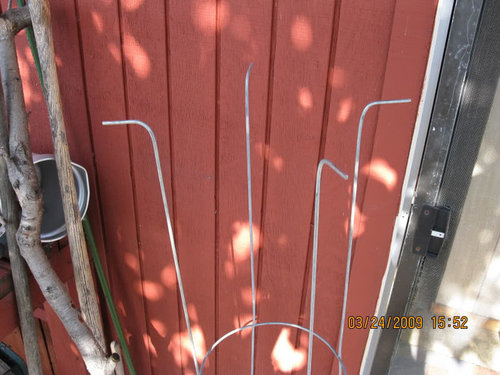
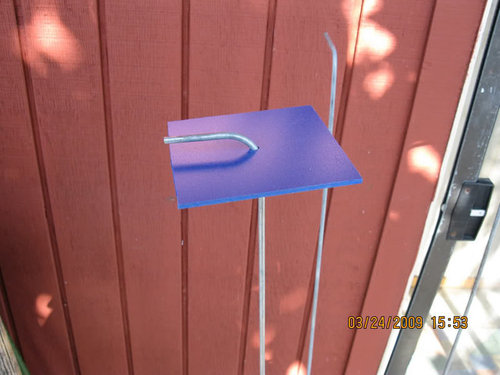
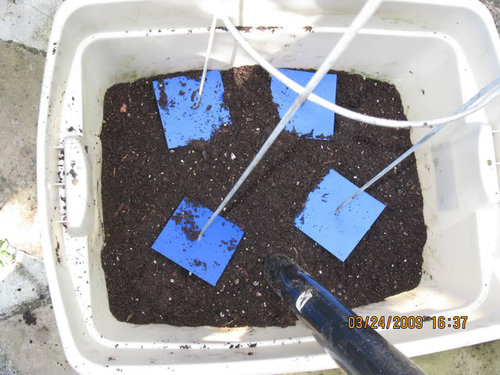
To secure the tomato cage in the tote I bought some 8" x 8" x 1/16" plastic squares from Tap Plastic and cut each one into smaller 4" squares. Drilled a 1/8" hole in the center, bent the bottom 2" of the cage leg 90 degrees and slid the square onto the leg. When placed in the bottom of the tote and wet potting mix is piled on top the squares act like an anchor without having to drill, cut screw or attach the cage to the tote.

And now here is a happy Cherokee Purple waiting to be mulched.
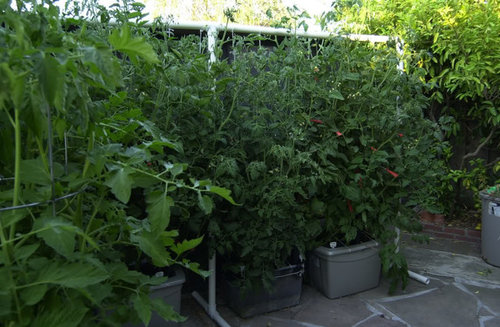
The chamber leaches out plenty of water for the plant without having to have a large hole to create a wicking action. This photo is from last year. The first box on the right has the box water source without an overfill tube and you can see the plant, a Mortgage Lifter, is doing great. I got tired of tying up the branches almost on a daily basis, so that's why I developed the plastic anchors so I can use cages this year.
structure
mr_potaoheadOriginal Author
Related Discussions
Idea for SWC Wicking Chamber & Orifice Experiment
Q
5g bucket SWC success??
Q
Earthtainers? (Or SWC's)
Q
Earthbox, Growbox, City Picker Planters
Q
gringojay
anney
mr_potaoheadOriginal Author
anney
lesmatzek
mr_potaoheadOriginal Author
engineeredgarden
lesmatzek
mr_potaoheadOriginal Author
bdobs
tworivers1
mr_potaoheadOriginal Author
tworivers1
lesmatzek209