


How did you design your garden beds?
shropshire_lad
15 years ago
Sort by:Oldest
Comments (24)
Related Stories
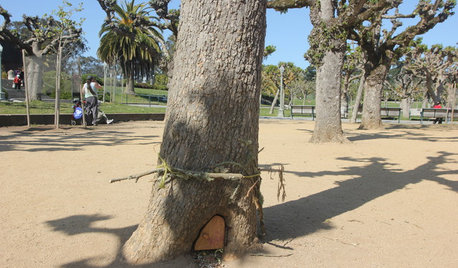
FUN HOUZZDid Elves Make a Home in a San Francisco Park?
Speculation has swirled around a Lilliputian doorway in Golden Gate Park. We give you the true story — and a design dilemma
Full Story
FUN HOUZZDouble Take: Did MoMA Drop a Mini House in the Yard?
Or maybe it's garden art or even a modernist-loving giant's step stool. Use your imagination, then get the true tale here
Full Story
EDIBLE GARDENSHouzz Call: What Did You Grow This Summer?
Let’s celebrate the homegrown fruits and vegetables of the season. Post your pictures and tell us about your harvest
Full Story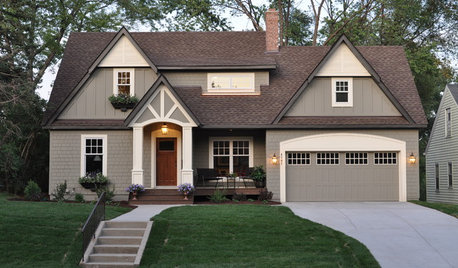
ARCHITECTURERoots of Style: Where Did Your House Get Its Look?
Explore the role of architectural fashions in current designs through 5 home styles that bridge past and present
Full Story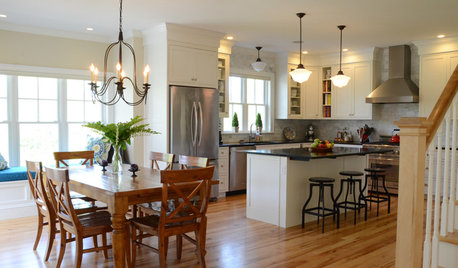
BUDGETING YOUR PROJECTHouzz Call: What Did Your Kitchen Renovation Teach You About Budgeting?
Cost is often the biggest shocker in a home renovation project. Share your wisdom to help your fellow Houzzers
Full Story
VALENTINE’S DAYTell Us: Why Did You Fall in Love With Your House?
What was it about your house that made your heart flutter? Share your photo, and it could make the Houzz homepage
Full Story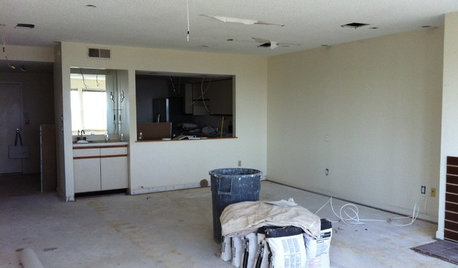
DISASTER PREP & RECOVERYRemodeling After Water Damage: Tips From a Homeowner Who Did It
Learn the crucial steps and coping mechanisms that can help when flooding strikes your home
Full Story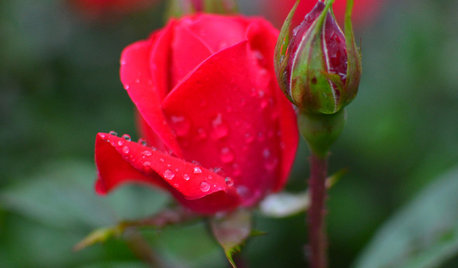
GARDENING GUIDESGreat Design Plant: Knock Out Roses
As glorious as their high-maintenance kin for a fraction of the work, Knock Out roses make even beginners look like garden stars
Full Story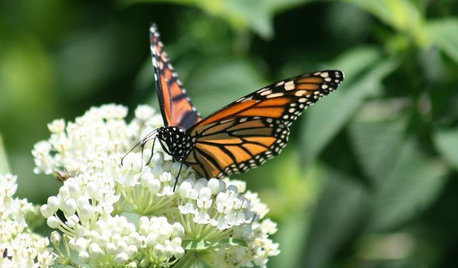
GARDENING GUIDESGreat Design Plant: Milkweed
Quit cringing. This not-weed plant is a sight to behold in the garden, has a delicious vanilla scent and is a magnet for butterflies
Full Story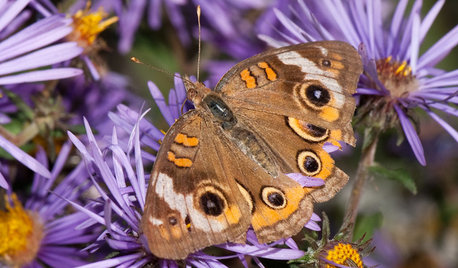
FALL GARDENINGGreat Design Plant: Symphyotrichum Novae-Angliae Ushers in Fall
With bold purple flowers easily accessible to pollinators, New England aster offers loads of interest in the autumn garden
Full StorySponsored
token28001
Annie
Related Discussions
How long did it take you to finish your garden design?
Q
How did you decorate your garden tub?
Q
How did you protect your garden plants?
Q
Your advice please? Designing a front garden bed.
Q
libbyshome
midnightsmum (Z4, ON)
Annie
kiddo_1
aftermidnight Zone7b B.C. Canada
shropshire_ladOriginal Author
Nell Jean
token28001
nikkineel
frogview00
Redthistle
shropshire_ladOriginal Author
midnightsmum (Z4, ON)
shropshire_ladOriginal Author
natalie4b
midnightsmum (Z4, ON)
token28001
libbyshome
lindakimy
shropshire_ladOriginal Author
HerbLady49
threedogsmom