


Help with Bread Maker Recipes
fammsimm
16 years ago
Sort by:Oldest
Comments (15)
Related Stories
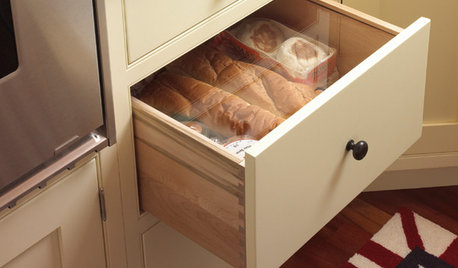
KITCHEN DESIGNKitchen Ideas for Bread Lovers
Any way you slice it, a kitchen designed with bread in mind conveys warmth and homeyness
Full Story
MOST POPULAR7 Ways to Design Your Kitchen to Help You Lose Weight
In his new book, Slim by Design, eating-behavior expert Brian Wansink shows us how to get our kitchens working better
Full Story
KITCHEN DESIGNSweet Ideas and a Truffle Recipe from a Chocolatier's Test Kitchen
A $2,100 budget didn't mean a half-baked kitchen redo; this confectioner just rolled up her sleeves and rolled out the improvements
Full Story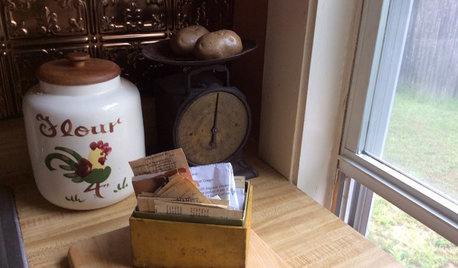
KITCHEN DESIGN5 Home Cooks Share Their Favorite Family Recipes
Peek inside the kitchens of these Houzz users and learn how to cook their time-tested, passed-down dishes
Full Story
LIFEDecluttering — How to Get the Help You Need
Don't worry if you can't shed stuff and organize alone; help is at your disposal
Full Story
SELLING YOUR HOUSE10 Low-Cost Tweaks to Help Your Home Sell
Put these inexpensive but invaluable fixes on your to-do list before you put your home on the market
Full Story
KITCHEN DESIGNHere's Help for Your Next Appliance Shopping Trip
It may be time to think about your appliances in a new way. These guides can help you set up your kitchen for how you like to cook
Full Story
DECLUTTERINGDownsizing Help: How to Edit Your Belongings
Learn what to take and what to toss if you're moving to a smaller home
Full Story
SMALL SPACESDownsizing Help: Where to Put Your Overnight Guests
Lack of space needn’t mean lack of visitors, thanks to sleep sofas, trundle beds and imaginative sleeping options
Full Story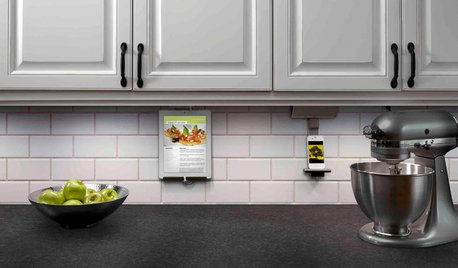
KITCHEN DESIGNHouzz Call: What’s Cooking in Your Kitchen?
Most of us turn to recipes, videos and culinary shows when we cook. Where do you set your cookbook, tablet or TV screen?
Full StorySponsored
todancewithwolves
natvtxn
Related Discussions
Bread machine liquid sub (or Easter bread in machine recipe)
Q
Foccacia Bread recipe for a bread maker?
Q
Powder Buttermilk in Bread Maker recipe
Q
Help with Bread Machine Recipes
Q
memo3
fammsimmOriginal Author
faltered
FlowerLady6
fammsimmOriginal Author
memo3
FlowerLady6
downeastwaves
girlgroupgirl
fammsimmOriginal Author
memo3
fammsimmOriginal Author
breadmachineparts