


Applying the aluminet shade cloth...elementary? I think NOT
rjinga
15 years ago
Sort by:Oldest
Comments (6)
Related Stories
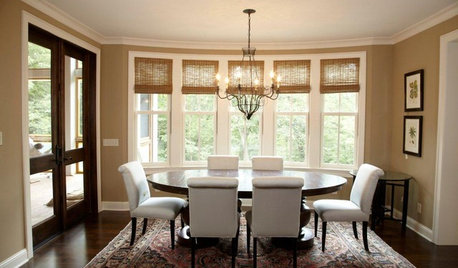
Woven Wood Shades Tie Rooms Together
Contrasting sharp modern edges or complementing a contemporary look, these window shades are a lovely finishing touch for any room
Full Story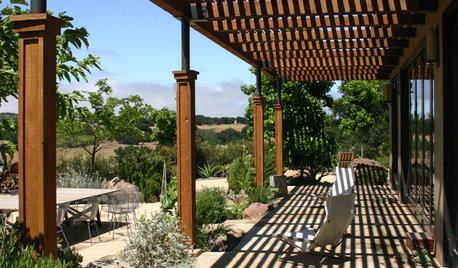
PATIOSPatio Details: A Shaded Patio Opens Up the View in Wine Country
A Douglas fir and metal pergola offers shelter from the hot sun on this scenic California property
Full Story
DECORATING GUIDESThe Dumbest Decorating Decisions I’ve Ever Made
Caution: Do not try these at home
Full Story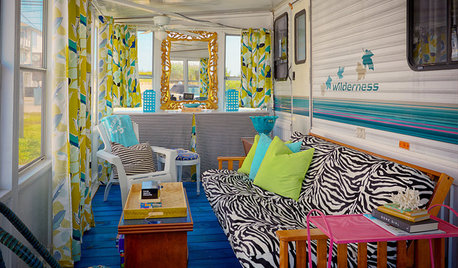
LIFEYou Said It: ‘They Looked at Me Like I Had 10 Heads’
Design advice, inspiration and observations that struck a chord
Full Story
WINDOW TREATMENTSA Surefire Way to Prevent Sun Damage Indoors
Why let light ruin your furniture, floors and artwork, when the solution could be as simple as applying high-quality window film?
Full Story
ORGANIZINGProfessional Tips for Organizing Your Clothes Closet
As summer draws to a close, get expert advice on editing and organizing your wardrobe
Full Story
REMODELING GUIDES8 Lessons on Renovating a House from Someone Who's Living It
So you think DIY remodeling is going to be fun? Here is one homeowner's list of what you may be getting yourself into
Full Story
CLOSETSDesign Your Closet for the Real World
Let a professional organizer show you how to store all your clothes, shoes and accessories without blowing your budget
Full Story
COLORHave You Heard the Hues? 15 Colors You May Not Know About
Name-drop these shades at holiday parties — or better, try one on your walls — and expand your palette possibilities
Full Story
BATHROOM DESIGNWhite Toilet, Black Lid: Trending in a Bathroom Near You
Contrast is king with this look for the bath — and it works with any style you can think of
Full Story
wetfeet101b
birdwidow
rjingaOriginal Author
troykd
funnylady
laserfan