


Does any one know how to grow Orchid from seed?
koi_lover84
16 years ago
Sort by:Oldest
Comment (1)
Related Stories

HOUSEPLANTSHow to Grow Orchids Indoors
Orchids are the exotic aristocrats of the flower world and can make themselves comfortable in almost any home
Full Story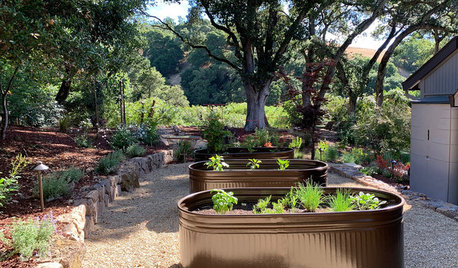
FARM YOUR YARD6 Things to Know Before You Start Growing Your Own Food
It takes time and practice, but growing edibles in the suburbs or city is possible with smart prep and patience
Full Story
HOUSEPLANTSOrchids 101: How to Keep Your Moth Orchids Alive and Blooming
Growing Phalaenopsis — and getting it to flower again — is easier than you might think
Full Story
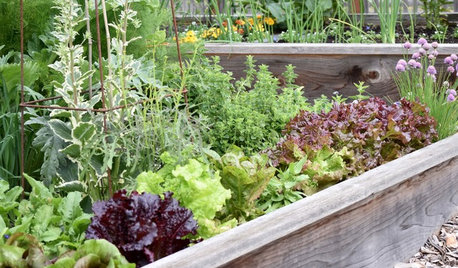
GARDENING GUIDESSeeds or Seedlings? How to Get Your Garden Started
Growing delicious herbs and vegetables starts with knowing your goals and when you want to plant
Full Story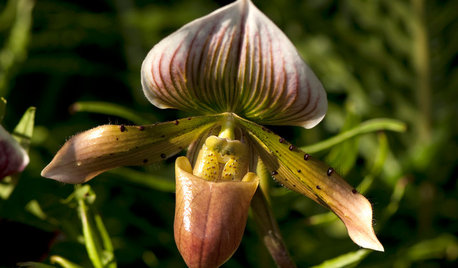
HOUSEPLANTSOrchids 101: Slipper Orchid Success
If you don’t already love Paphiopedilums, learning how to grow them with ease might change your mind
Full Story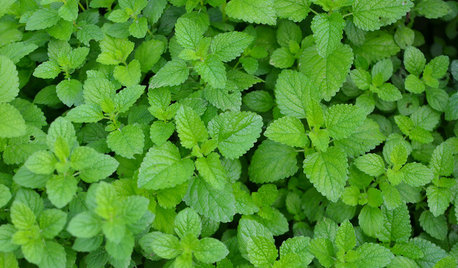
GARDENING GUIDESHerb Garden Essentials: Grow Your Own Delicious Mint
Pull out a pot for this one. Mint's spreading habit and hard-to-kill nature can be a blessing — if you're properly prepared
Full StoryHOUZZ TOURSMy Houzz: A Dream Home Grows From an Empty Austin Lot
A spacious courtyard, a great art collection and a family-friendly layout mark a Texas family's expansive new home
Full Story
FUN HOUZZEverything I Need to Know About Decorating I Learned from Downton Abbey
Mind your manors with these 10 decorating tips from the PBS series, returning on January 5
Full Story
EDIBLE GARDENSSummer Crops: How to Grow Tomatoes
Plant tomato seedlings in spring for one of the best tastes of summer, fresh from your backyard
Full Story
dogdaze3001
Related Discussions
Swiss Chard: from one seed grows 3-4-5 seedlings
Q
sweet grass--does any one grow it
Q
does any one know
Q
does any one grow grains
Q