


What's your experience with soaker hoses? (pic)
marial1214
16 years ago
Sort by:Oldest
Comments (21)
Related Stories
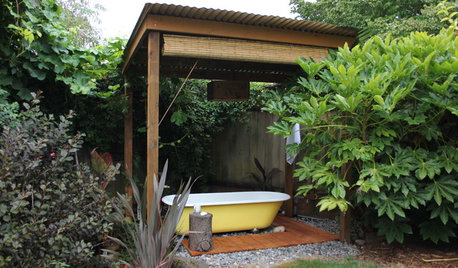
GARDENING AND LANDSCAPINGWhy Is There a Bathtub in the Backyard?
Nope, it's not waiting for bulk trash pickup. These days outdoor tubs are serving soakers, beer drinkers and even the fishes
Full Story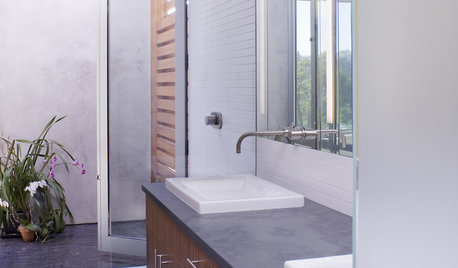
BATHROOM DESIGN10 Amenities to Make Your Bathroom Extraordinary
Go beyond the basics for a luxury bathroom experience, with extra-special options starting at only $25
Full Story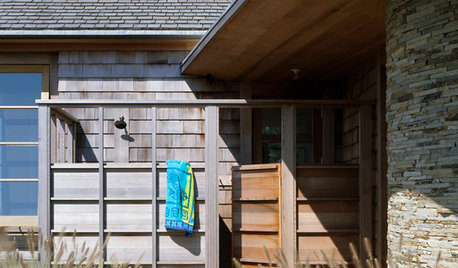
GREAT HOME PROJECTSHow to Add an Outdoor Shower
New project for a new year: Experience bathing in a whole new light with a shower in the fresh air
Full Story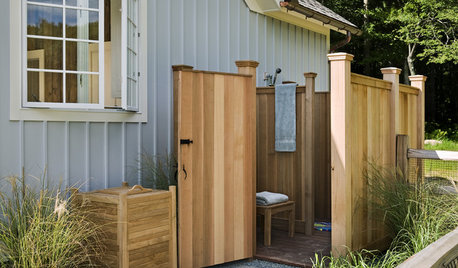
GARDENING AND LANDSCAPING10 Reasons to Love Outdoor Showers
Keep summertime dirt and sand outside with a shower area that turns an everyday routine into an exhilarating experience
Full Story
ROOM OF THE DAYRoom of the Day: A Maine Guest Cottage Steeped in Charm
Once offering eggs for sale, this little guesthouse now offers a serene experience in a refined rustic setting
Full Story
BATHROOM DESIGNDreaming of a Spa Tub at Home? Read This Pro Advice First
Before you float away on visions of jets and bubbles and the steamiest water around, consider these very real spa tub issues
Full Story
EDIBLE GARDENSSummer Crops: How to Grow Squash
Almost foolproof and with cheerful flowers, squash comes in a wide range of varieties to plant in spring
Full Story
MOST POPULAROvernight Guests Coming? How to Be a Great Host
Ensure a good time for all — including yourself — by following these steps for preparing for and hosting houseguests
Full Story
REMODELING GUIDESContractor Tips: Advice for Laundry Room Design
Thinking ahead when installing or moving a washer and dryer can prevent frustration and damage down the road
Full Story
GARDENING GUIDESGarden Myths to Debunk as You Dig This Fall and Rest Over Winter
Termites hate wood mulch, don’t amend soil for trees, avoid gravel in planters — and more nuggets of garden wisdom
Full Story
anney
davidandkasie
Related Discussions
Soaker Hose & Air Compressor for Aeration
Q
Sprinkler to Soaker Hose/Drip System
Q
soaker hoses
Q
What is the best soaker hose for 2016?
Q
justaguy2
Karen Pease
Violet_Z6
marial1214Original Author
marial1214Original Author
snappybob
setzuanfire
Violet_Z6
kubotabx2200
moulman
Karen Pease
bryanccfshr
ruthieg__tx
gumby_ct
kubotabx2200
barrie2m_(6a, central PA)
belindach
reba_grows
amigatec