


My Unusual Fountain
joycevallee
20 years ago
Sort by:Oldest
Comments (15)
Related Stories

PURPLE FOLIAGEGreat Design Plant: Purple Fountain Grass
Easy come, easy grow — give this low-maintenance grass pride of place in your garden
Full Story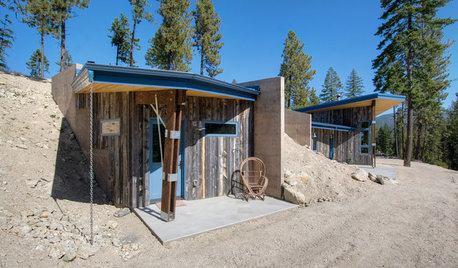
HOUZZ TOURSHouzz Tour: Having Fun With a Half-Buried House
Layers of dirt help create energy efficiency and an unusual look on a steep slope in Washington state
Full Story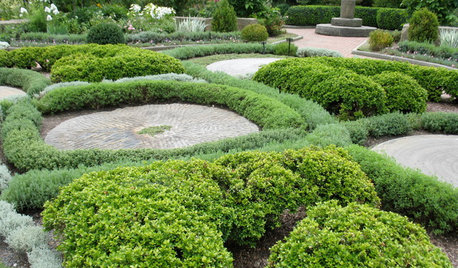
LANDSCAPE DESIGN5 Great Garden Uses for Granite Millstones
Give your yard character and history with a salvaged circular stone used as a patio, seat, fountain or focal point
Full Story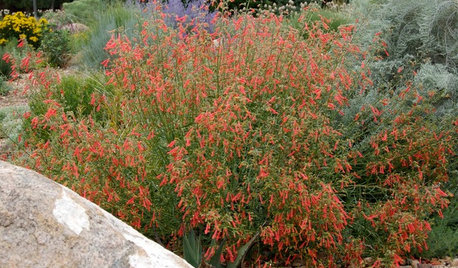
FLOWERSGreat Design Plants: Penstemon Rostriflorus
Plant bridge penstemon, also called mountain fountains, for its long-blooming scarlet spikes that act like a living hummingbird feeder
Full Story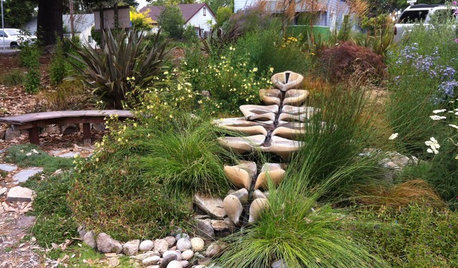
LANDSCAPE DESIGNNew Ways to Design With Water
Go beyond 3-tiered fountains and faux waterfalls to discover water's architectural possibilities
Full Story
GARDENING AND LANDSCAPING10 Gorgeous Courtyards From Mod to Moroccan
Some have pools or fountains; some are awash only with greenery. These courtyards run the gamut of styles but have alluring looks in common
Full Story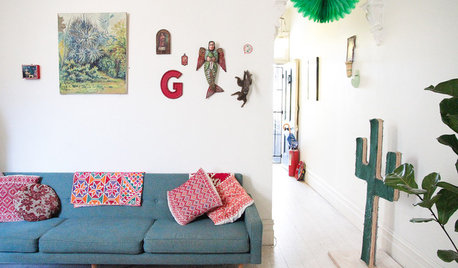
ECLECTIC HOMESHouzz Tour: An Eclectic Sanctuary Shows a Couple's True Colors
Travel takeaways, religious totems, thrift store finds and unusual compositions personalize a Melbourne home
Full Story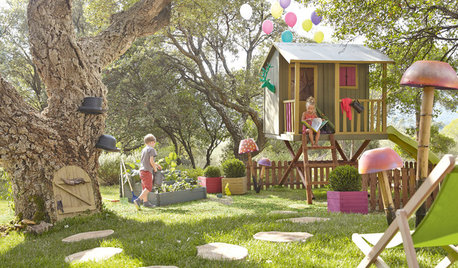
BACKYARD IDEAS10 Backyards Built for Fun
Unusual features encourage playfulness and relaxation in these outdoor spaces
Full Story
HOUZZ TOURSHouzz Tour: Visionary Thinking Clicks With a San Francisco Entrepreneur
An open mind and an unusual process help a successful software engineer get an interior design that suits and celebrates his life
Full Story
LANDSCAPE DESIGN10 Fun Features to Bring Your Landscape to Life
Give gnomes a home, create a magical portal or add another unexpected element to turn your garden into a destination
Full StorySponsored
mamaw2
eva1429
Related Discussions
Aga, Wolf and other induction, unusual kitchen : my feedback
Q
Estrangement by daughter. My unusual story.
Q
I have 4 stalks coming up from my 'Marquis' amaryllis. Unusual?
Q
very unusual fern in my garden...ID?
Q
eva1429
BDnBAMA
joycevalleeOriginal Author
joycevalleeOriginal Author
eva1429
GardnMemaw04
eva1429
joycevalleeOriginal Author
intrepidgardener
Kirsty
Joeray
jnette
little_dani