How to Take Home Design Photos
Quality images preserve memories, create great design portfolios and help you sell a home. See how to show your place at its best

You can have an absolutely gorgeous home, but if it isn't photographed well, you won't be able to share the space with design publications, and your listing won't stand out amidst a sea of real-estate photos. A few simple techniques will help you make the best of your spaces from behind the lens, and your photos will shine.
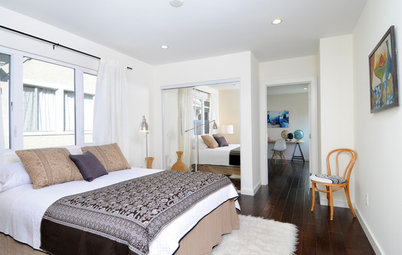
Play with symmetry. When taking photos of bedrooms, an asymmetric photo of the bed and side table is a classic. Simply cut the bed in half visually and include a proportionate amount of detail from the side table and window treatments on the other side.
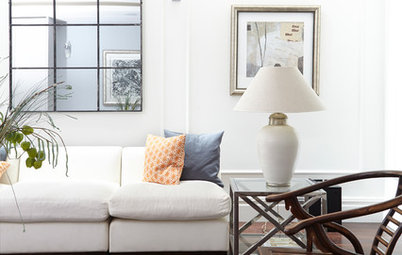
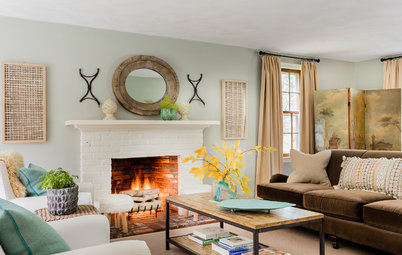
Focus on details. Using a low aperture is an easy way to focus in on details in a space. An aperture of 2 to 3 is perfect for focusing on an object in the foreground and then blurring out the rest of the background. For photos that are crisp and sharp in every corner of the photo, use a higher aperture.
Another way to capture detail is by creating a simple diptych. One photo is taken up close with a wide aperture, blurring out the background and focusing on detail. A second photo is taken of the full furniture piece or the full space. Placed side by side, they give a complete picture.
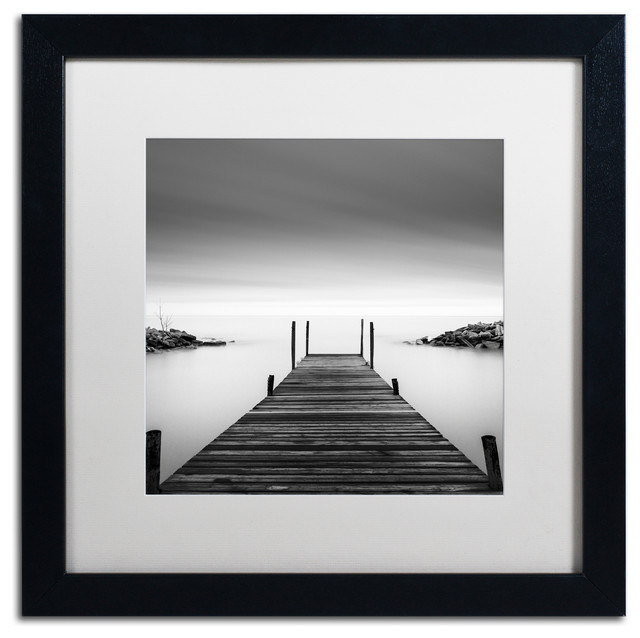
Utilize framing. When composing photographs, make sure you use the frames already inherent in your design. In this photograph, the posts perfectly frame the circular sculptures in the lawn. A few steps to the left or right and that framing would evaporate. It allows the photographer to highlight the design of the space, the views it creates and the sculpture itself.
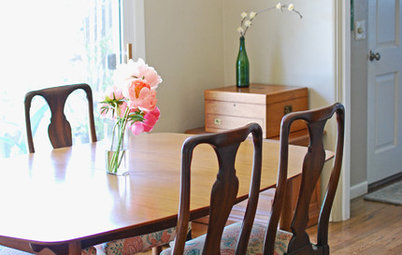
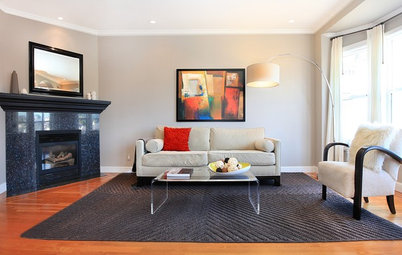
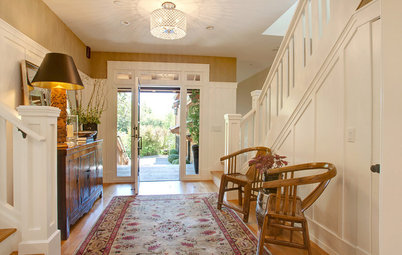
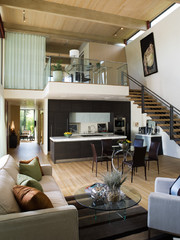
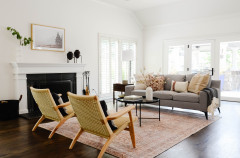
Framing is also important for interior spaces. Here, photographing two rooms at a time shows the viewer the open feel of the space and highlights architectural details like the arch. If the photographer had taken this photo straight on from the coffee table, the chair would have blocked the dining room table. With this angle on the room, the dining room table is framed perfectly and both spaces can be appreciated.
Play with angles. When photographing art and sculpture, experiment with different angles to create the composition that most clearly captures the feel of the art. In this photograph, the bubble sculpture seems small and slightly insignificant.
In this photo, however, the sculpture seems more imposing, more to scale and has more depth. The photographer used a shallow depth of field, starting at one end of the sculpture and photographing its length.
This same technique can be used to capture and exaggerate the length of a space, such as this hallway with adjacent study areas.
Show life in the space. Adding a little life to your design photos is always helpful when you are selling a home. This stairway is beautifully crisp and clean, but also a bit sparse without any decor. The addition of a female figure walking through the space gives the home a lived in feel that is appealing to prospective home buyers.
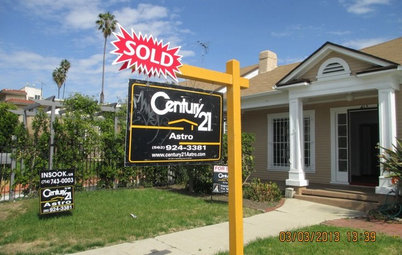
The figure in this photo accomplishes the same effect for the exterior of a home.
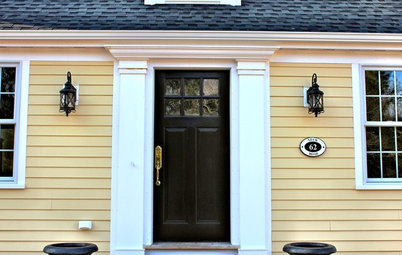
Taking a photo of a door half open can also add a lived-in feel to the photographs of your space. Just make sure you don't use this trick too often photographing a single home. Once or twice in a listing is plenty!
Use a wide-angle lens. A wide angle lens is a must in the toolbox of anyone photographing real estate. A wide angle lens allows you to stand in the corner or a room and still capture the entirety of the space. You do not have to necessarily buy a new lens. Just check the kit lens that came with your camera. Anywhere from 10-24 mm will give a good wide angle.
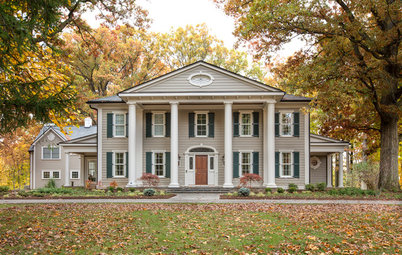
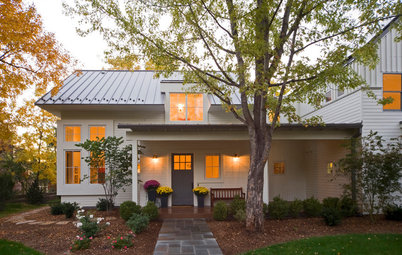
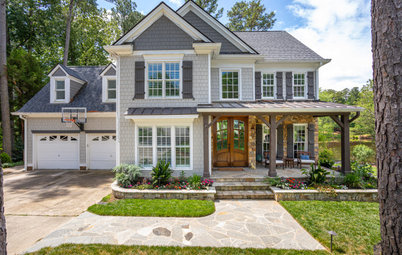
Wide-angle lenses are also wonderful for exterior views of a home, capturing both the home and the surrounding environment in one photo. In this particular photo, the photographer is standing below grade to shoot up at the house, showing the home, the surrounding vegetation and the wide open sky above — all factors in a home buyer's decision to potentially purchase this property.
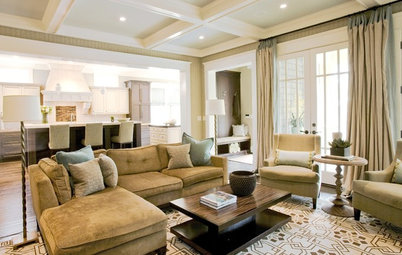
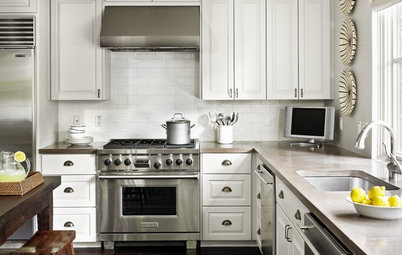
Combine techniques to capture the feel of the space. In this photo, a wide-angle lens is used to capture the entire space; the chairs in the foreground are used to frame the bed and ceiling detail; and the photographer uses a high aperture that allows everything to be sharp and clear.
Don't worry if your photos don't look this amazing straight out of the camera. Photographers often use Photoshop to boost the color, contrast and lighting effects after the fact. You can use free programs like Photoshop Elements or Picasa to add a little bit more oomph to your photos too.
Start by making small changes to the levels, curves, brightness and contrast of your photos to enhance the look of your photographs and ultimately sell your home.
Next: 12 Ways to Style Your Interior Photos Like a Pro
Home Photography Tips From the Pros
Start by making small changes to the levels, curves, brightness and contrast of your photos to enhance the look of your photographs and ultimately sell your home.
Next: 12 Ways to Style Your Interior Photos Like a Pro
Home Photography Tips From the Pros