

DIY: Creative Seat Cards for Your Holiday Place Settings
Try 3 easy-to-make place cards to help your guests feel special

If you’re preparing for a holiday party or dinner, one way to add an extra-special touch is to set out place cards on your table. Try making one of these three crafty and creative holiday-scented place cards to impress your guests.
Cinnamon-Rosemary Place Card
This quick and easy project is perfect if you want to add a natural, organic feel to your table design. The rosemary and cinnamon come together to create a spiced, woodsy holiday scent.
This quick and easy project is perfect if you want to add a natural, organic feel to your table design. The rosemary and cinnamon come together to create a spiced, woodsy holiday scent.
Materials and tools:
- Cinnamon sticks; each place card requires 2
- Twine
- Scissors or floral shears
- Hot-glue gun and glue sticks
- Rosemary
- Printed card stock place cards
1. To create the place card holder, tie twine around one end of two cinnamon sticks. Wrap it around two or three times to bind the sticks together. Add a dab of hot glue to keep the twine in place.
2. Once the glue on the twine is dry, use one of the place cards to measure where the second band should start. Repeat the process.
2. Once the glue on the twine is dry, use one of the place cards to measure where the second band should start. Repeat the process.
3. Position the place cards between the cinnamon sticks. Tuck a piece of fresh rosemary into the twine.
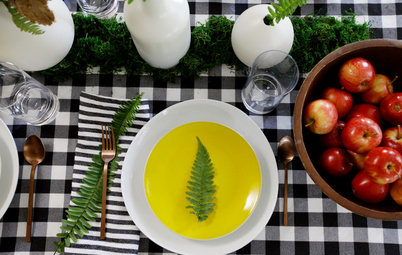
Add matte black cutlery and a sprig of rosemary atop each napkin to complete the look.
Not only can these place card stands be used to mark each guest’s spot at the table, but they’re a creative way to label foods on a buffet or baked goods on a holiday dessert bar.
Candy Cane Easel Place Card
Your guests won’t have any trouble locating their seats with these tasty place cards. Choose photos from previous parties or vacations, or use your favorite selfies.
Your guests won’t have any trouble locating their seats with these tasty place cards. Choose photos from previous parties or vacations, or use your favorite selfies.
Materials and tools:
- Die-cut snapshot frames
- Photos printed on card stock
- Paper trimmer or scissors
- White artist’s tape
- Mini candy canes; each place card requires 3
- Hot-glue gun
- Pen or marker
- Decorative twine (optional)
1. With a paper trimmer or scissors, trim printed photos to size. Use white artist’s tape to secure the photos to the die-cut frames.
2. Join two candy canes at a slight angle with hot glue for the front of the easel. Once the glue is cool, add another drop to keep the third candy cane support in place.
2. Join two candy canes at a slight angle with hot glue for the front of the easel. Once the glue is cool, add another drop to keep the third candy cane support in place.
3. Write your guest’s name or a personalized message on the bottom of the place card, or leave the image as is.
Optional: Tie a bow using the decorative twine and use a dot of hot glue to attach it to the place card.
Optional: Tie a bow using the decorative twine and use a dot of hot glue to attach it to the place card.
Your guests will get a kick out of these cards, especially if you use portraits taken from past parties. The photos can help spark conversation and memories of parties from years past.
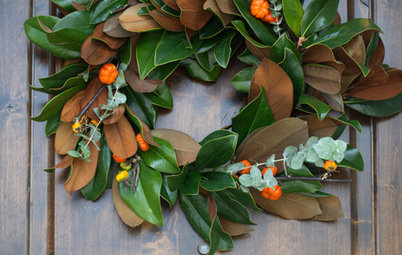
Pine Wreath Place Card
If you’re in search of a last-minute idea, this project is for you. What’s great about this place card is that it’s simple to make and takes very little time.
If you’re in search of a last-minute idea, this project is for you. What’s great about this place card is that it’s simple to make and takes very little time.
Materials and tools:
- Card stock with printed names
- Gold color block foil tags
- Paper trimmer or scissors
- Evergreen sprigs
- 3-inch vine wreaths
- Decorative twine
- Hole puncher
- Floral shears
1. Trim a printed name tag to size with paper trimmers or scissors. Then, using a hole punch, make a hole at one end.
2. Cut a long piece of twine and use a single knot to tie a fresh evergreen sprig to the front of the vine wreath.
3. Weave both ends of the twine through the holes in the name tag and the gift tag, then slide the tags close to the pine. Tie a pretty bow to secure everything in place.
2. Cut a long piece of twine and use a single knot to tie a fresh evergreen sprig to the front of the vine wreath.
3. Weave both ends of the twine through the holes in the name tag and the gift tag, then slide the tags close to the pine. Tie a pretty bow to secure everything in place.
For double duty, add an ornament hook to turn the place card into a decorative favor for guests to take home.
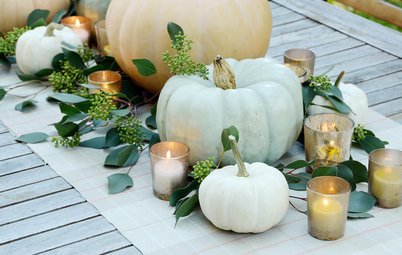
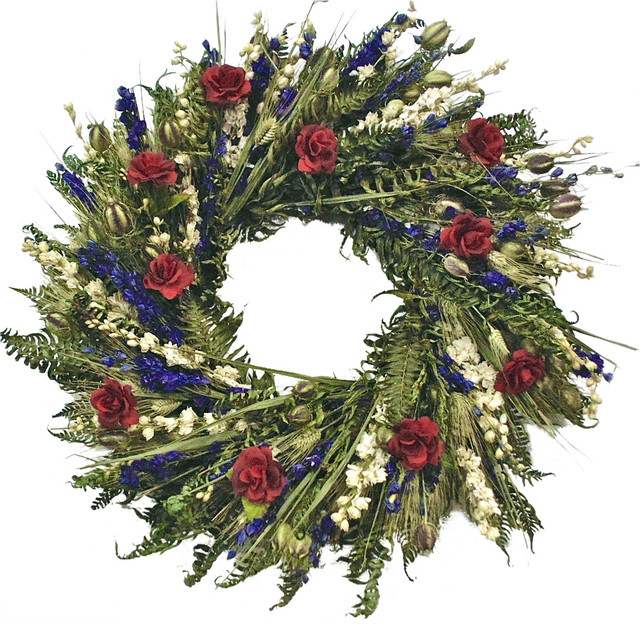
These cards work well with a more traditional table setting, as pictured here. Few things say “the holidays” better than a wreath and fresh evergreens.
More
A Place for Everything: Beautiful Ways to Style Your Table
Holiday Party Prep: Plan Your Table Settings
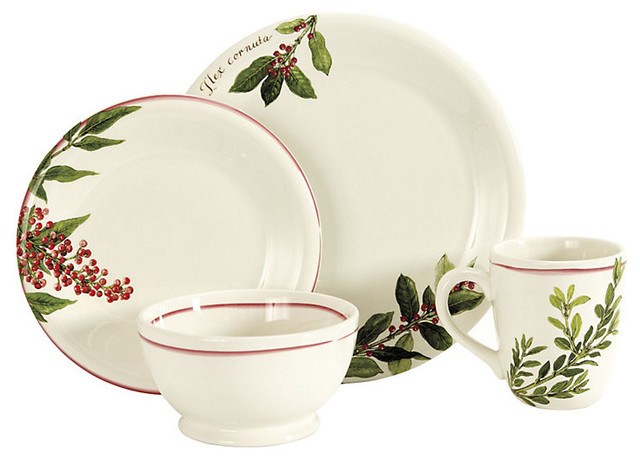
Browse dinnerware sets
More
A Place for Everything: Beautiful Ways to Style Your Table
Holiday Party Prep: Plan Your Table Settings
Browse dinnerware sets