Revive Your Space With a Homemade Pillow Cover
Give your bed or sofa a new look with a little fabric and some simple sewing skills

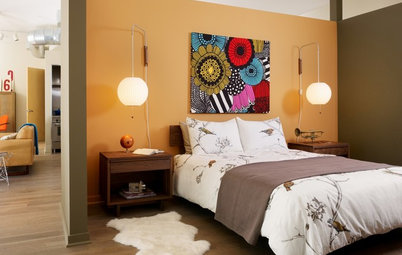
One of the fastest ways to update your bed or sofa is to swap out pillow covers. Store-bought pillow covers can be costly, but you can experiment with colors and try unusual patterns by buying the fabric and sewing the covers yourself. I am nowhere near an expert sewer, but I do have basic knowledge of how to operate a sewing machine and I make pillow covers all the time. Let me show you how to easily make a pillow cover.
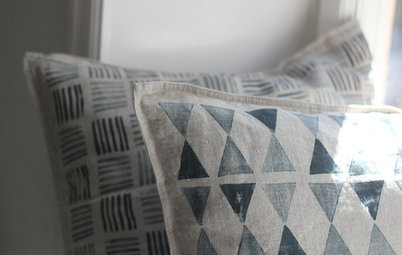
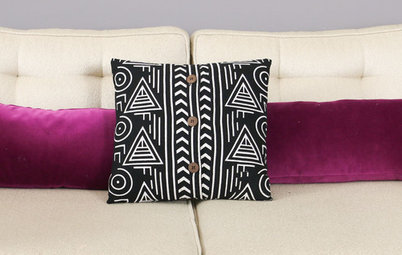
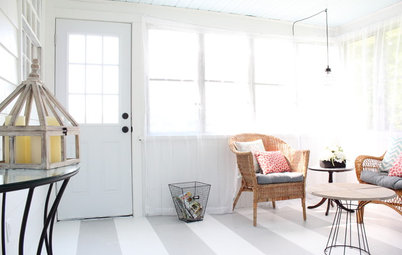
The finished product: a simple square pillow cover. Once you get the hang of it, you can expirement with other shapes too.
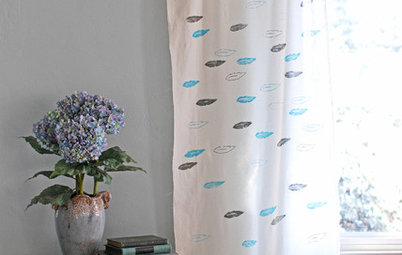
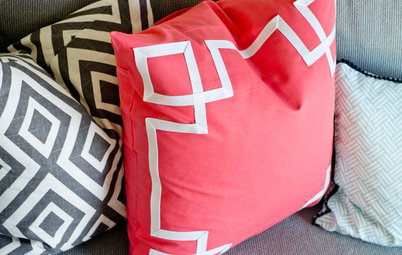
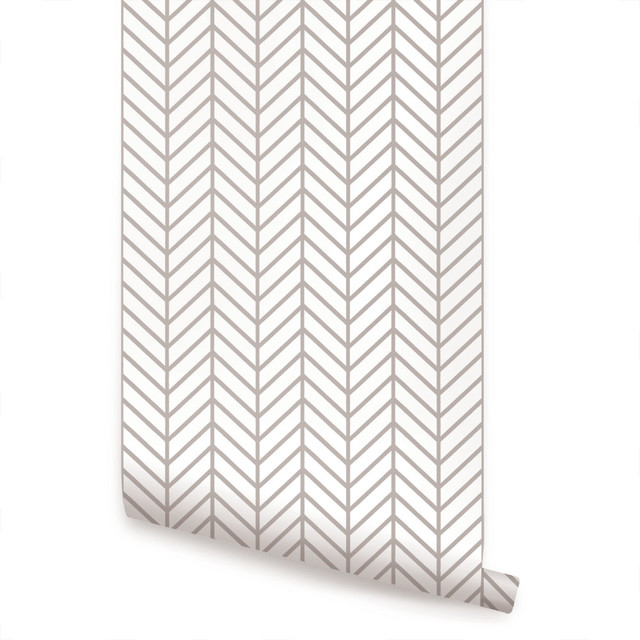
First, pick your fabric. An upholstery-weight fabric is a good start because the fabric won't slip and slide. If you are a beginner, geometric patterns such as lines, grids, checks or plaid are a good option because the patterns serve as built-in guides to help you sew a straight line.
Cut out the front. Depending on your insert size, cut the front of the pillow cover at least an inch bigger all around. If you are using a 16-inch square insert, a half-yard of fabric will work. Upholstery fabric usually comes in 54-inch widths, so a half yard will give you three 18-inch squares.
Cut the two flaps that will form the back. For the back of the cover, I create two flaps, one overlapping the other, as a natural closure. No zipper, no buttons. Each flap has to be bigger than half the size of the front, so there is plenty of overlap. If you are working with a 16-inch square insert, cut each flap 18 inches by 12 inches.
Hem one end of the back flaps. Fold over the rough edge of each flap and pin it down. For best results, you can iron it before sewing for a stiff edge.
Sew each edge.
Now for the fun part.
Lay down your pieces, right-sides together. Start by placing the front piece with its pattern facing up.
Place one back flap face down on top of the front piece. Make sure the outer edges of each side match up and the hemmed edge is toward the center.
Lay down your pieces, right-sides together. Start by placing the front piece with its pattern facing up.
Place one back flap face down on top of the front piece. Make sure the outer edges of each side match up and the hemmed edge is toward the center.
Place the second flap on top of the first flap with its hemmed edge also toward the center.
Pin all around the square, making sure the fabric lies flat.
Now you can carefully sew all around the square.
That's it; you're done. Turn the cover inside out to reveal a crisp square ready to be stuffed with your pillow insert. I am showing you the back side so you can see how the overlapping flaps turn out.
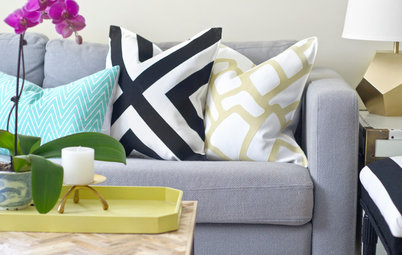
Proudly display your new pillow. When someone asks you where you purchased it, you can say you made it yourself in about 40 minutes.
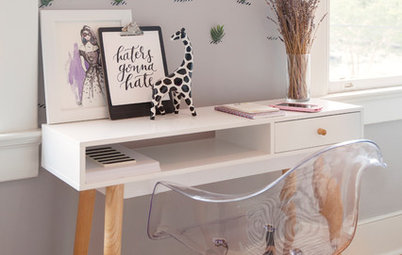
Next: More great DIY projects
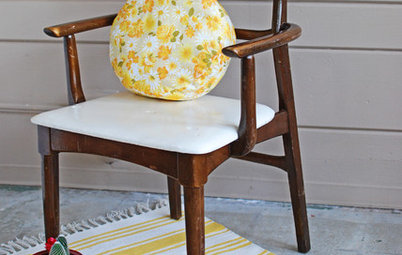
How to Recover a Seat Cushion
Next: More great DIY projects
How to Recover a Seat Cushion