


Houzz TV: Make a Living Centerpiece That Turns Into Party Gifts
Beautiful plants bundled in moss make an arrangement you can take apart and give away after your party
Brenna Malmberg
December 10, 2016
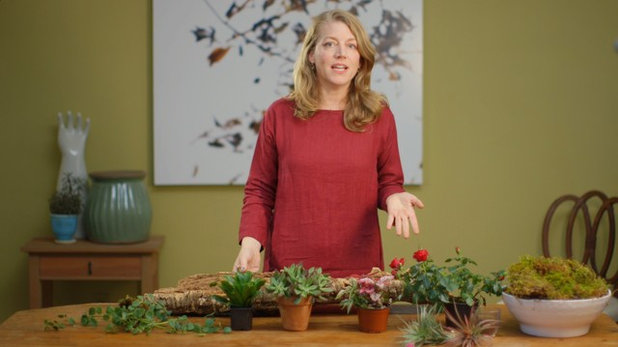
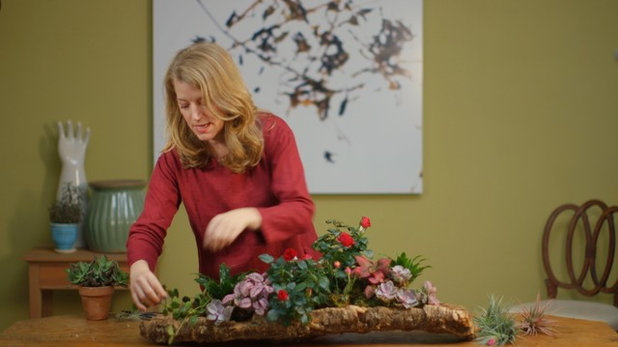
Share the gift of nature during your party and beyond with this tabletop arrangement. In this episode of Houzz TV, plant designer Baylor Chapman explains how to quickly create a living centerpiece for your dining room gatherings. Plus, at the end of the night, you can take it apart and send your guests home with little plant gifts.

Materials
- A vessel, such as a piece of cork bark, firewood, burlap or a platter
- Various plants, such as air plants, miniature roses, foliage plants, succulents and draping plants
- Fresh or preserved moss, such as sheet moss, clumpy moss or reindeer moss
- Rubber bands, twine or ribbon (preferably the color of the moss)
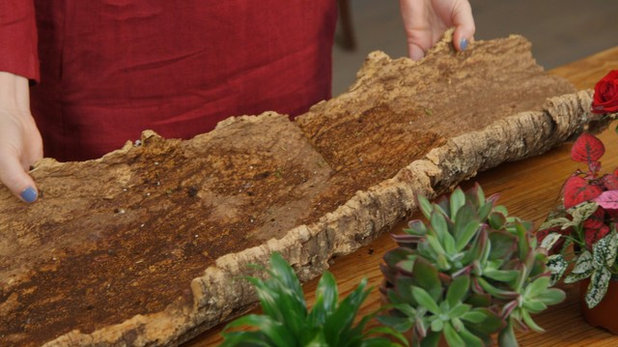
1. Start With the Base
Chapman used a long, flat piece of cork bark as the vessel for her living centerpiece. You can also use firewood, burlap or even a platter. The main goal is to find something to put between your table and the plants.
Chapman used a long, flat piece of cork bark as the vessel for her living centerpiece. You can also use firewood, burlap or even a platter. The main goal is to find something to put between your table and the plants.
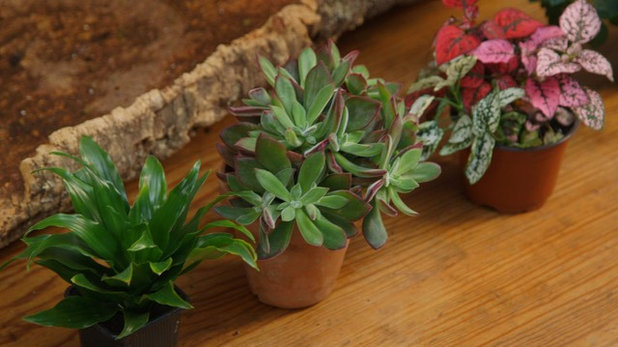
2. Pick Your Plants
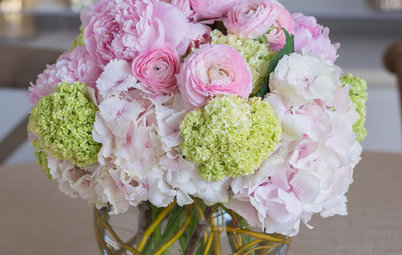
You’ll need a few types of plants to create the final piece of tabletop decor. When choosing plants, keep in mind the theme and size of the centerpiece you want to create. “I’m sticking with reds and pinks and greens,” Chapman says, “because I want some unity in my arrangement.” She also selected plants growing in 2-inch and 4-inch containers.
Moss. For the design Chapman shares, moss is an important factor. She used sheet moss, which works well for this project, but clumpy moss or reindeer moss are also options. You’ll need enough moss to cover the soil of each potted plant.
Air plants. Chapman used blooming air plants, but any type works.
Flowering plants. She chose miniature roses for their beauty and flow.
Foliage plants. Chapman likes to use plants with big leaves and ones that are airier. She used polka-dot plant and dracaena.
Succulents. She chose to add small echeveria plants to her arrangement.
Draping plant. Chapman selected peperomia. You could use any vine, she says.
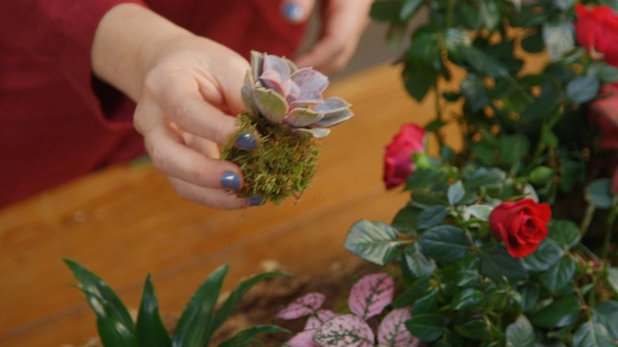
3. Bundle Your Plants
Chapman uses a number of moss balls, which are a variation of Japanese bonsai called kokedama, to create the final centerpiece.
To make a moss ball, place a piece of moss upside down on the table. Then, cut the moss into a smaller piece that just covers the soil of your plant.
Next, remove your plant from its container. You’ll want to squeeze the roots and soil to loosen them up. Then, place the plant in the middle of your moss and pull the moss up around the soil.
Secure the moss around the soil with a few rubber bands, twine or ribbon. You can use moss-colored rubber bands to camouflage this step.
Continue bundling your plants until they are all ready to be arranged in your vessel.
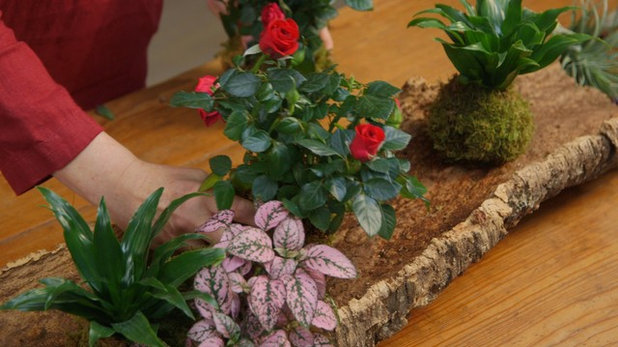
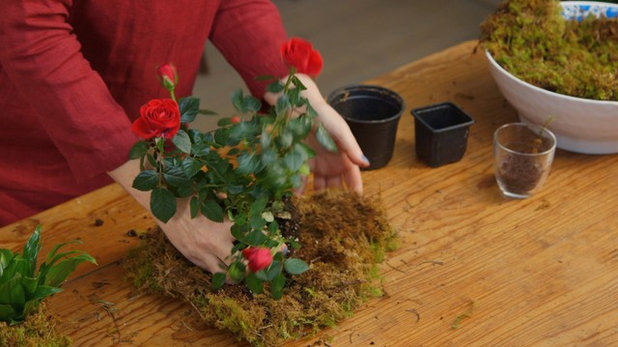
4. Arrange Your Plants
Chapman likes to start her arrangement on the edge. She hangs one plant off the edge a little and uses another plant next to it to hold it in place. From there, she puts her plant bundles around the vessel and stacks them on top of one another at different angles.
In the center, she adds height with the roses, but not too much. “You want your guests to be able to communicate across the table,” Chapman says.
Because she used similar plants and colors, she spreads the varieties throughout the vessel.
She uses the smaller plants, such as these succulents, to fill in any holes.
On the end, she fans out her draping plant, letting it trail off the side.
While you are arranging, don’t be afraid to move them around until you have the look you want, Chapman says. “There’s no wrong or right. That’s the best thing about these moss balls.”
Except for the roses, the plants can live in their moss balls for a while, Chapman says. Just place them on a dish and water them as needed; preserved moss can stain hands when it’s wet, she adds.
Watch now: Create a Living Centerpiece in Under 15 Minutes
Take a tour of Chapman’s home and see how she brings nature to the city
More
Bring Living Color to Your Table
DIY Project: How to Make a ‘Kokedama’ String Garden


What are you working on?

Related Products


We believe everyone deserves a space that will make them feel comfortable. Our goal is to help you create and... Read More
Related Stories
Fall and Thanksgiving
DIY: Make a Fresh Magnolia Wreath
Learn how to add a statement piece to your front door with these easy-to-find evergreens
Full Story
Bathtubs
10 Times When Painting a Claw-Foot Tub Refreshed a Bathroom
See how designers and homeowners use colorful paint to give tubs and bathrooms a fresh look
Full Story
Decorating Projects
6 Fun Ways to Decorate With ... Tape?
By Janet Paik
Add a new accent wall, a midcentury closet detail and more with this budget-friendly, multipurpose wonder
Full Story
Decorating Guides
How to Hang a Heavy Mirror
By Erin Carlyle
Here’s what to know about your mirror, wall and hanging hardware to do it right
Full Story
Mother’s Day
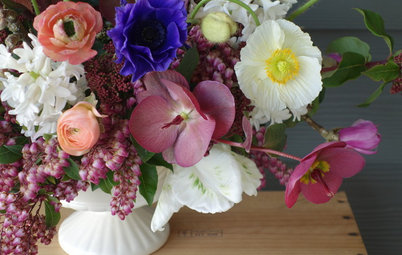
Surprise Mom With an Elegant DIY Bouquet
For Mother’s Day, use flowers and branches from your local market or backyard to create this pastel beauty
Full Story
Decorating Projects
12 Projects to Indulge Your Spring Fever
Get busy beautifying your home with one of these budget-friendly DIY decorating projects
Full Story

Entryways
DIY: Corral Your Boots With This Handy Entryway Tray
By Faith Towers
Follow along to make this easy and chic tray to protect your floors when it’s soggy outside
Full Story
Valentine’s Day
Put Together a Romantic and Whimsical Valentine’s Day Bouquet
By Becky Harris
Use American-grown branches and blooms for a truly individual way to show your love
Full Story

Crafts
Create a Festive, Colorful Mardi Gras Bead Wreath
Reuse collected beads from parades for an easy-to-make front door accent
Full Story

Organizing
DIY: Make a Wooden Wall Organizer to Curb Entryway Clutter
By Faith Towers
Create a hanging catchall for hats, coats, keys and phones
Full Story
lindastarr, I hope you will come back and show us what you did!
That was awesome, loved your video. And yes it is easy but worth it. Thankyou
Hi LindaTodd, Thera are a a few good workarounds to save on money and find the supplies easier. A good place to try is a craft store. I've seen moss in bags - and all different kinds (clump, reindeer etc). NOTE: if you used dyed moss - take care of your table surface and hands as they will turn green when wet!
Craft stores have also been offering log slices - and log style vases - a good substitute for the cork. In the past, I've also take a fireplace log piece and carefully cut off the bark (a sometimes easy but sometimes laborious process!) but it looks great (and is cheap).
I get a lot moss from the flower market, and it is farmed in Oregon and Florida (there are fresh Moss sellers online). The vase I used is cork.
Hope the tips helped!
--Baylor