


Holiday DIY: 3 Evergreen Gift Toppers
Make your Christmas gifts stand out with these trendy-meets-timeless gift toppers
Alexandra Crafton
December 18, 2016
Houzz Contributor: Specializing in interior photography and lifestyle journalism, Alexandra loves getting to know the people and stories behind the houses she shoots.
Houzz Contributor: Specializing in interior photography and lifestyle journalism,... More
Complement your one-of-a-kind gift wrapping with festive, easy-to-make gift toppers that are both trendy and timeless. These ideas from artisan Holley Simmons, one of the co-founders of The Lemon Bowl in Washington, D.C., will help you personalize your gifts without overspending on packaging.
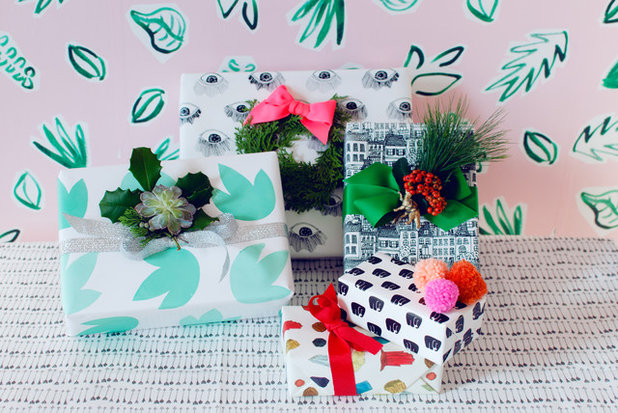
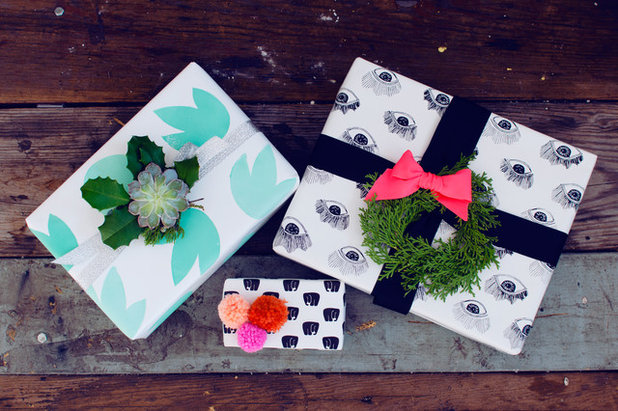
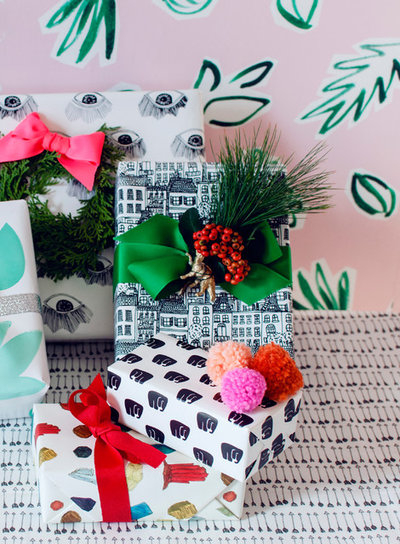
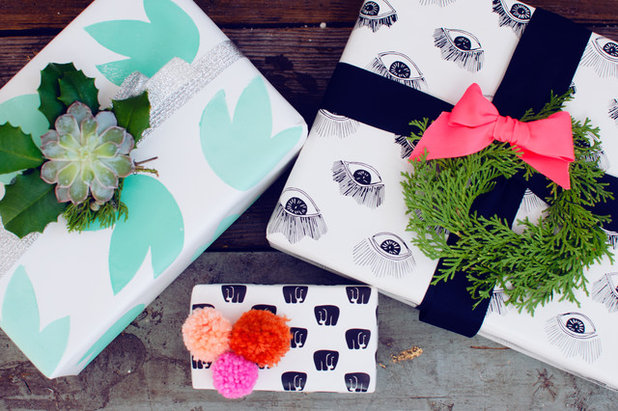
Decorate the gifts for everyone on your list with these three evergreen embellishments: a wreath and bow topper, a berry and dinosaur topper, and a holly and succulent topper.
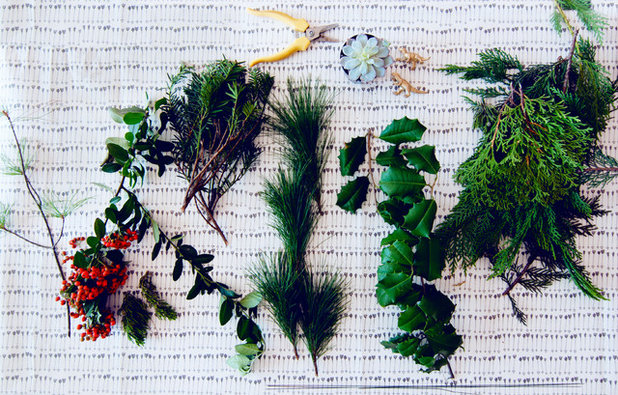
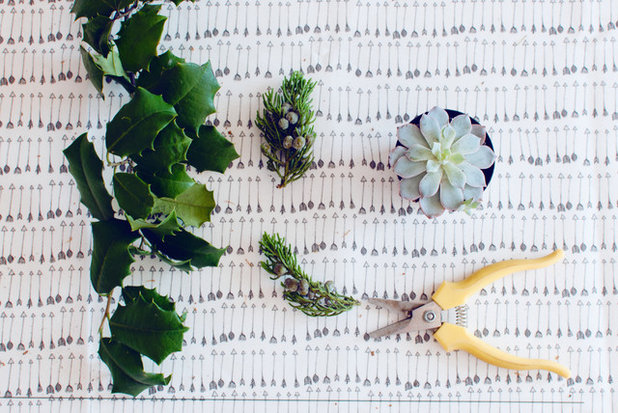
Supplies for All Projects
- Foraged evergreens and berries
- Wire cutters
- Floral wire
- Ribbon in the color of your choice
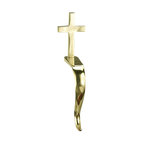
- Plastic dinosaur, spray-painted gold
- Small succulent
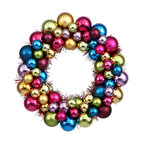
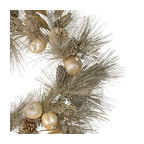
Wreath and Bow Topper
Nothing says merry and bright like a green wreath with a vivid pink bow. Simmons’ choice of neon pink instead of traditional Christmas red makes this gift topper stand out with a hip yet elegant look.
Nothing says merry and bright like a green wreath with a vivid pink bow. Simmons’ choice of neon pink instead of traditional Christmas red makes this gift topper stand out with a hip yet elegant look.

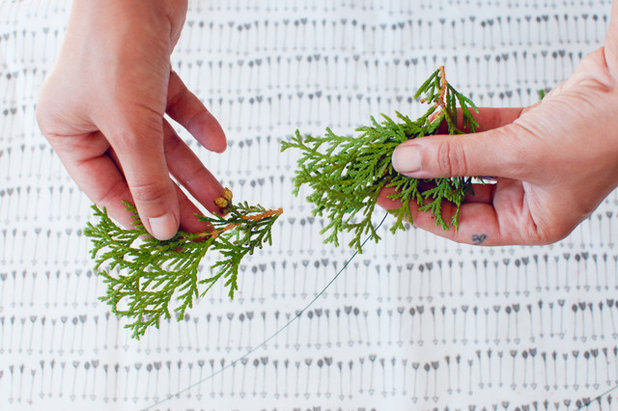
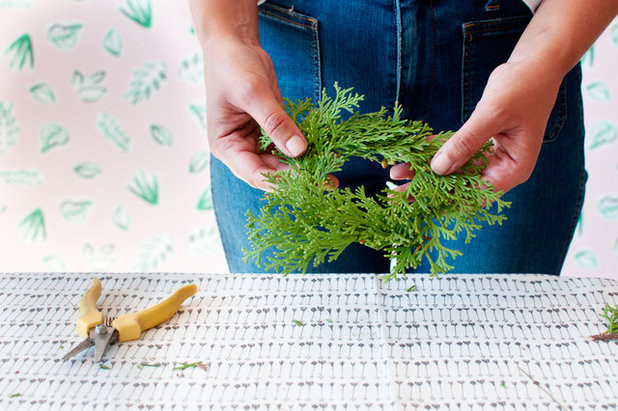
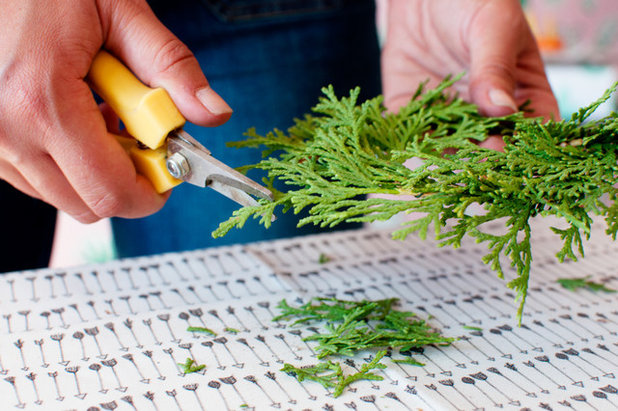
1. Begin by trimming off several smaller symmetrical pieces from your evergreens with the wire cutters or other implement. They should be about 2 to 3 inches long and very full.
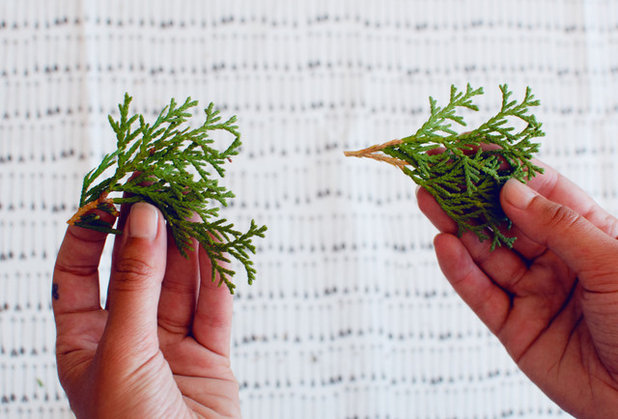
Start with two similarly sized pieces.
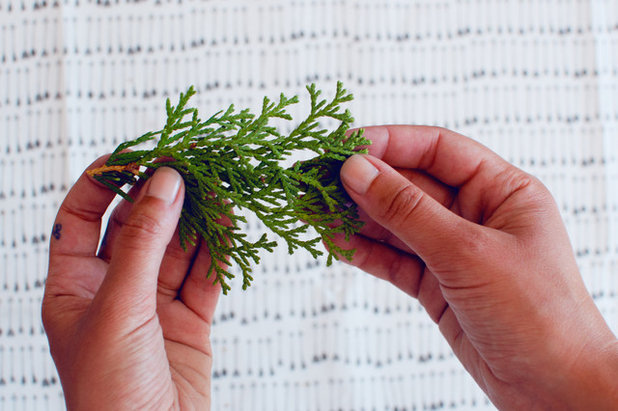
2. Gently layer them together, slightly overlapping one on top of the other.
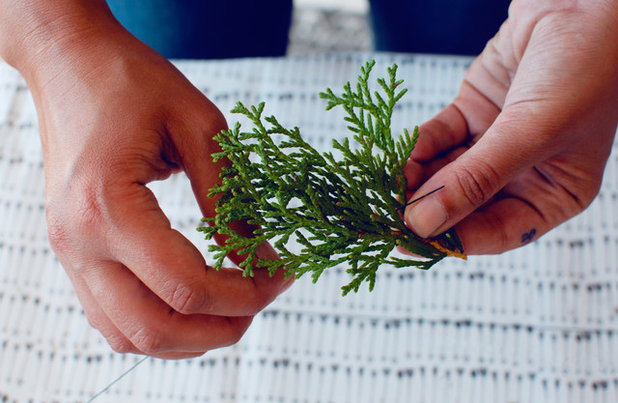
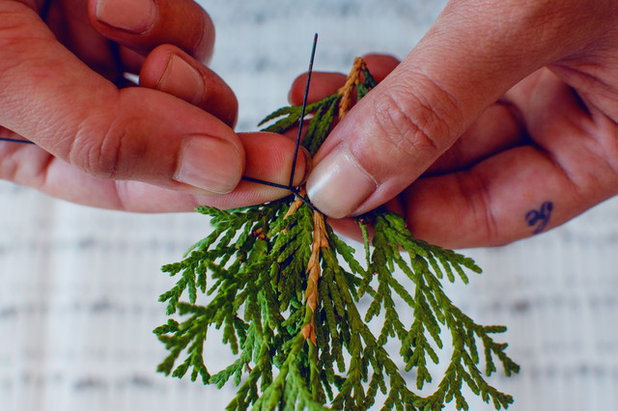
3. Cut a 1-foot piece of floral wire. Starting about 1 inch in from one end of the wire, twist the wire around the two sprigs, leaving the rest of the wire free.
As you twist the wire around the sprigs, be careful not to crush the greens; work around them instead.
Also, leave one small branch free from the wire.
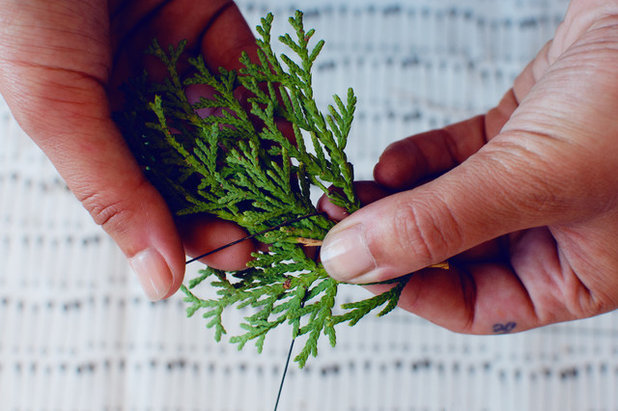
4. Twist both ends of the wires together to fasten the sprigs together.
5. Place a third sprig on top of the original two pieces and wind the wire around it the way you did previously.
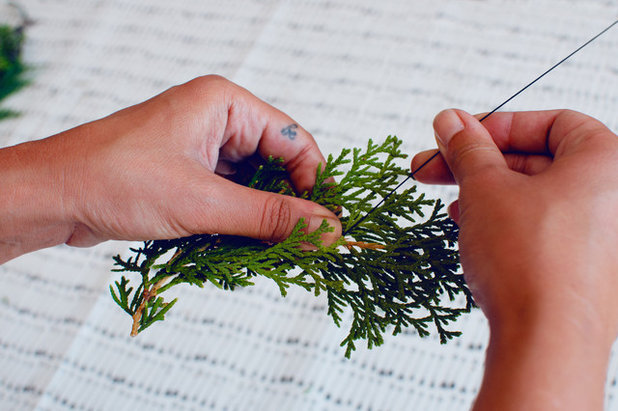
Again, gently twist the wire around the stem to connect the sprig to the previous ones.
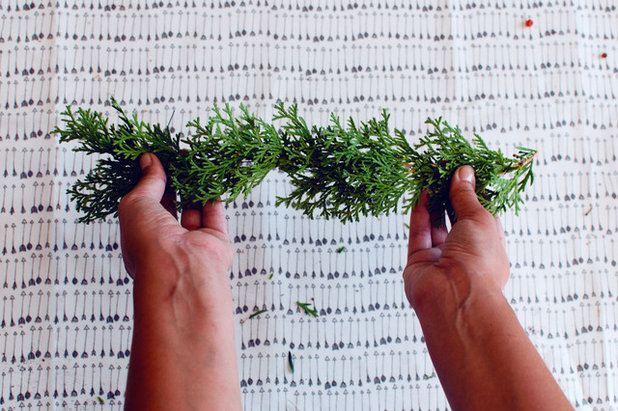
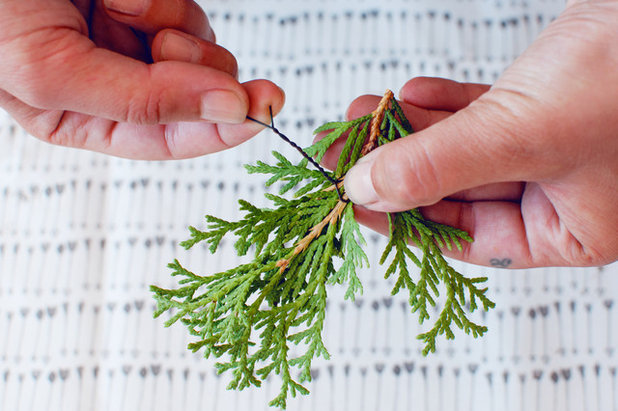
6. Repeat the process, adding more sprigs until you have a 6-inch-long evergreen garland.
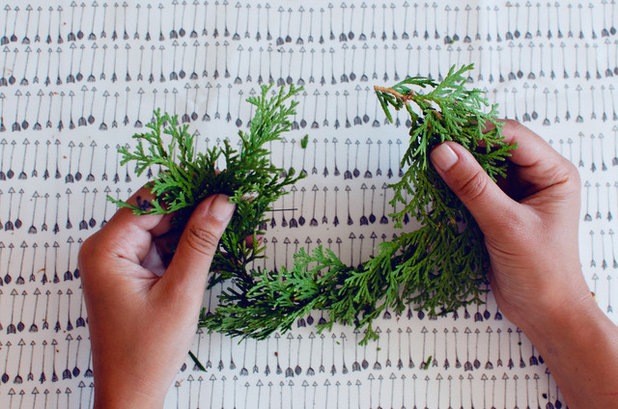
7. Bring the two ends of the garland together to form a wreath.
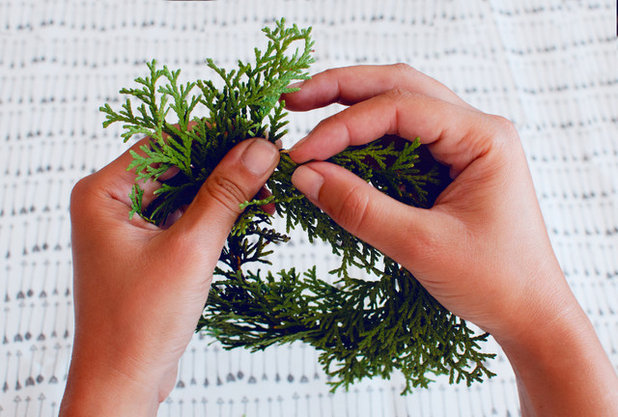
Tie the ends together with the remaining wire.
Your wreath should now look about like this.
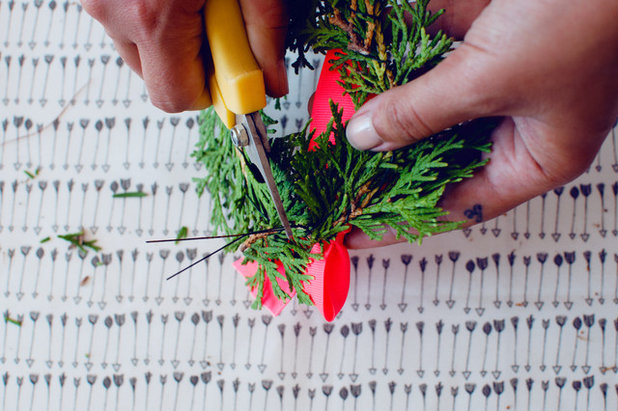
8. Trim off any excess wire. Also trim the wreath as shown to get rid of any straggling branches and to give the wreath a rounder shape.
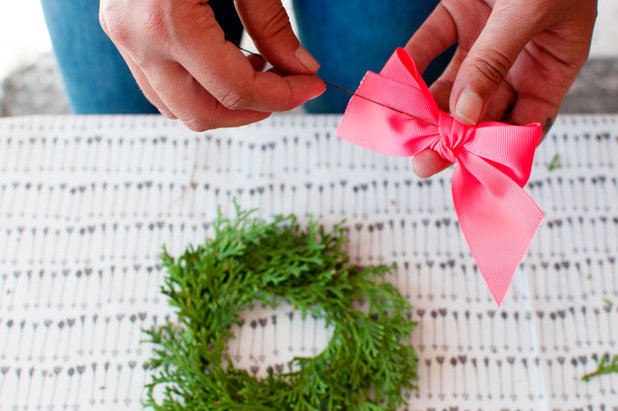
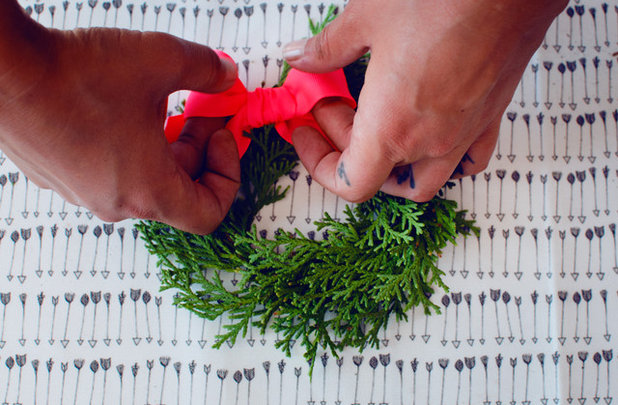
9. Next, cover the wire seam with the ribbon. Tie the ribbon into a neat bow. Then take a separate piece of wire and poke it through the center of the bow.
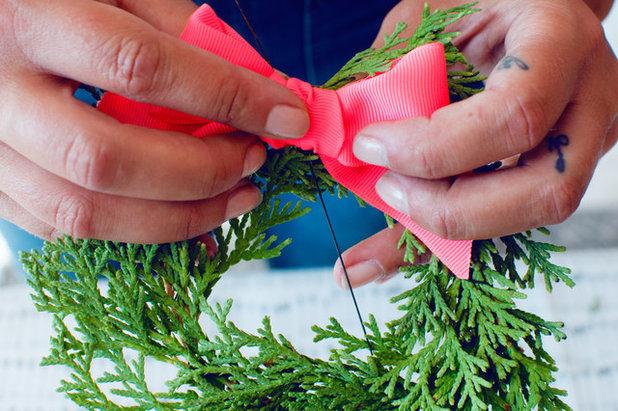
Choose the side of the wreath that looks best and place the bow on top of the seam on that side.
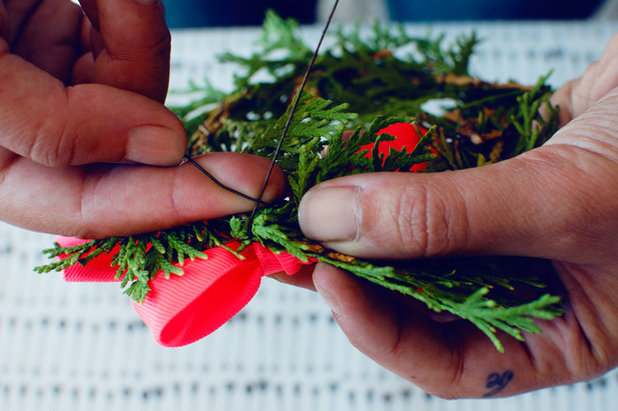
Twist the wire together to hold the bow fast to the wreath.
Trim the wire.
10. Straighten the bow and …
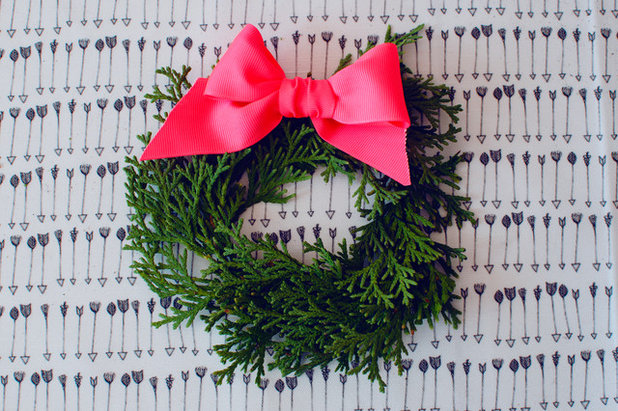
Voilà — you have an elegant Christmas wreath topper! Secure it to the gift by wrapping a small piece of wire to both the wreath and the ribbon that is already wrapped around the gift.
Berry and Dinosaur Topper
Dinosaurs are making a comeback, and not just on store shelves and in the hands of little boys and girls. They’re hitting the design world with their retro look, reminiscent of the iconic 1950s and 1970s figurines. Simmons has ingeniously worked them into her plant design and this gift topper.
Dinosaurs are making a comeback, and not just on store shelves and in the hands of little boys and girls. They’re hitting the design world with their retro look, reminiscent of the iconic 1950s and 1970s figurines. Simmons has ingeniously worked them into her plant design and this gift topper.
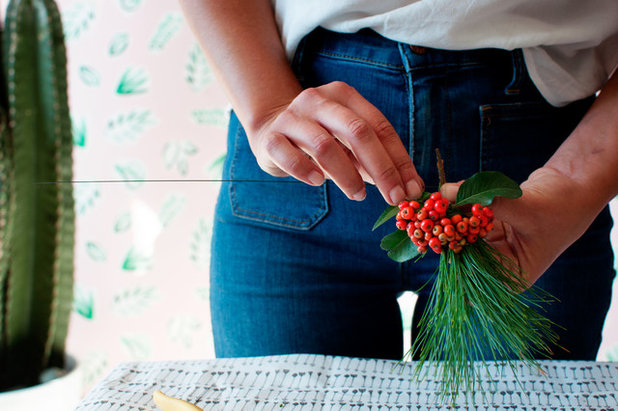
1. Gather a variety of evergreen sprigs and top them with a sprig of berries. Wrap them tightly together at the base with floral wire. The wire should be long enough to extend past the tie.
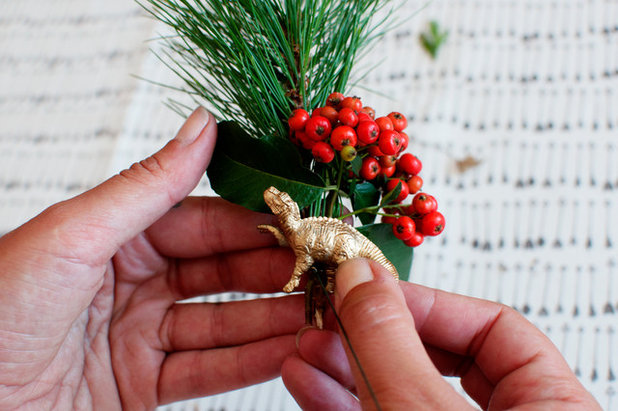
2. Disguise the wire by placing a painted miniature dinosaur over it. Secure it in place with the extra wire.
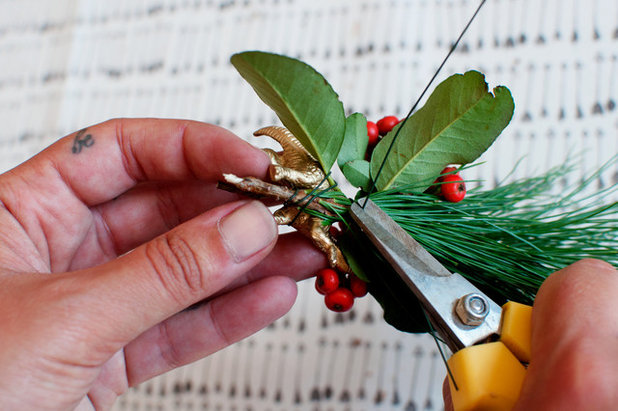
3. After the dino is secure, clip the wire.
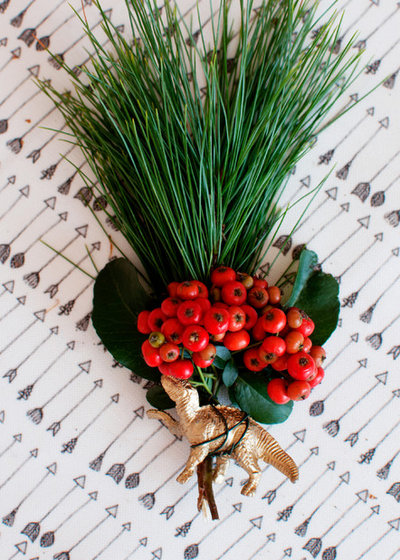
Play around with different combinations of berries and greenery and differently sized dinosaurs to make a variety of unique, personable dino gift toppers.
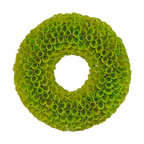
Holly and Succulent Topper
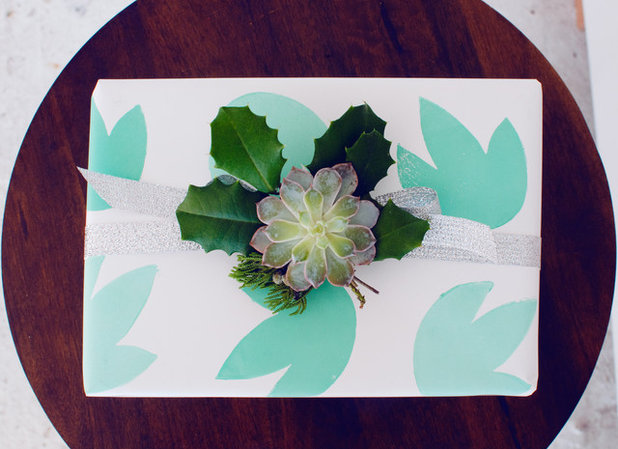
Because of its timeless yet modern elegance, the succulent trend isn’t going anywhere soon. Simmons takes advantage of this by using these beauties for gift topping. Her combination of succulent and holly creates the perfect holiday look.
Because of its timeless yet modern elegance, the succulent trend isn’t going anywhere soon. Simmons takes advantage of this by using these beauties for gift topping. Her combination of succulent and holly creates the perfect holiday look.
For this project, you need a small succulent and some holly or other foraged berries.
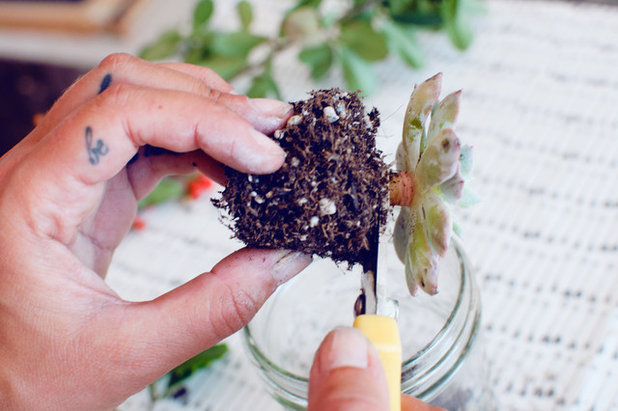
1. Clip the succulent from its roots and rinse off any dirt. (The succulent can be replanted after the holidays, once the stem hardens off and develops new roots.)
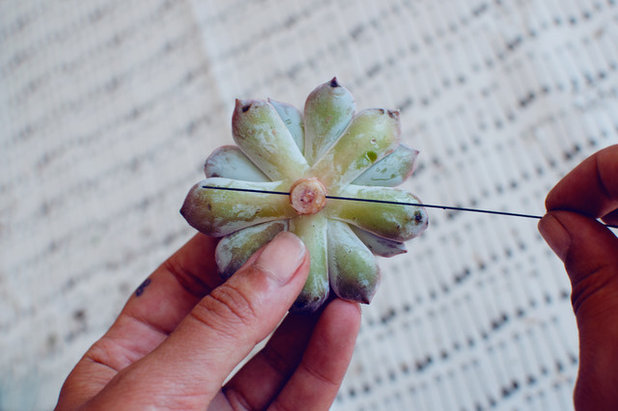
2. Feed a piece of floral wire through the base of the succulent’s stem.
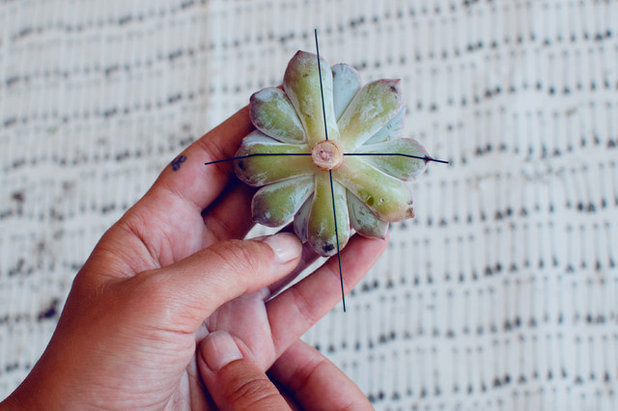
3. Feed a second piece of wire through the base, perpendicular to the first, to form an X. Set aside.
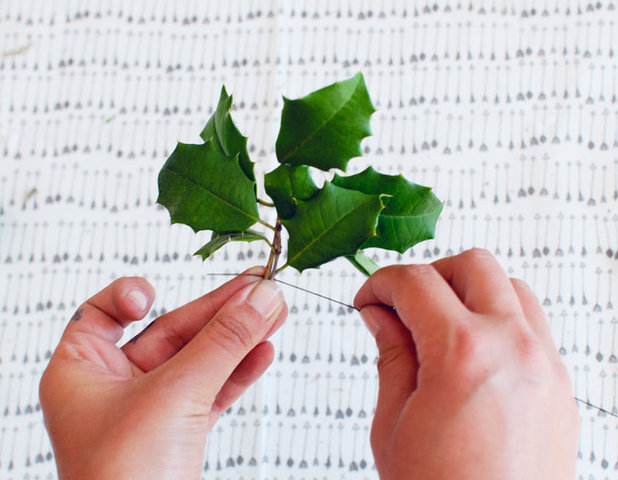
4. Choose a small but leafy sprig of holly. Cut a 6-inch-long piece of wire and wrap it around the stem, starting about 1 inch in from one end of the wire.
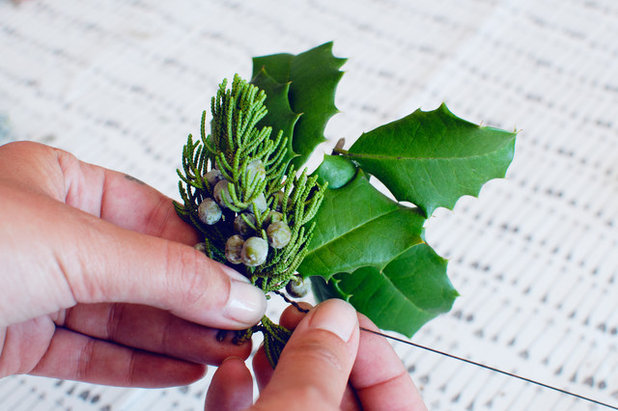
5. Add the berries, wrapping the wire around both pieces and twisting the wire to secure them in place.
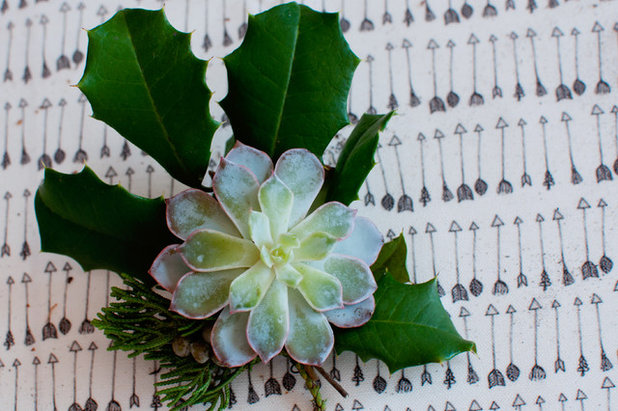
6. Use the wire in the stem to attach the succulent to the holly and berries.
7. Clip off the excess wire, leaving just enough to secure the topper to the ribbon on the gift.

These three evergreen toppers come from Holley Simmons, pictured at right along with Linny Griffin, left, and Kathryn Zaremba. The three woman co-founded The Lemon Bowl, a makery that leads creative workshops in its studio and shop in Washington, D.C. “Holley’s plants are always hung around the windows and fill The Lemon Bowl with life,” Griffin says.
Holiday DIY: A Colorful Pompom Garland
Holiday DIY: Block-Printed Gift Wrap
Holiday DIY: A Colorful Pompom Garland
Holiday DIY: Block-Printed Gift Wrap


Related Stories
Fall and Thanksgiving
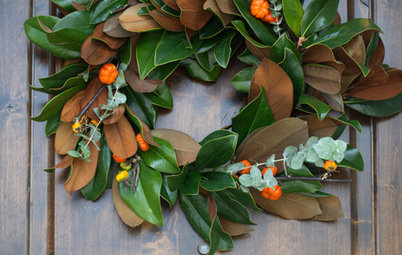
DIY: Make a Fresh Magnolia Wreath
Learn how to add a statement piece to your front door with these easy-to-find evergreens
Full Story

Bathtubs
10 Times When Painting a Claw-Foot Tub Refreshed a Bathroom
See how designers and homeowners use colorful paint to give tubs and bathrooms a fresh look
Full Story
Decorating Projects
6 Fun Ways to Decorate With ... Tape?
By Janet Paik
Add a new accent wall, a midcentury closet detail and more with this budget-friendly, multipurpose wonder
Full Story

Decorating Guides
How to Hang a Heavy Mirror
By Erin Carlyle
Here’s what to know about your mirror, wall and hanging hardware to do it right
Full Story

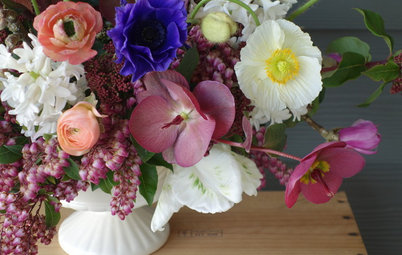
Mother’s Day
Surprise Mom With an Elegant DIY Bouquet
For Mother’s Day, use flowers and branches from your local market or backyard to create this pastel beauty
Full Story

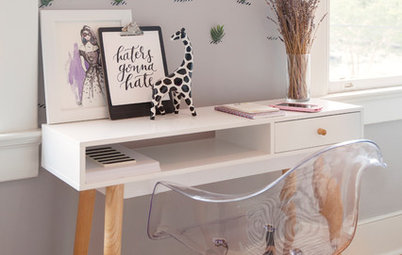
Decorating Projects
12 Projects to Indulge Your Spring Fever
Get busy beautifying your home with one of these budget-friendly DIY decorating projects
Full Story

Entryways
DIY: Corral Your Boots With This Handy Entryway Tray
By Faith Towers
Follow along to make this easy and chic tray to protect your floors when it’s soggy outside
Full Story
Valentine’s Day
Put Together a Romantic and Whimsical Valentine’s Day Bouquet
By Becky Harris
Use American-grown branches and blooms for a truly individual way to show your love
Full Story

Crafts
Create a Festive, Colorful Mardi Gras Bead Wreath
Reuse collected beads from parades for an easy-to-make front door accent
Full Story

Organizing
DIY: Make a Wooden Wall Organizer to Curb Entryway Clutter
By Faith Towers
Create a hanging catchall for hats, coats, keys and phones
Full Story
i think i should try it.. its sure a creative one
Oh how I would love to receive a package from these ladies. It could be empty, I'd just love the topper. Nice!
I never could kill a plant (like in the 3rd case) to prepare a package...never, sorry