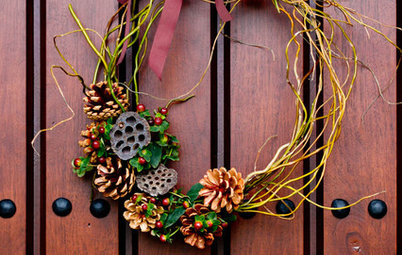


Holiday DIY: Sweet and Festive Pine Cone Garland
Make a gilded pine cone decoration using a few simple materials

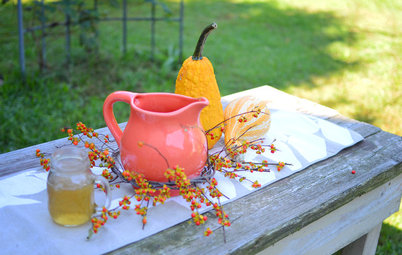
With the holidays around the corner, it’s time to start thinking about how you will decorate your home. This year, why not try making a nature-inspired garland using pine cones from your yard, nearby trees or even from a craft store? A simple garland made of pine cones and rope can be an elegant way to add festive spirit to any mantel, wall or entry. Here’s how to create a gilded pine cone garland in a few easy steps.
Materials for an 8-Foot Garland
- 15 screw eyes (size 216)
- 15 pine cones
- Baking pan
- Aluminum foil
- Tweezers (optional)
- Small flat-edge paintbrush
- Liquid Leaf in gold
- Handheld cordless electric drill with one-16th-inch drill bit(optional)
- Scissors
- 8 yards of gold ribbon
- 8 feet of half-inch-diameter rope
- Gold thumbtacks or small nails for hanging
Notes: If you don’t have an electric drill, you will need to insert the screw eyes in the pine cones before you bake them, rather than in step 3. If you are using store-bought pine cones, you can skip step 1.
1. Bake the pine cones to kill any bugs that may be hiding inside and help the pine cones open completely. It will also harden the sap so that it won’t be sticky.
Preheat the oven to 250 degrees (130 degrees Celsius). Cover a baking pan with aluminum foil. Lay the pine cones on the pan so that they are evenly spaced. Bake them one hour, flipping the pine cones every 15 minutes. Keep a close watch on them to make sure they don’t start to smoke. Remove them from the oven and let them cool 15 minutes. Bonus: Your home will smell amazing!
2. Once the pine cones have cooled, remove any remaining bits of debris (I recommend using tweezers). Then use the paintbrush to paint the tips of each one with Liquid Leaf. Set them aside to dry about 30 minutes.
3. After the paint dries, insert the screw eyes into the pine cones. Use a cordless drill with a one-16th-inch drill bit to create a pilot hole. Point the drill bit down through the very top and drill about one-eighth inch into the top of the cone. Then twist the screw eye into the hole.
If you do not have a cordless drill, you should insert the screw eyes by hand before you bake them. Because the pine cones are so dry after baking, they will crumble when you try to insert the screw eyes.
If you do not have a cordless drill, you should insert the screw eyes by hand before you bake them. Because the pine cones are so dry after baking, they will crumble when you try to insert the screw eyes.
Repeat this process for the rest of your pine cones.
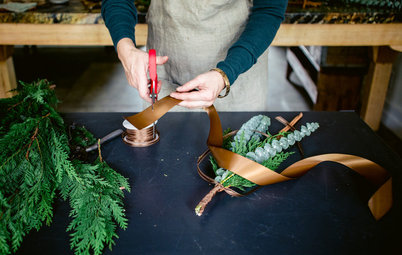
4. Using scissors, cut a 16-inch piece of ribbon and slip the end through a screw eye. Do the same for the rest of the pine cones.
5. Finally, assemble the garland. Hold the rope up in the spot where you will be hanging the garland and cut it to the length you need (mine was about 8 feet). Attach the pine cones by tying the ribbons in bows around the rope. Space them out, leaving about 8 inches between pine cones and about 8 inches of empty rope on each end.
6. When your garland is complete, hang it in place. Your best bet is to simply attach it using gold thumbtacks or small nails.
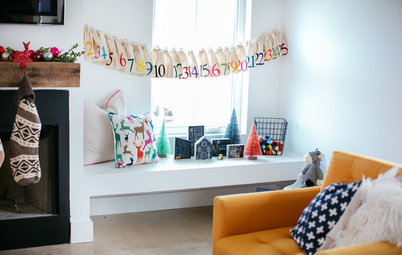
The garland will add a festive touch to any holiday celebration, from an intimate dinner for two to a large Thanksgiving gathering.
More
Houzz TV: Candy-Corn Candles for Halloween or Anytime
DIY: These Easy-to-Make Sprays Freshen Rooms Naturally
More
Houzz TV: Candy-Corn Candles for Halloween or Anytime
DIY: These Easy-to-Make Sprays Freshen Rooms Naturally