


How to Paint Your Hardwood Floors
Know how to apply nail polish? Then you can give your wooden floors a brand-new look
Anne Higuera CGR, CAPS
February 7, 2013
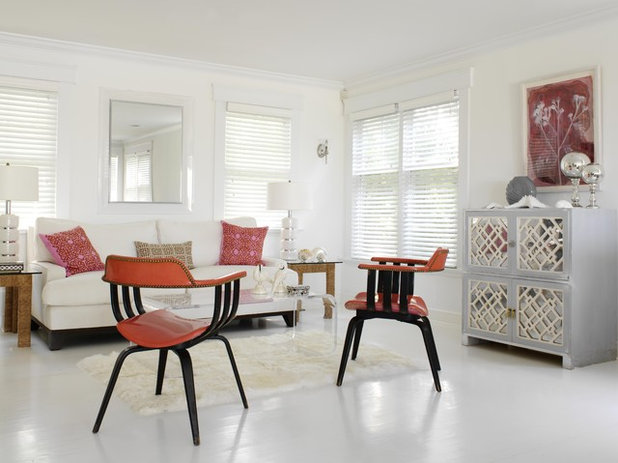
Painting older solid wood floors can give them new life without the expense and mess of refinishing them. It can also make your floors a beautiful design element in their own right, particularly with interesting patterns. It takes some time and patience to paint hardwood floors, but if you know how to apply nail polish, you already know the basics.
1. Prep the surface. Start by scuff-sanding the floor with 150-grit sandpaper, advises Christopher Comer of Noble Pro Painting in Chicago. This hand sanding is not to make the floor perfectly smooth but to rough it up enough so the primer will adhere well to the surface.
2. Clean the floor. Vacuum up dust; wipe using clear water if necessary to get it all up and then wash with a wood floor cleaner. The most important part of this step is to let the floors dry after they are cleaned — ideally two days and possibly longer. If there is moisture in the floors when you paint them, the primer and everything on top of it is likely to bubble up.
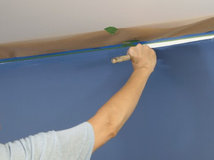
3. Put on the primer. Time to roll or brush on the primer — but what kind? “We recommend a penetrating, oil-based primer that can really seal the surface up tight, but a good latex primer could work well too,” says Phillip Storey of Redhill Painting in San Francisco. This is a good time to consult your local paint store about the right product to use. You will generally want the color coats to be paint made specifically for floors. If that paint is latex, use a latex primer. If oil, use an oil primer. Let it dry at least overnight, and if it’s an oil product, give it 24 hours or a bit more.
4. Sand again. It may seem like overkill, but if you don’t sand now, you may see the imperfections on every coat above this one. “We sand the primed areas again, as new wood fibers tend to get flooded with moisture and swell up once primed,” says Storey. This time use 220-grit sandpaper, which will make a much finer dust. Once you’ve finished sanding, vacuum again and use a tack cloth to make sure all the dust is off the floor. Don’t use cotton rags or paper for this, because they’ll leave fibers on the floor that can ruin your paint job.
2. Clean the floor. Vacuum up dust; wipe using clear water if necessary to get it all up and then wash with a wood floor cleaner. The most important part of this step is to let the floors dry after they are cleaned — ideally two days and possibly longer. If there is moisture in the floors when you paint them, the primer and everything on top of it is likely to bubble up.
3. Put on the primer. Time to roll or brush on the primer — but what kind? “We recommend a penetrating, oil-based primer that can really seal the surface up tight, but a good latex primer could work well too,” says Phillip Storey of Redhill Painting in San Francisco. This is a good time to consult your local paint store about the right product to use. You will generally want the color coats to be paint made specifically for floors. If that paint is latex, use a latex primer. If oil, use an oil primer. Let it dry at least overnight, and if it’s an oil product, give it 24 hours or a bit more.
4. Sand again. It may seem like overkill, but if you don’t sand now, you may see the imperfections on every coat above this one. “We sand the primed areas again, as new wood fibers tend to get flooded with moisture and swell up once primed,” says Storey. This time use 220-grit sandpaper, which will make a much finer dust. Once you’ve finished sanding, vacuum again and use a tack cloth to make sure all the dust is off the floor. Don’t use cotton rags or paper for this, because they’ll leave fibers on the floor that can ruin your paint job.
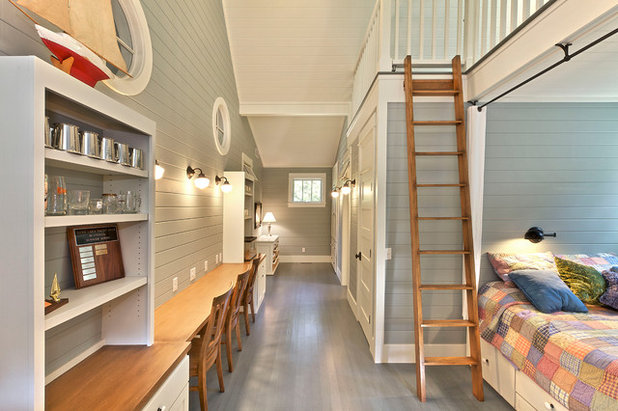
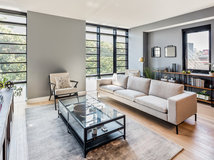
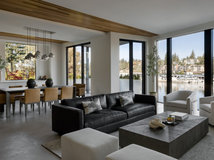
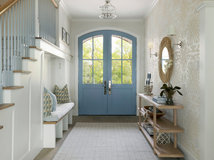
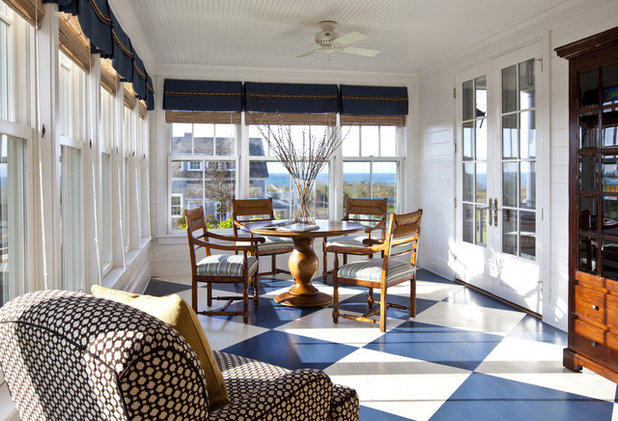
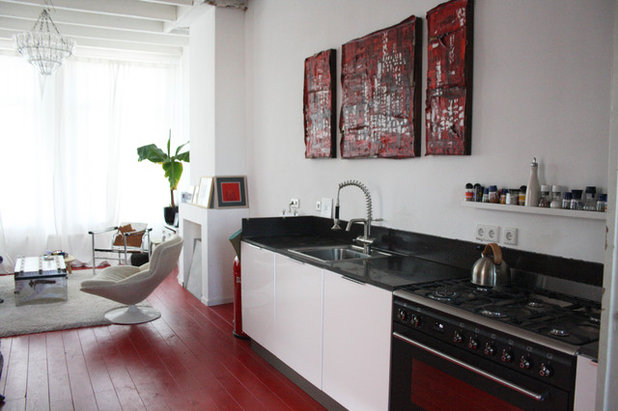
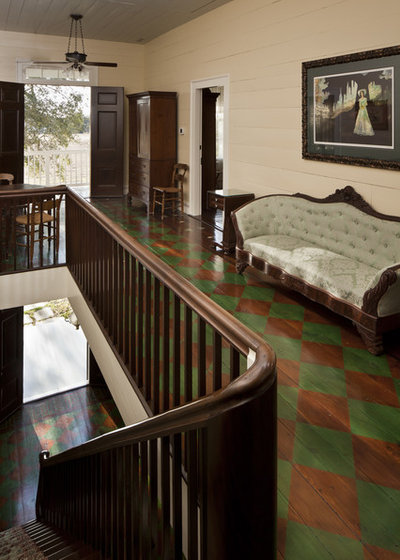
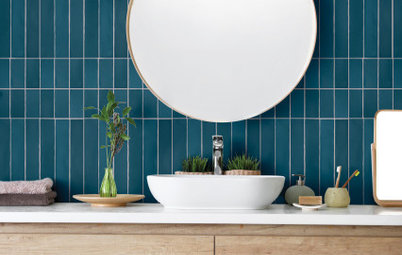
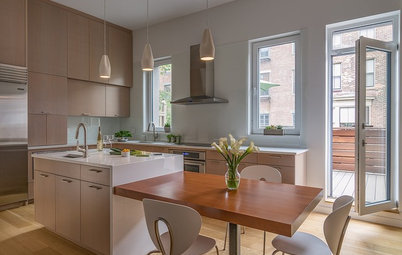
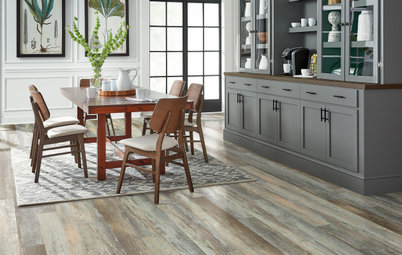
5. Put on the color. You can use all one color or use painter’s tape to add shapes or patterns to the floor in a second color. You may find some inspiration in these photos.
You can use a brush or a roller, but make sure you have the right equipment and that you put on a very thin coat of paint. “Apply it slowly with a 1/4-nap microfiber roller or natural bristle brush,” says Comer. “You won’t get any bubbles at all with a brush, but it’s very labor intensive.” The roller will be faster, he adds, but you have to roll very slowly to keep from creating bubbles. Regardless of what tools you use, think about where you will start and end up — don’t paint yourself into a corner.
6. Let it dry. This is where the nail polish analogy comes in. The basics of the entire process are just like applying nail polish: base coat, color coat, color coat, topcoat. Every coat needs to be nice and thin, not gloppy, and every coat needs to dry thoroughly before the next one goes on. If the surface below the base coat isn’t clean, you'll get bubbles. The downside with painting floors is that there isn’t a handy ultraviolet light to make it all cure quickly. After the first coat, wait at least 24 hours before the next coat.
7. Add more color coats. Two more thin coats of color are next, with 24 hours to dry in between. Remember to paint on each coat as thinly as possible. “If you do a thick coat of paint on the floor, then it stays tacky for longer and doesn’t cure as well,” Comer.
9. Apply topcoat(s). For long-term durability, you can finish with one or two coats of a polyeurethane clear coat. Allow 24 hours to dry between coats. Again, your local paint store should be able to point you toward an appropriate product. Look for low- or no-VOC paints and coatings to minimize the fumes.
9. Apply topcoat(s). For long-term durability, you can finish with one or two coats of a polyeurethane clear coat. Allow 24 hours to dry between coats. Again, your local paint store should be able to point you toward an appropriate product. Look for low- or no-VOC paints and coatings to minimize the fumes.
10. Wait to walk. If you apply topcoats, you will have five to six layers of coatings on your floor. It’s a good idea to wait another day or so to walk on it, and then only in socks. The longer the floor is allowed to cure, the harder the finish will be — just like your nails!
More:
Are You Gutsy Enough to Paint Your Floor White?
Houzz guides to flooring
More:
Are You Gutsy Enough to Paint Your Floor White?
Houzz guides to flooring


We at Frasure Home Improvements feel like everyone deserves our best. We constantly push for excellence. We truly... Read More
Related Products


Related Stories
Materials
What’s New in Flooring for 2023
By Julie Sheer
See the trends in luxury vinyl, hardwood, and faux wood and stone flooring products debuting this year
Full Story
Events
What’s New in Tile for 2023
By Julie Sheer
Five trends in new tile collections were spotted at the recent International Surface Event 2023 trade show in Las Vegas
Full Story

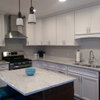
Kitchen Makeovers
Before and After: 3 Kitchens That Get Warmth From Wood Floors
See how wood floors add character and cohesion in these remodels
Full Story
Remodeling Guides
Pros Share 12 Wood Finish Secrets
By Becky Harris
Discover the wood-and-finish pairings professionals used to achieve beautiful looks for floors, cabinets and more
Full Story
Remodeling Guides
What to Ask When Considering Heated Floors
By tidgboutique
These questions can help you decide if radiant floor heating is right for you — and what your options are
Full Story
Kitchen Design
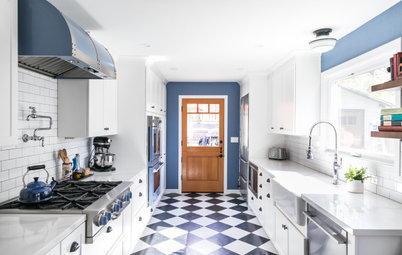
30 Kitchens With Checkered Floors
In classic black-and-white or cheerful color, checkerboard kitchen floors are anything but square
Full Story
Events
What’s New in Flooring for 2022
By Julie Sheer
See the trends in luxury vinyl, hardwood, and faux wood and stone flooring products debuting this year
Full Story
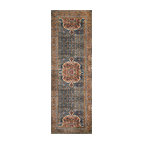
Remodeling Guides
What to Know About Engineered Wood Floors
Engineered wood flooring offers classic looks and durability. It can work with a range of subfloors, including concrete
Full Story
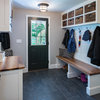
Organizing
How to Pare Down and Pack Up Before Installing New Flooring
The installation of new floors might be a great opportunity to winnow and organize your belongings
Full Story
Materials
What to Know About Luxury Vinyl Flooring
By Julie Sheer
The flooring material has become increasingly popular. Here’s how to determine its quality and get it installed
Full Story
Once completed, how long can one expect a painted floor to last before the paint start to wear in high traffic areas?
A Painted floor can last for many years especially if protection finishing (such polyurethane) is applied as the last coating. The secret is inspecting the floor often and call for a professional painter for touch-ups or refinishing.