


DIY: Freshen Up for the New Year With a Eucalyptus Table Garland
Eucalyptus leaves, white blossoms and air plants combine in a gorgeous, long-lasting arrangement for your table or buffet
Nanette Wong
December 25, 2014
Houzz Contributor // Visual storyteller. I love connecting with other like-minded home enthusiasts and scouring Houzz for real home inspiration by real people. In my spare time, I try to think of clever food puns and write about food, design, and San Francisco.
Houzz Contributor // Visual storyteller. I love connecting with other like-minded... More
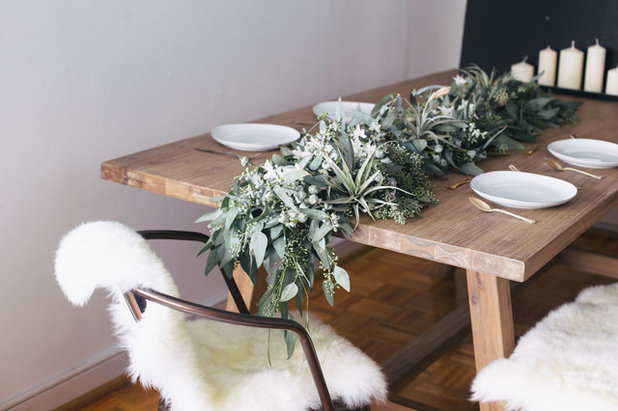
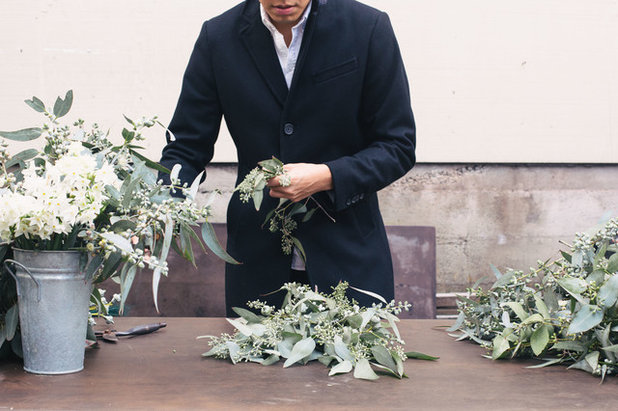
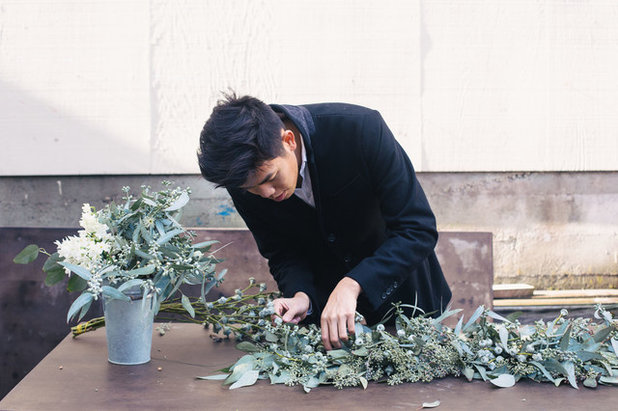
With just a few plants and florist supplies, you can make a long-lasting table garland that’s fresh, simple and the perfect accent to help you ring in the new year. Sammy Go of Bud Botanical Banditry shows us how to create a stunning centerpiece for less than $50.
The whole process should take less than an hour, depending on the length of your garland. Once you get into the groove, you’ll find a rhythm. “Don’t think too hard about it,” says Go. “Just go with your instinct, and it will come naturally.”
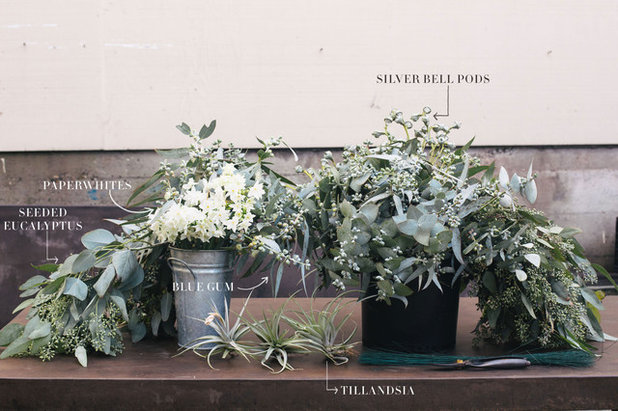
Plant materials:
Tools:
- Seeded eucalyptus (for the base of the garland)
- Blue gum eucalyptus
- ‘Silver Bells’ eucalyptus pods
- Paperwhites (or, for a less fragrant alternative, cyclamen). Go says, “You would have to get a potted cyclamen from a nursery and just snip off the flowers.”
- Tillandsia
Tools:
- Gardening shears
- Floral wire
- Floral water tubes
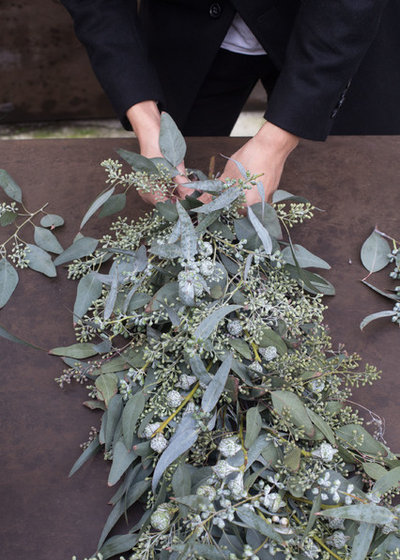
Pick large, leafy eucalyptus leaves that aren’t brown or brittle. It takes about three bunches of seeded eucalyptus to make a 4-foot-long garland.
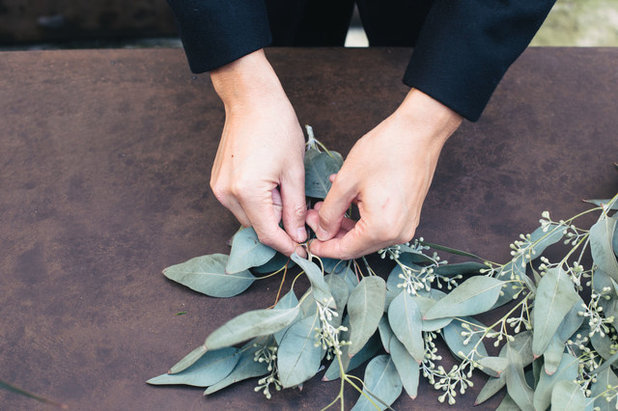
Start with one large branch of seeded eucalyptus, then add a few smaller branches to it, fanning them out to the sides. The width you make this beginning bunch will determine the final overall width of the garland.
Start with one large branch of seeded eucalyptus, then add a few smaller branches to it, fanning them out to the sides. The width you make this beginning bunch will determine the final overall width of the garland.
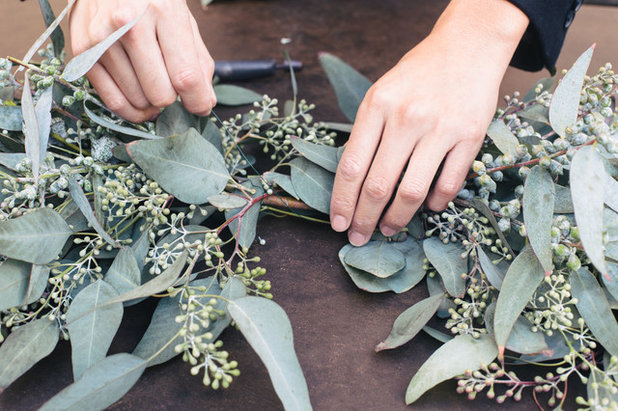
Wrap each section with floral wire, much as you would tie ribbons around a maypole. Tie loosely so the leaves look natural and stay open.
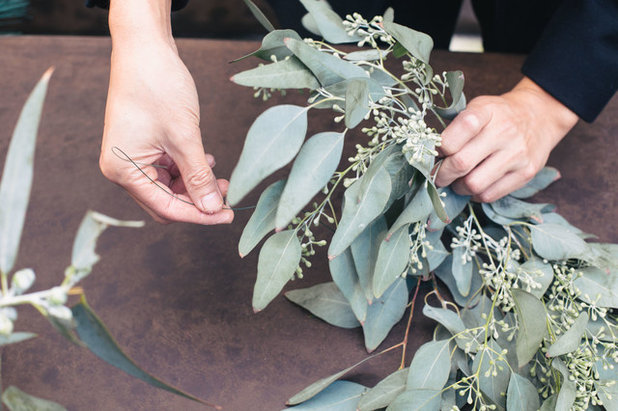
Continue to add more eucalyptus leaves below the starting point and secure them with floral wire. Add the blue gum eucalyptus and Silver Bells pods as you build the garland.
There’s no specific pattern or way to add the accent plants. Do what feels natural to you. What makes this centerpiece shine is its organic, unfussy look.
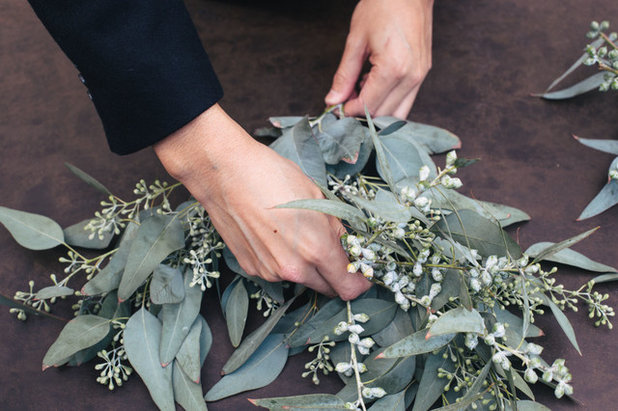
Stop adding material when you reach the halfway point of what you want the final length of the garland to be. For example, if you want it to be 4 feet long, stop when this first piece reaches about 2 feet long.
Repeat the process to make the other half of the garland. By having two pieces rather than a single one, the ends will match and the piece will look more symmetrical.
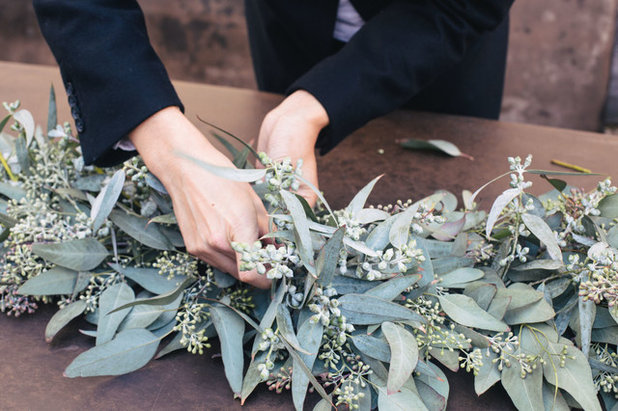
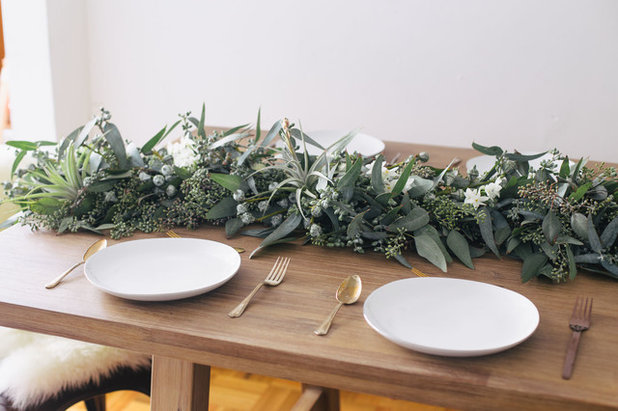
To connect the two halves, lay the two ends side by side and nestle them closely together so there are no gaps. Use the floral wire to tie them together. Then lay out the entire centerpiece and remove any excess foliage.
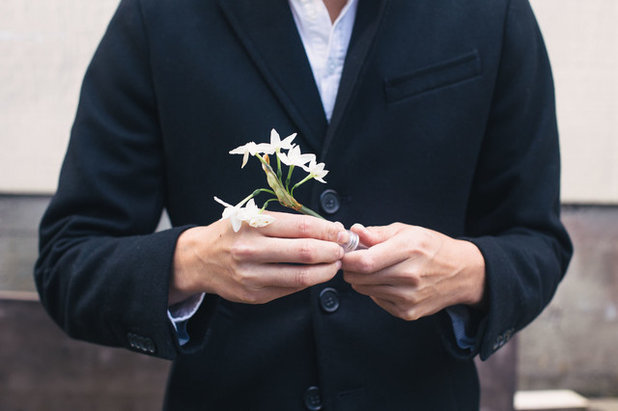
Fill the floral tubes with water and place an individual flower stem in each of them.
Gently insert the tubes along the length of the garland, using the eucalyptus leaves to hide them. Drop in the air plants last, spacing them out along the garland as well.
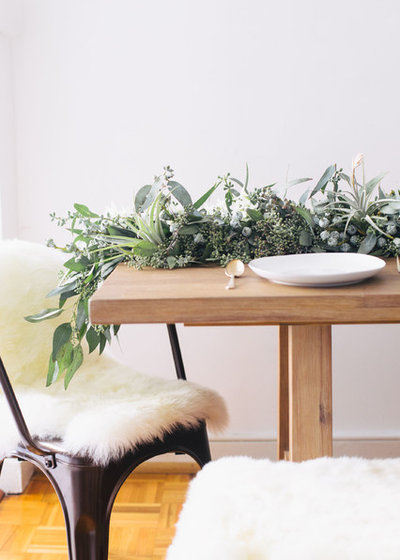
Because eucalyptus is pretty hardy, the garland will last a week or possibly two. To preserve it as long as possible, keep it in a cool place out of direct sunlight. The paperwhites or cyclamen blossoms will last only a few days; just pull them out and replace them for a longer display.
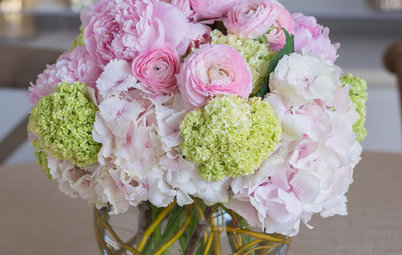
This green, silver and white garland is unexpected and, if you use paperwhites, you’ll also enjoy their fresh, natural perfume.
More:
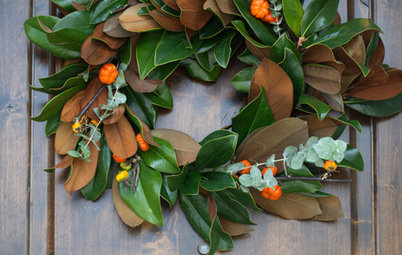
Make a Long-Lasting Eucalyptus Holiday Wreath
Holiday Decor Goes Fresh and Rustic
More:
Make a Long-Lasting Eucalyptus Holiday Wreath
Holiday Decor Goes Fresh and Rustic


What are you working on?
Related Products


At Winks Remodeling & Handyman Services, your satisfaction is our main priority. Since our business started... Read More
Related Stories
Fall and Thanksgiving
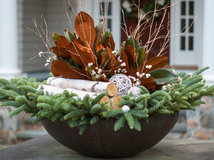
DIY: Make a Fresh Magnolia Wreath
Learn how to add a statement piece to your front door with these easy-to-find evergreens
Full Story
Bathtubs
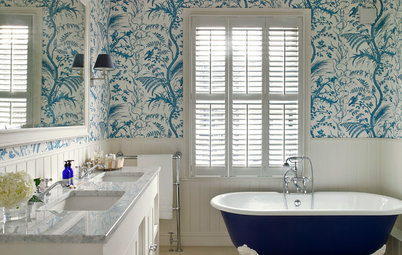
10 Times When Painting a Claw-Foot Tub Refreshed a Bathroom
See how designers and homeowners use colorful paint to give tubs and bathrooms a fresh look
Full Story
Decorating Projects
6 Fun Ways to Decorate With ... Tape?
By Janet Paik
Add a new accent wall, a midcentury closet detail and more with this budget-friendly, multipurpose wonder
Full Story

Decorating Guides
How to Hang a Heavy Mirror
By Erin Carlyle
Here’s what to know about your mirror, wall and hanging hardware to do it right
Full Story
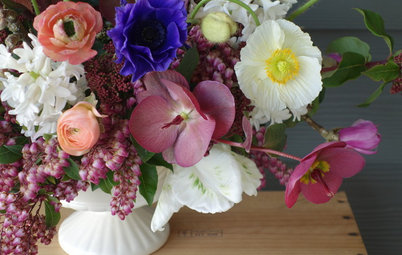
Mother’s Day
Surprise Mom With an Elegant DIY Bouquet
For Mother’s Day, use flowers and branches from your local market or backyard to create this pastel beauty
Full Story
Decorating Projects
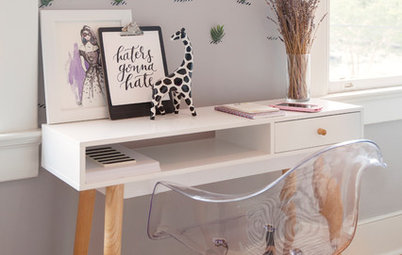
12 Projects to Indulge Your Spring Fever
Get busy beautifying your home with one of these budget-friendly DIY decorating projects
Full Story

Entryways
DIY: Corral Your Boots With This Handy Entryway Tray
By Faith Towers
Follow along to make this easy and chic tray to protect your floors when it’s soggy outside
Full Story
Valentine’s Day
Put Together a Romantic and Whimsical Valentine’s Day Bouquet
By Becky Harris
Use American-grown branches and blooms for a truly individual way to show your love
Full Story

Crafts
Create a Festive, Colorful Mardi Gras Bead Wreath
Reuse collected beads from parades for an easy-to-make front door accent
Full Story

Organizing
DIY: Make a Wooden Wall Organizer to Curb Entryway Clutter
By Faith Towers
Create a hanging catchall for hats, coats, keys and phones
Full Story
I would also love to know the rough costs of the materials. Also, the instructions are a little vague. It would be helpful to have close ups of the way that things are wired together. I'm sure people who do this often would know but for those of us having a go for the first time, it needs a little more instruction.