

DIY Project: Sit Pretty with Mismatched Chairs
Create a one-of-a-kind dining set from a collection of cast-offs

About a year ago I was on the prowl for totally un-pedestrian, one-of-a-kind furniture for my breakfast nook. After an hour or two strolling through designer showrooms, it became apparent that what I wanted to spend for the entire room would simply cover the cost of a single chair. This was not okay with me. Eager to get the space ready for one-bowl-of-Cap'n-Crunch-and-two-glasses-of-Cranapple-mornings, I came up with the idea to grab five completely different chairs and whatever table I could find and go from there. With a little kind-of-but-not-really help from my squirrel-chasing, rock-eating friend, Gidget, here's how I took disparate chairs and a less-than-stellar table from garbage to I-want-to-go-to-there:
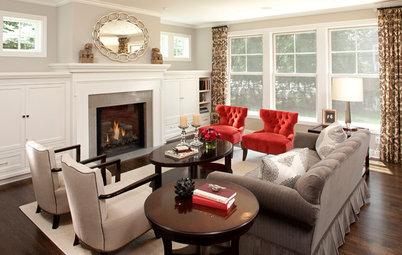
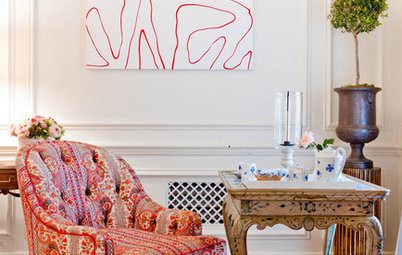
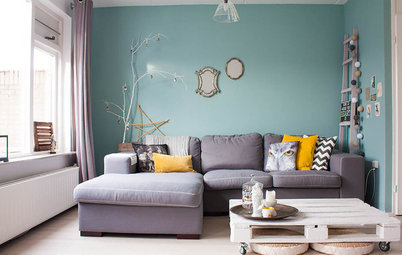
Instead of doing a major renovation-ish overhaul on the breakfast nook, I decided to embrace its stuck-in-1955 state by working with the froggy green Astroturf floor. Sure, red and green is kinda Santa Clausy; however, with the introduction of dark brown, the yuletide association fell to the wayside.
From the initial get-go to the final step, my snow-white terrier housemate was uber-involved. Am I dog-obsessed? Perhaps. Did I purposely choose a dog that would coordinate well with all of my interiors projects? Oh, don't be silly; that's just ridiculous. And when I say ridiculous, I mean yes, of course I did, and don't you dare judge me.
While the five chairs are sitting pretty now, they started off sporting much different looks.
While the five chairs are sitting pretty now, they started off sporting much different looks.
Aside from chairs and a table, you'll need an orbital sander, a sanding block, spray primer, high-gloss spray paint and a spray handle.
For a cool $5, I scored this Victorian lady from an upholsterer's fire sale. While I kind of liked the dark stain of its frame, it was screaming for a bold, high-energy update.
To start turning the old lady into a hot, modern momma, I used the sanding block to rough up her frame. While the orbital sander is super efficient, makes cool noises and really gets rid of existing finishes, it's not ideal for thin, round surfaces. By sticking with the sanding block, I was able to wrap around the rounded legs as well as the back and also get the old finish out from the nooks and crannies. Overall, this chair took about 20 minutes to strip. She's also a great example of a seat which is super easy to reupholster. Simply stretch batting and fabric across the top, then staple underneath. To take it one step further: Cut a piece of black fabric to size, then staple that to the bottom, covering up the staples and cut edges underneath.
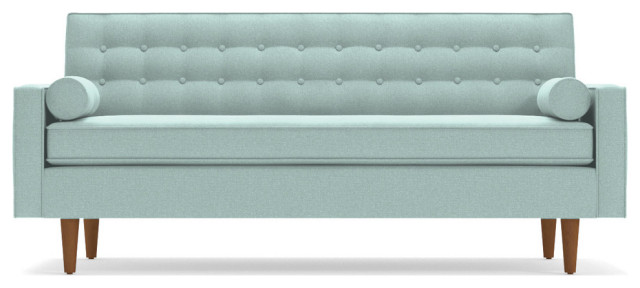
For under $30, I scored this mid-century cane back chair. At first, I got a bit attached to the beautiful woven detail of the back and wanted to preserve it. About 45 seconds later, I realized that would take entirely too much time so I hit the cane detail and the square legs and frame with the orbital sander and had the old, gloppy, black finish off in about 15 minutes.
There are good and bad things about spray painting cane detail. The bad: It seems to lose its impact when not sporting its natural tone. Good: Once sprayed the same color as the rest of the chair, it becomes more streamlined, allowing the overall lines of the chair take center stage. To ensure comfy seating, I decided to drop off the old cushion with my upholsterer and have him beef it up with thicker foam and a professionally sewn cover with welt cord. In the long run, this chair set me back about $62 — the price of a good dinner for two.
My encounter with this $18 country chair was love at first sight. It's gold and green finish, notsomuch. This little doozie took more time than the others to update. How so? Skip to the next photo.
Because the chair sports round surfaces and wavy lines, hitting it with the orbital sander wasn't an option---unless you enjoy playing with power tools for seven hours without actually having tooled anything successfully. The sanding block worked wonders in navigating the un-straightness of the chair. Also, notice how the existing version had no cushion? Well, I certainly don't want people getting backbone bruises in my eating space; therefore, I dropped the country girl off with my upholsterer who outfitted her with a taut, fully upholstered seat.
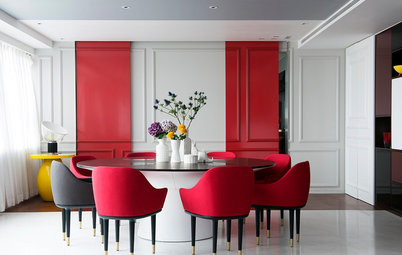
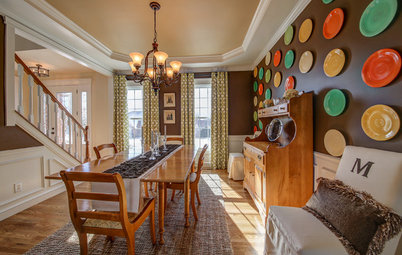
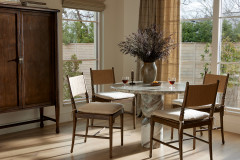
Pattern can be intimidating when it comes to chairs since it seems to lock you into some sort of style commitment. Well, let me tell you something: It's a great way to tie together disparate pieces never meant to go together. To pay homage to the mid-century bones of the space, I opted for a mod, overlapping squares pattern. While the chairs are a glossy, fire engine red right now — thanks to a steady flow of paint via the spray handle — I may opt to change them to something else in the future. By sticking with a neutral brown/white combo on the upholstery, it allows me the ability to change up the chair color down the road.
Tip: If you opt for a solid fabric on your cushions, choose something with good texture; the visual tension between the paint finish and the fabric will make it more interesting and keep it from falling flat.
Tip: If you opt for a solid fabric on your cushions, choose something with good texture; the visual tension between the paint finish and the fabric will make it more interesting and keep it from falling flat.
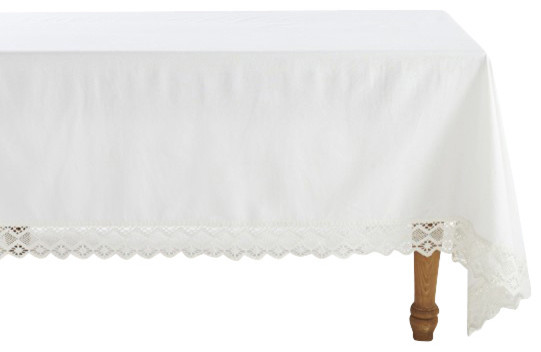
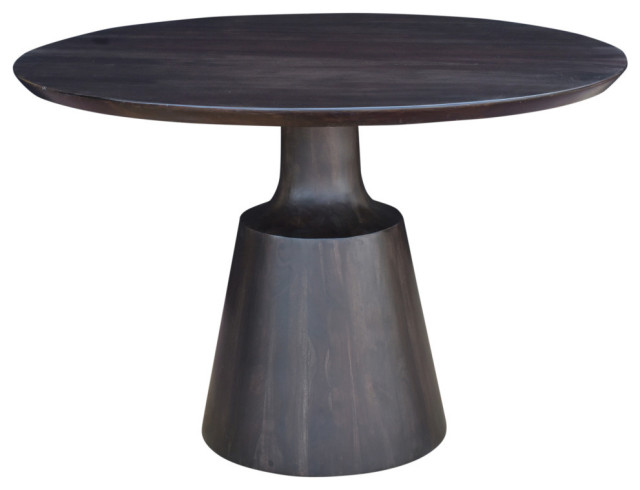
What kind of table did I choose? That's confidential. I found a cool base with no top, then totally cheaped out and don't want you to see it. To keep my focus on unifying the chairs and coordinating them with the table, I cut a piece of plywood to size, then had a pleated table skirt sewn using indoor/outdoor Sunbrella fabric in the same brown found in the cushion. For a touch of red, I had my seamstress add a two-inch band of velvet trim to the top. With such a tailored table skirt, who cares what's underneath, right?
The ensemble — chairs, supplies, upholstery costs and table — set me back about $300. Guess how much the showroom dining chairs I originally had my heart set on cost? $385 each. In the style of Charlie Sheen, I cannot help but sum up this project in one word: WINNING!
See Gidget in another project:
Make a Vintage Suitcase Dog Bed