


How to Replace Window Trim
For finishing new windows or freshening the old, window trim gives a polished look with less effort than you may think

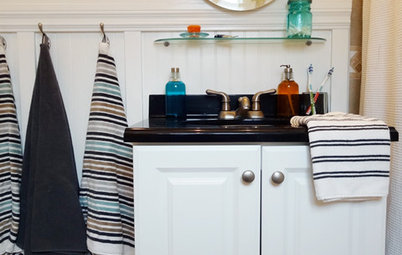
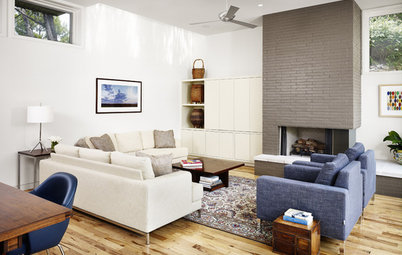
Whether I’m flipping through a magazine or watching the latest home show on TV, I’m always drawn to a house’s trim. I love how the use of different architectural trim elements can completely change the feel of the entire house. Sometimes that can be good, and sometimes it can be utterly awful.
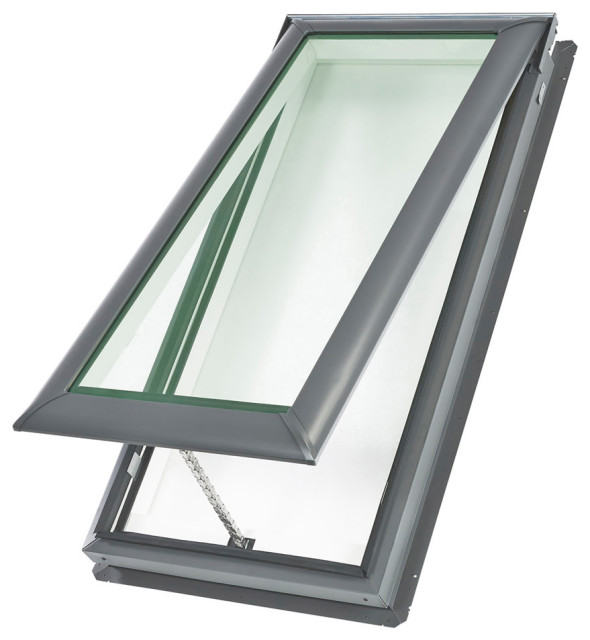
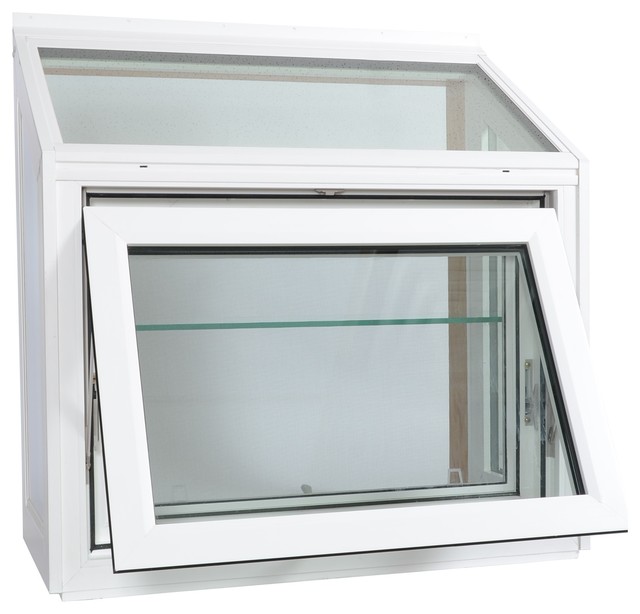
When we replaced our outdated and wallet-busting single-pane aluminum windows with energy-efficient double-pane vinyl windows in our kitchen nook, I began dreaming of adorning the windows with beautiful trim. I was excited for the end result, but since I’m always so focused on trim in other people’s homes, I was completely terrified about actually choosing the trim and putting it in place in my own home.
When we replaced our outdated and wallet-busting single-pane aluminum windows with energy-efficient double-pane vinyl windows in our kitchen nook, I began dreaming of adorning the windows with beautiful trim. I was excited for the end result, but since I’m always so focused on trim in other people’s homes, I was completely terrified about actually choosing the trim and putting it in place in my own home.
Here’s how we replaced our window trim.
Materials:
• Paint-grade fiberboard casing
• Paint-grade 3-inch medium-density fiberboard (MDF)
• Paint-grade 3 1/2-inch MDF
• 2 1/2-inch rosette corner blocks
• Miter box or miter saw
• Measuring tape
• Level
• Hammer
• 6D 2-inch finish nails
• Wood shims
• Nail set
• Paintable caulk
Must-haves for every homeowner’s toolbox
If you are replacing trim on existing windows, remove all of the trim down to the rough opening with a small pry bar.
Tip: To avoid damaging your walls when prying off the trim, place a large putty knife between the pry bar and the wall.
If you’ve just installed windows, you’re good to go. Start by measuring the length and depth of the bottom of the rough opening to determine the dimensions for the stool.
Tip: To avoid damaging your walls when prying off the trim, place a large putty knife between the pry bar and the wall.
If you’ve just installed windows, you’re good to go. Start by measuring the length and depth of the bottom of the rough opening to determine the dimensions for the stool.
Since we planned to paint our trim white, we used preprimed MDF for the stool and jambs. We used 3 1/2-inch MDF for the stool and cut it to have a 3/4-inch extension past the interior casing.
If a natural wood look is more your style, use solid wood trim, such as Hemlock, in place of MDF.
If a natural wood look is more your style, use solid wood trim, such as Hemlock, in place of MDF.
Use a miter box or miter saw to cut all the trim pieces to the desired length.
For the interior casing, we used rosette corner blocks, so the need for slightly more difficult angled miters was eliminated. If a mitered corner is more up your alley, use the miter box or miter saw's guides for quick and precise angled cuts.
For the interior casing, we used rosette corner blocks, so the need for slightly more difficult angled miters was eliminated. If a mitered corner is more up your alley, use the miter box or miter saw's guides for quick and precise angled cuts.
Place the stool inside the rough opening and ensure that it is level. If needed, use shims to level the stool. Attach it to the window's base with 2-inch finishing nails.
Measure the side jambs from the top of the stoop to the top of the rough opening and cut to that length. We used 3-inch MDF for the head and side jambs. Ensure that each side jamb is plumb and level — if needed, use shims — and attach each with 2-inch finishing nails.
Note: Shims will need to be trimmed prior to attaching the casing. You can do this by simply hitting a single one with a hammer, or you may need to saw them off when more than one is used.
Note: Shims will need to be trimmed prior to attaching the casing. You can do this by simply hitting a single one with a hammer, or you may need to saw them off when more than one is used.
Measure the distance from each side jamb at the top of the rough opening. Cut the 3-inch MDF to that length. Ensure the head jamb is plumb and level — if needed, use shims. Install the head jamb with 2-inch finishing nails.
With the interior jambs and stoop in place, install the casing.
If using rosettes, install those first. We placed our 2 1/2-inch rosettes plumb with the interior side of the side jamb, at the end of the head jamb and about 1/4 inch from the top of both. Ensure that the rosette is plumb and square before securing it with 2-inch finishing nails. Adhesive can also be used to install the rosette.
Install the casing. Measure the distance between the stool and the rosette for the sides and between both rosettes for the head. Cut each piece of casing to the specific length for each measurement. Typically, the casing is attached with a small part of the jamb visible. We placed our casing with 1/4 inch of the jamb visible. Make sure that each piece is plumb to the placement you have chosen and attach with 2-inch finishing nails.
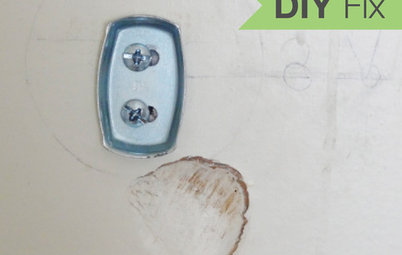
Use a nail set to countersink all the nails on the trim.
If using rosettes, install those first. We placed our 2 1/2-inch rosettes plumb with the interior side of the side jamb, at the end of the head jamb and about 1/4 inch from the top of both. Ensure that the rosette is plumb and square before securing it with 2-inch finishing nails. Adhesive can also be used to install the rosette.
Install the casing. Measure the distance between the stool and the rosette for the sides and between both rosettes for the head. Cut each piece of casing to the specific length for each measurement. Typically, the casing is attached with a small part of the jamb visible. We placed our casing with 1/4 inch of the jamb visible. Make sure that each piece is plumb to the placement you have chosen and attach with 2-inch finishing nails.
Use a nail set to countersink all the nails on the trim.
Install the apron under the stool. Typically, the apron is the casing turned upside down, which is what we have done here.
Measure the length from side casing to side casing to determine the length of the apron. Cut and install the apron, ensuring that it is level and plumb with the outside dimensions of each side casing. There are numerous ways to finish the ends of the apron; we left our ends blunt.
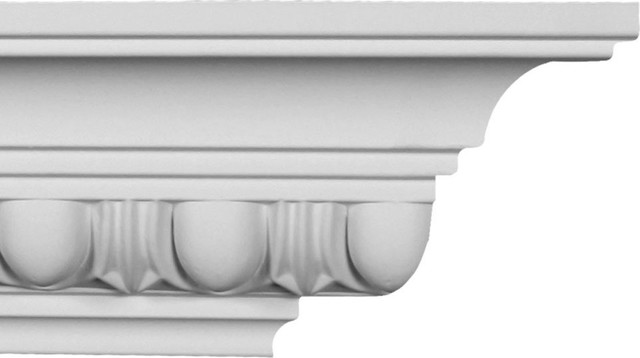
Another window trim element is the cove mold, which is attached to the apron just beneath the stool, but we chose to forgo that element.
Measure the length from side casing to side casing to determine the length of the apron. Cut and install the apron, ensuring that it is level and plumb with the outside dimensions of each side casing. There are numerous ways to finish the ends of the apron; we left our ends blunt.
Another window trim element is the cove mold, which is attached to the apron just beneath the stool, but we chose to forgo that element.
With all the trim in place, fill any gaps and nail holes with paintable caulk.
Once the caulk has dried, paint the trim. I used two coats of Behr’s off-the-shelf semigloss white. I added Flood Floetrol, a paint additive that reduces the appearance of brush and roller marks. Read the manufacturer’s label for mixing recommendations.
If you’re using hardwood trim, apply stain or a polyurethane sealant.
If you’re using hardwood trim, apply stain or a polyurethane sealant.
Stumped on what proportions you should use for installing architectural trim in your own home? Check out architect Bud Dietrich's helpful tips.
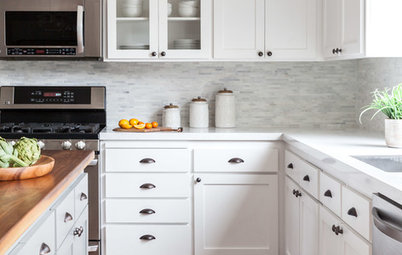
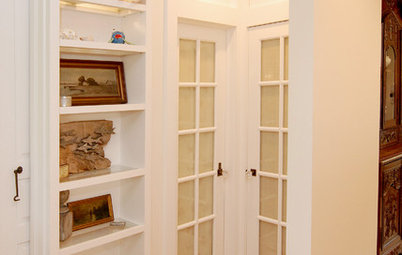
Rosettes are a classic trim element that were frequently used during the Victorian era but fit in seamlessly in today's traditional home. Much like with casing, there are a multitude of designs, finishes and sizes to choose from.
With all of the choices out there, choosing window trim can be a daunting task — but hopefully you’ll see that installing trim doesn’t have to be.
Don’t DIY? Hire a carpenter to tackle trim work
More:
Guides to home trim
Don’t DIY? Hire a carpenter to tackle trim work
More:
Guides to home trim


Sponsored
Custom Craftsmanship & Construction Solutions in Franklin County
Lingo to know: