


Make a Mod Solar Lamp Trio for the Garden
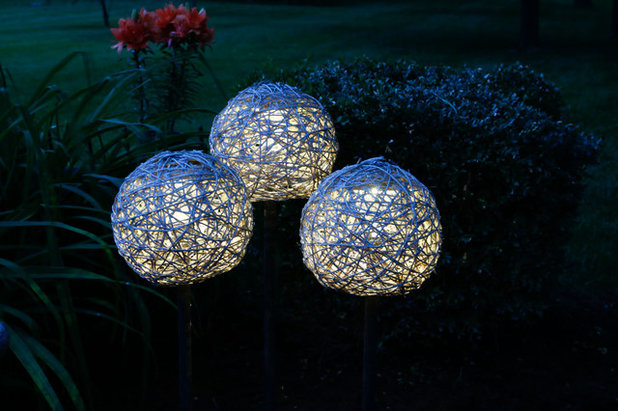
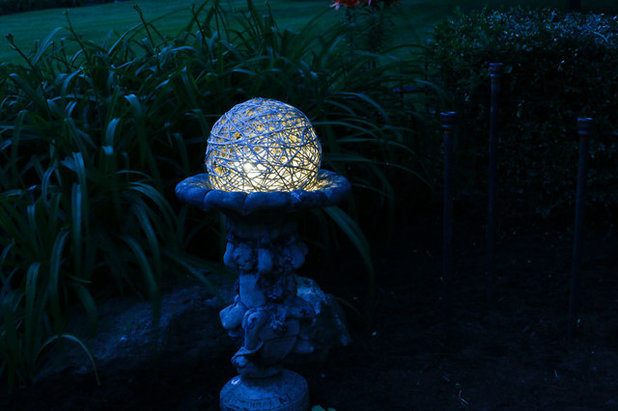
What’s that hovering ethereally in the dark? A set of cool globe lights showing off your DIY ingenuity
Shelly Miller Leer
June 15, 2014
Houzz Contributor. I've been upholstering furniture and building small furnishings for over twenty years. I've been a DIY contributor to ApartmentTherapy Chicago, Huff Post Home, Curbly.com, as well as having penned a DIY column for The Indianapolis Star for five years. Home is Where the Heart Is is an understatement.
Houzz Contributor. I've been upholstering furniture and building small furnishings... More
Two years ago I created three trendy twine light globes for my kitchen ceiling fixture. I recently decided to move on from that crafty look and switched to something made of glass. But instead of tossing those handmade globes, I stuck them in the garage in hopes that a new use would present itself.
Then, when the decorative birdbaths in my shade garden turned to cesspools of scum and dead leaves, I ditched those and was left with the three plumbing pipes on which they stood.
I had handmade globes and plumbing pipes. What to do next?
Then, when the decorative birdbaths in my shade garden turned to cesspools of scum and dead leaves, I ditched those and was left with the three plumbing pipes on which they stood.
I had handmade globes and plumbing pipes. What to do next?
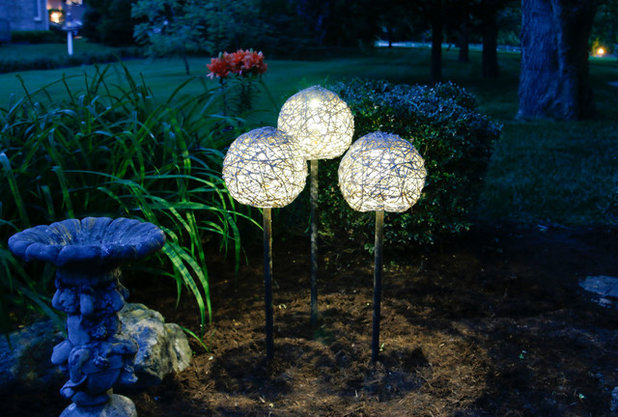
I got the idea of turning these remnants of past DIY projects into three solar globe floor lamps for my garden. And, I must admit, it was a superbright idea.
Plumbing pipes and fittings were the most expensive part of this project. Each pipe cost about $6, and the fittings were $3 each. The entire project cost less than $50 — not bad for three unique garden lights. As you can see here, the light emitted from these solar “floor” lamps is surprisingly bright once the sun goes down.
Materials and tools:
Time:
The string balls take a few days to dry. After that, assembling the lights takes about 10 minutes.
Plumbing pipes and fittings were the most expensive part of this project. Each pipe cost about $6, and the fittings were $3 each. The entire project cost less than $50 — not bad for three unique garden lights. As you can see here, the light emitted from these solar “floor” lamps is surprisingly bright once the sun goes down.
Materials and tools:
- Three ¾-inch by 4-foot plumbing pipes
- Three ¾-inch to 1-inch reducer couplings (available in the plumbing department at most hardware stores)
- 3 solar landscaping lights (available at most hardware stores)
- Three inflatable plastic balls (available at toy stores, Wal-Mart, Target etc.)
- Decoupage liquid (available at any craft store, like Michael’s)
- String or twine (available in the rope department at hardware stores)
- Gloves (optional, to avoid sticky hands when gluing)
- Marker (to trace a circle on the balls where you don’t want to cover them with twine)
- Circle pattern (4-inch to 5-inch paper plate or any other round dish)
- Plastic container for decoupage and twine dipping. I used a plastic storage container.
- Metallic exterior spray paint
- Hammer
- Scissors
- Foam paintbrushes (optional)
Time:
The string balls take a few days to dry. After that, assembling the lights takes about 10 minutes.
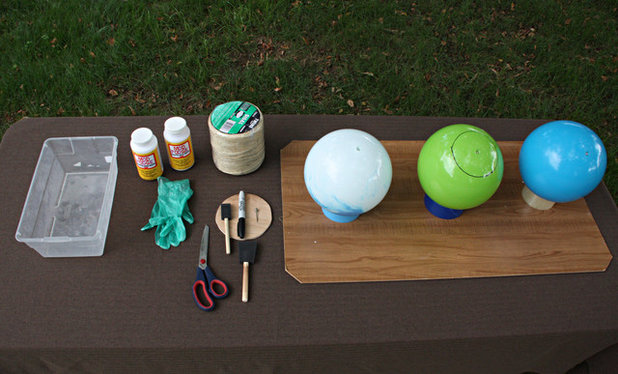
Prepare the string globes first by arranging the string, plastic inflatable balls, decoupage liquid, gloves (optional), marker, circle and plastic container on a table or work surface. I set up a work area on a table in the grass. Use your plate (or any other circle) and marker to trace a circle on the balls around the inflation hole, as seen here. I propped up my globes on rolls of blue painter’s tape.
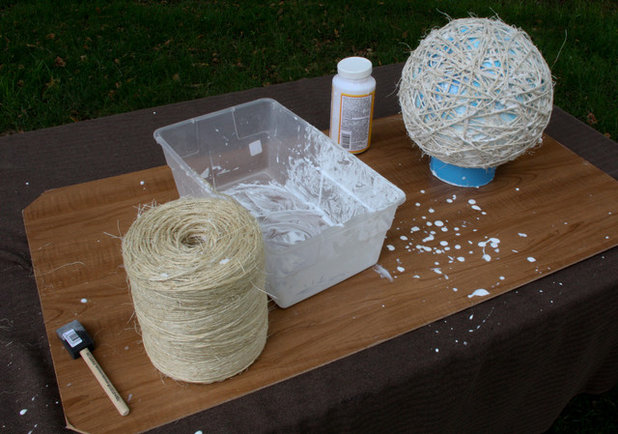
It’s messy, but saturate the string with the decoupage liquid in the plastic container. I used a foam paintbrush to help spread it around. Then wrap the string around the ball, alternating directions to create a crisscross pattern and to cover the surface except the 4-inch to 5-inch diameter opening at the bottom where you traced. Be sure to leave enough spaces in your twine so that you can still see the ball on the inside. This means light will be able to shine through once you remove the ball.
When you’re done, it should look like this. Let the string sit for a few days to dry completely.
When you’re done, it should look like this. Let the string sit for a few days to dry completely.
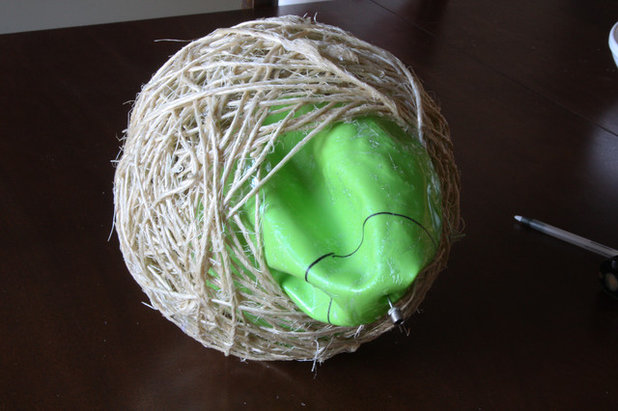
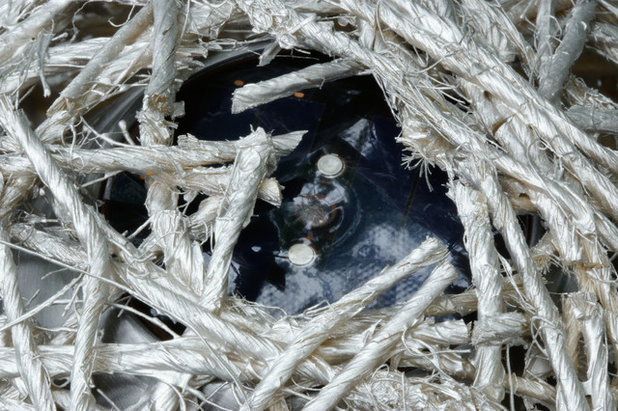
Once the string is completely dry and hard to the touch, let the air out of the ball. Then carefully pull it through the hole at the bottom.
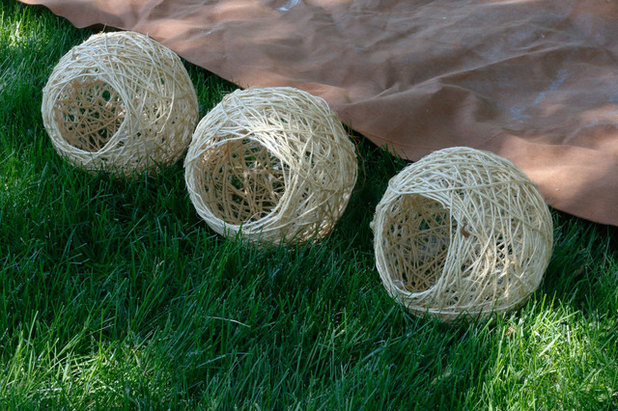
The twine globes now have nice big openings that will allow them to fit right on top of the lights.
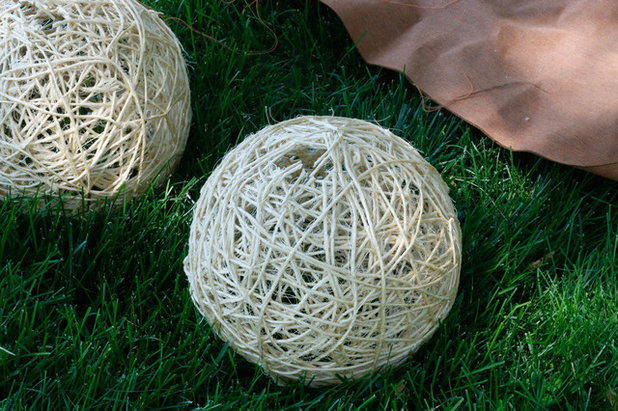
Cut a small hole in the top of the globes. This is to allow the sunlight to hit the solar cells of the lights once the globes goes over them. But you can also skip this step and just take your globes off of the solar lights during sunlight hours.
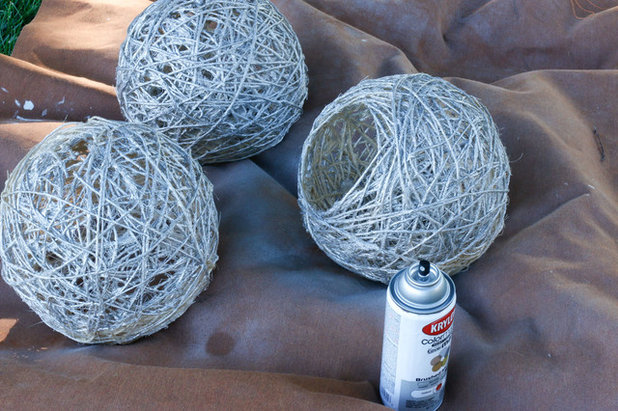
I used a metallic nickel spray paint, but it wasn’t meant for outdoors, so I have to take my twine globes indoors when not in use. I recommend using an indoor-outdoor spray paint.
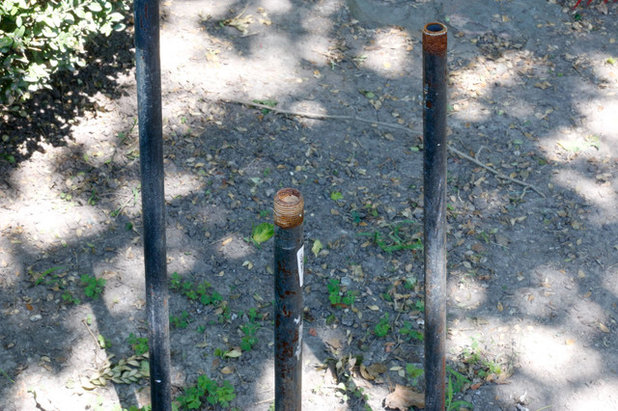
Use a hammer to drive the three ¾-inch plumbing pipes into your yard. Be careful not to distort the threaded ends.
I wanted the lights at different levels and about 3 to 4 inches apart when the globes were installed.
I wanted the lights at different levels and about 3 to 4 inches apart when the globes were installed.
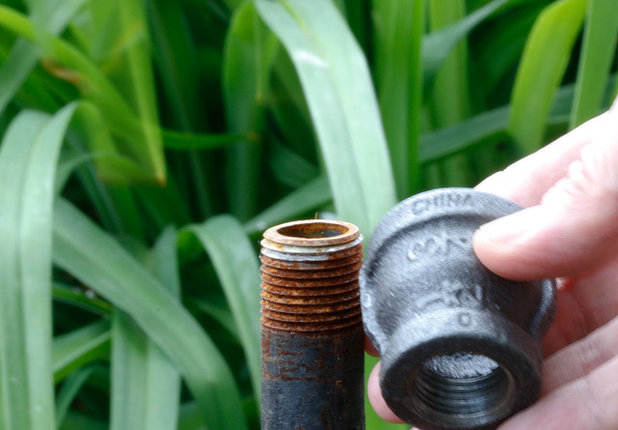
Screw the three reducer couplings onto the top of the pipes. This creates a big enough surface on which to mount the base of the solar lights.
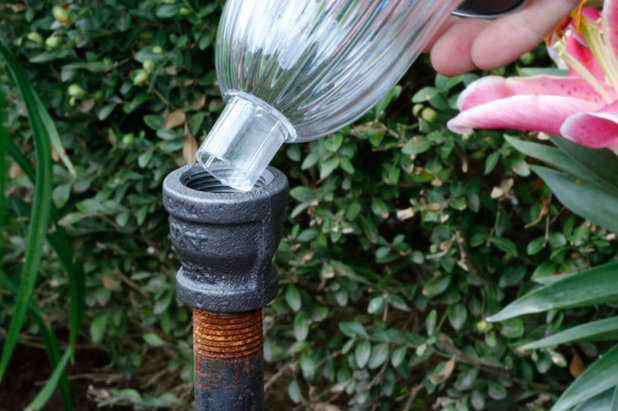
Remove the landscape tube from the bottom of the solar light (it should come off easily). The plastic base should fit right into the coupling.
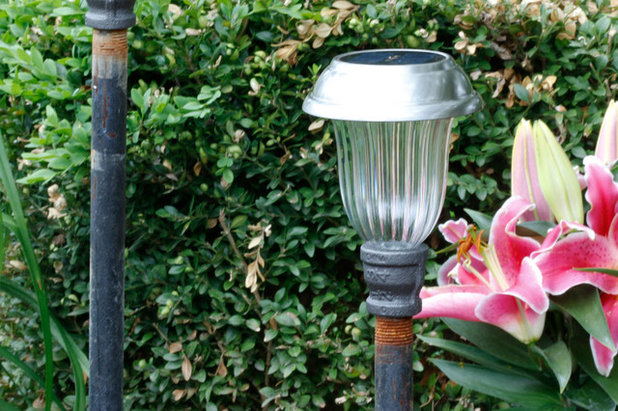
The lights aren’t that bad by themselves, but they don’t have that dramatic look I wanted for the shade garden.
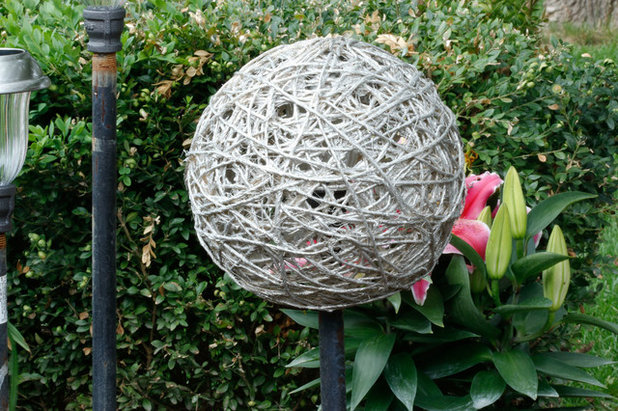
The globes fit right over the light fixtures and allow for all of that pent-up solar light to shine through.
The opening leaves a nice space so the light sensor can soak up the sun.
Those crafty twine globes are now a modern design element in my garden.

I could use the lights as they are, but I like the globes so much better. See the difference?
Just for fun, I popped one of the globes and lights onto an old garden fountain to see how that looked, too. Not bad!
See more DIY projects
See more DIY projects


We care about your home construction project needs as much as you do. We believe in conducting business with... Read More

Related Products

Related Stories
Fall and Thanksgiving
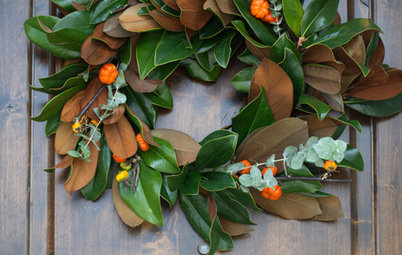
DIY: Make a Fresh Magnolia Wreath
Learn how to add a statement piece to your front door with these easy-to-find evergreens
Full Story
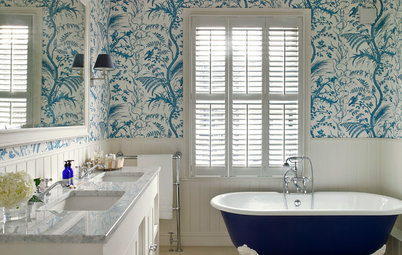
Bathtubs
10 Times When Painting a Claw-Foot Tub Refreshed a Bathroom
See how designers and homeowners use colorful paint to give tubs and bathrooms a fresh look
Full Story
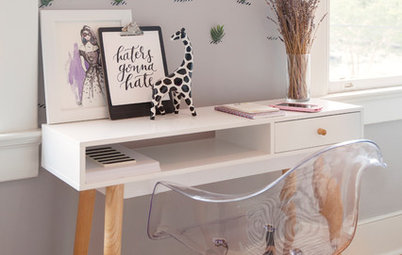
Decorating Projects
6 Fun Ways to Decorate With ... Tape?
By Janet Paik
Add a new accent wall, a midcentury closet detail and more with this budget-friendly, multipurpose wonder
Full Story
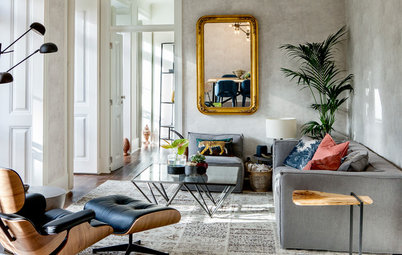
Decorating Guides
How to Hang a Heavy Mirror
By Erin Carlyle
Here’s what to know about your mirror, wall and hanging hardware to do it right
Full Story

Mother’s Day
Surprise Mom With an Elegant DIY Bouquet
For Mother’s Day, use flowers and branches from your local market or backyard to create this pastel beauty
Full Story
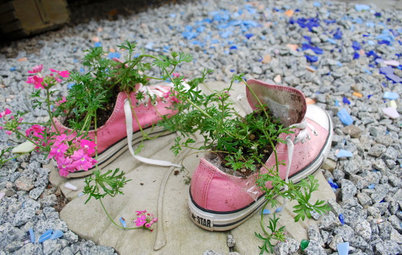
Decorating Projects
12 Projects to Indulge Your Spring Fever
Get busy beautifying your home with one of these budget-friendly DIY decorating projects
Full Story

Entryways
DIY: Corral Your Boots With This Handy Entryway Tray
By Faith Towers
Follow along to make this easy and chic tray to protect your floors when it’s soggy outside
Full Story

Valentine’s Day
Put Together a Romantic and Whimsical Valentine’s Day Bouquet
By Becky Harris
Use American-grown branches and blooms for a truly individual way to show your love
Full Story

Crafts
Create a Festive, Colorful Mardi Gras Bead Wreath
Reuse collected beads from parades for an easy-to-make front door accent
Full Story
Organizing
DIY: Make a Wooden Wall Organizer to Curb Entryway Clutter
By Faith Towers
Create a hanging catchall for hats, coats, keys and phones
Full Story
Great! thanks..
These lights are STILL going strong. I can't even believe how long they've lasted.
how do they handle the rain?