


DIY Pathway Puts Landscapes on the Right Track
Create a road more traveled in your backyard, and save your lawn from foot traffic, with this easy, affordable gravel path

Another home improvement project, another surprise — it seems like around every corner, under every board and behind every wall, the little fixer-upper home my husband and I share has a surprise waiting for us to unearth.
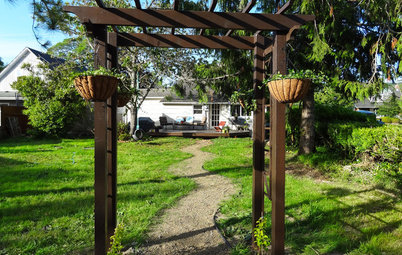
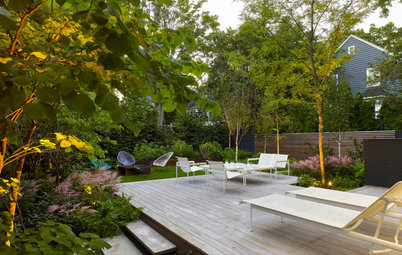
After our most recent project, transitioning from overhead to underground power, we were left with an unsightly surprise: a 75-foot-long stretch of bare earth smack-dab in the middle of our backyard. What are a couple budget-minded DIYers to do? Turn lemons into landscape-ade, of course.
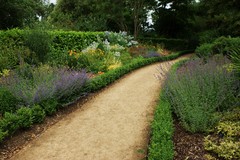
We added some visual interest and landscaping detail to an otherwise drab yard by creating a budget-friendly meandering pea gravel pathway. Even without the bare strip of earth, you too can add a path like this to your yard for around $100.
After our most recent project, transitioning from overhead to underground power, we were left with an unsightly surprise: a 75-foot-long stretch of bare earth smack-dab in the middle of our backyard. What are a couple budget-minded DIYers to do? Turn lemons into landscape-ade, of course.
We added some visual interest and landscaping detail to an otherwise drab yard by creating a budget-friendly meandering pea gravel pathway. Even without the bare strip of earth, you too can add a path like this to your yard for around $100.
Next, remove any sod from between the guidelines. To reuse the cut sod elsewhere in your yard, rent a sod cutter. Then dig a 6-inch trench on each side of the path, following your outline.
Place the lawn edging within the trench. If you're using plastic edging, as we did, place the curled-up "V" at the bottom, facing the interior of the path. Remember to insert a lawn-edging stake through the trim at a 40-degree angle every 4 to 6 feet to keep the edging in place and the meandering shape intact.
Not a fan of black plastic edging? Additional colors are available. Decorative options include bamboo, wrought iron and natural wood.
With the trench dug and the lawn edging in place, pack the earth back around the edging. Level everything out and compress it with a tamper tool.
The earth on the outside should be near the top of the lawn edging, and the earth on the inside, about an inch lower. The outside depth helps prevent cutting the edging while mowing, and the interior depth provides a solid foundation for and substantial coverage of the landscaping fabric.
While the 1-inch layer of pea gravel has worked well for us, in terms of covering the landscaping fabric and providing a sturdy enough layer to travel on, you might want to choose a deeper depth. Seek help on specific depths of each layer at your local garden supply center or a hardware store where rock is sold. A sublayer of another size of rock or sand may be needed to help with stability.
Next, roll out the landscaping fabric and spread the gravel. We worked in stages — roll out fabric, spread rock, roll out fabric — to keep the fabric from blowing out of place. Landscaping fabric pins keep the fabric secure under the rock foundation.
The fabric won't follow the pathway exactly, but it will provide a great barrier against weeds, plus it keeps the gravel foundation from sinking into the ground. You can overlap the fabric to create a full barrier from side to side.
After the gravel is spread, rake the path smooth and compress the gravel with a tamper tool. As settling occurs, add more rock to the pathway.
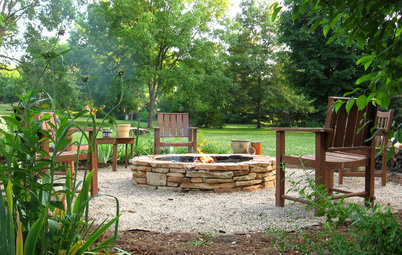
Finally, spray down the pathway with a garden hose to wash off the layer of dirt that comes with the pea gravel. The water will also help with settling. Now take a step back and admire your hard work.
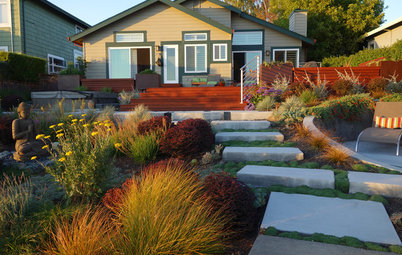
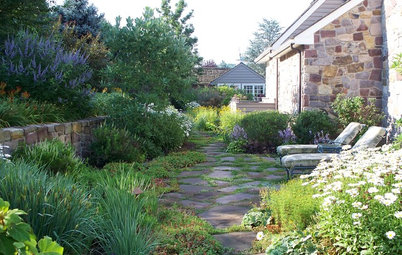
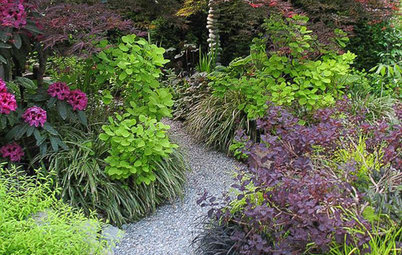
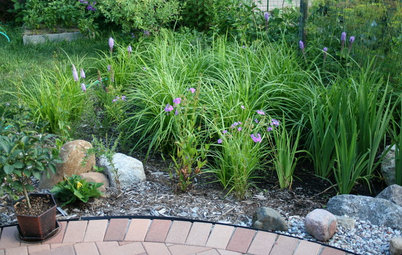
Create a more finished look by adding paving bricks or river rocks along the edge for a more natural look.
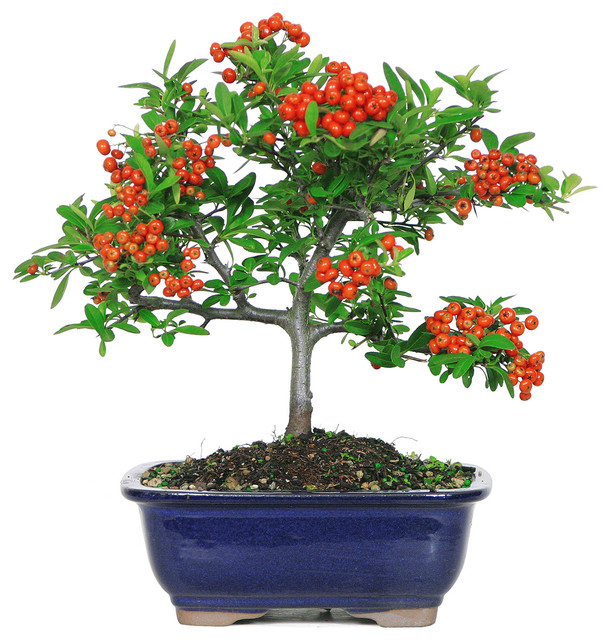
Since we were left with a greater path of destruction from our electrical work, we spread grass seed in the bare areas. Other great options are ground cover and perennial flowering plants along the edge to help hide the plastic lawn edging.
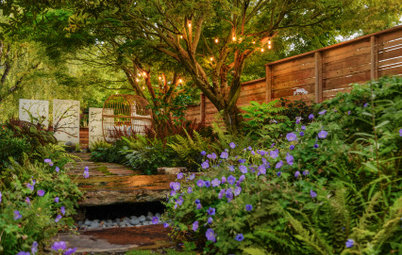
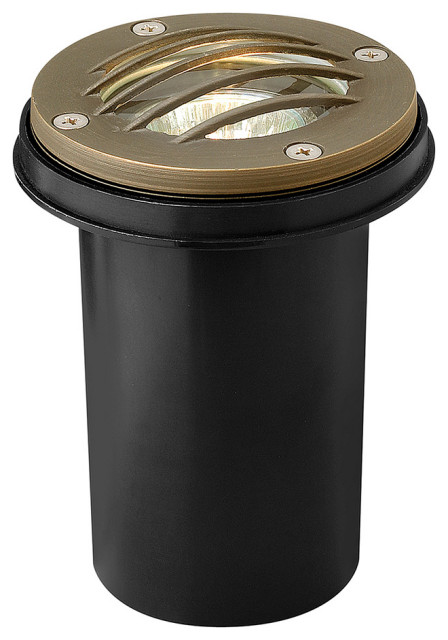
For the finishing touch, add solar-powered walkway lights along the path.
Create a more finished look by adding paving bricks or river rocks along the edge for a more natural look.
Since we were left with a greater path of destruction from our electrical work, we spread grass seed in the bare areas. Other great options are ground cover and perennial flowering plants along the edge to help hide the plastic lawn edging.
For the finishing touch, add solar-powered walkway lights along the path.
We've been enjoying our pathway for three weeks, and it's held up quite nicely to our rainy and windy coastal weather. With a little upkeep — raking out debris and pulling any wayward weeds — it should continue to look good for years.
Next: Another DIY project at the end of this path
Next: Another DIY project at the end of this path


- Shovel
- Rake
- Tamper tool
- Lawn edging
- Lawn-edging stakes
- Landscaping fabric and pins
- Pea gravel
Begin by mapping out the pathway. We used the lawn edging, but you could also use a flexible garden hose. We kept the path about 3 feet wide to allow for the landscaping fabric and plenty of travel space. Once you have your desired layout, you can mark each side. Spray paint or chalk powder works well for this.