DIY Project: Knickknack Makeover
See How to Turn Random Clutter Into a Glossy New Vignette

Ever since my Aunt Rita's creepy clown figurine damaged my soul back in 1982, I've despised knickknacks. As somewhat of a modernist, I've often pondered the purpose of these cluttery horrors. It's not like they actually do anything, right? Plus, you've gotta have something to showcase them in; who wants to spend $800 on a display cabinet for dozens of stupid things no one cares about anyway?
Always up for a challenge, I attempted to make a dozen aesthetically-challenged knickknacks hip, sophisticated and useful. Though doubtful from the start, it turns out that with just a few simple materials, a steady hand and a lazy afternoon, anyone can turn ghastly garbage into glamorous goodies.
Always up for a challenge, I attempted to make a dozen aesthetically-challenged knickknacks hip, sophisticated and useful. Though doubtful from the start, it turns out that with just a few simple materials, a steady hand and a lazy afternoon, anyone can turn ghastly garbage into glamorous goodies.
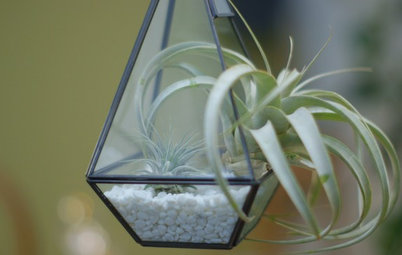
First up: deciding where the heck a knickknackity vignette will actually serve a purpose. In my case, the location was atop a lonely bedside dresser. Got cats? Then you may want to choose a space inaccessible to pouncing paws.
Attics and flea markets are two popular sources for knickknacks. Regardless of where yours come from, editing is key. Stick with an assortment of figurines and vessels; this way, some items will have a purpose while others simply sport shape and scale. It's also wise to stick with odd numbers: three, five and seven work best.
In addition to an assortment of odd-numbered, uber-ugly, pseudo-accessories, here's what you'll need for this project: sandpaper, newspaper, canned air, spray paint handle, spray primer and high-gloss spray paint.
Here's where the newspaper comes in handy. Once you've decided on a well ventilated, exterior workspace, use the periodical to protect your work surface.
One of the biggest issues with spray paint is clumping, the result of paint sticking to hard-to-see dust and grime. A quick spray of canned air ensures that every little nasty molecule is gone prior to your sprayfest.
Ain't buyin' the canned air thing? Well, here's proof that proper prep results in one helluva great finish; the previously tacky, golden cherub is now a snow-white superstar. Although any color spray paint will work, I strongly encourage sticking with ultra-white. It goes with everything and instantly modernizes all things stuffy, traditional or gaudy.
Above all else, a spray handle is the most important element to achieving a professional finish. It ensures a smooth, steady stream of paint whether you're a pigment pro or new to the world of high-gloss. You'll find these in the paint aisle of most home improvement stores.
Our formerly-gray elephant is the perfect example of an easy-to-spray knickknack. Its surface is not only smooth, it's void of nooks and crannies that could otherwise hold dust and grime. All it needed was a coat of primer and two coats of a high-gloss finish.
Enough of the easy stuff! Now it's time for a more challenging knickknack: one with a rough surface. From its color to its finish to its scratchy surface, pretty much everything about this angel is a nightmare. Scroll down to the next photo to see it put out of its misery.
After cleaning the surface with canned air, add a light coat of primer following the instructions on the can. Be sure to keep a distance of 8 inches from the knickknack to avoid overspray. Let the primer dry thoroughly.
Rough surfaces are prone to clumping, so lightly sand any caked-on areas of your knickknack and clean it again with a few shots of canned air.
Spray on two coast of high-gloss white paint. Be sure to let the first coat dry thoroughly before adding the second. The gaudy gold is yesterday's news.
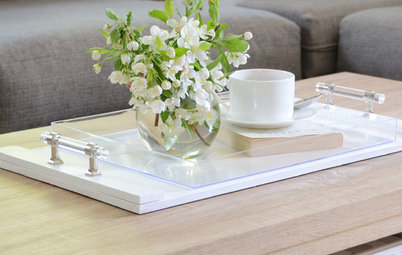
And back to mixing vessels with figurines. While the graphic shapes of the non-functioning knickknacks sit still and look pretty, vessels work hard to earn their keep. The two lattice-style containers offer open storage for chocolates and spare change, the trophy-ish vase holds flowers, and the cherub candle holders stand tall to support ambience.
Mix in a few metallic items to add depth to your newly-painted pretties. Not bad for $24 and three hours of do-it-yourself elbow grease, huh?
More DIY: See how to make a vintage suitcase dog bed
Mix in a few metallic items to add depth to your newly-painted pretties. Not bad for $24 and three hours of do-it-yourself elbow grease, huh?
More DIY: See how to make a vintage suitcase dog bed