


Bathroom of the Week: Teal Tile and a Curbless Shower
A down-to-the-studs renovation creates an open and airy feel in under 70 square feet

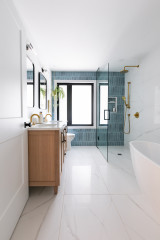
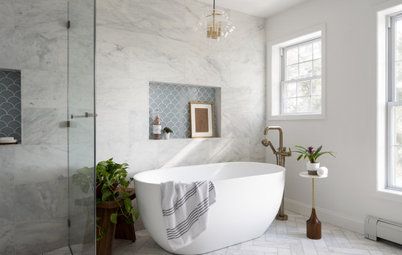
After seeing this home while house hunting, this Ottawa, Ontario, couple knew it would need a lot of work. So they brought in contractor Cory Simpson to inspect it before they made an offer. He advised them that almost all of the house would need to be remodeled and gave them a rough idea of the budget. They bought the home and hired him to start the renovations immediately. Simpson had to take the leaky primary bathroom down to the studs. The renovated bathroom now has a curbless shower and a contemporary look marked by high contrast between white, black, teal and wood.
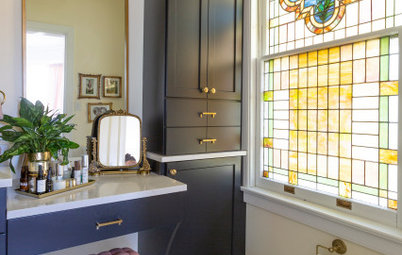
After: Simpson worked with a frequent collaborator, designer Vanessa Papadas. “Vanessa has a great signature style that is updated and has a lot of high contrast,” he says. “In here everything is white except the vanity and the shower, and it really makes them pop.”
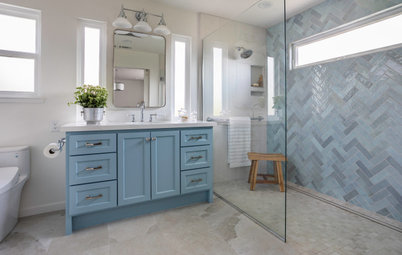
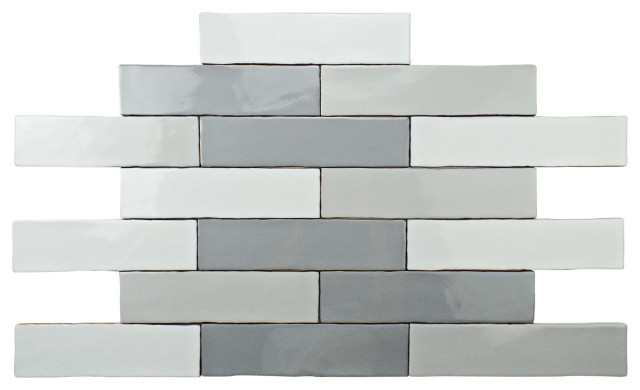
The new shower stall measures 2 feet, 6 inches by 5 feet, 1 inch. The teal elongated subway shower tiles are 3 by 12 inches, and Papadas had them laid in a 90-degree herringbone pattern. This twist to the traditional pattern gives them a contemporary look.
Shower tile: Opal series by Cifre Ceramica, Euro Tile & Stone
Shop for a bathroom mirror
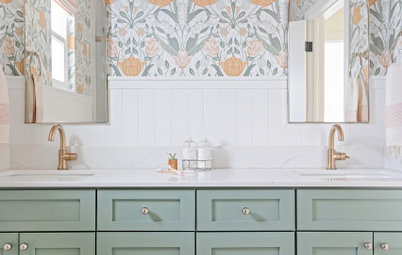
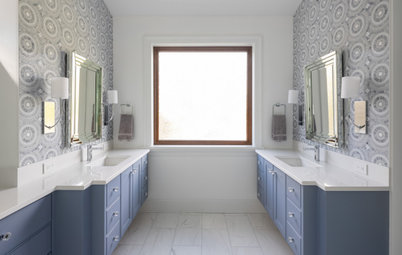
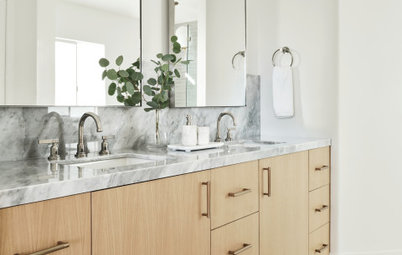
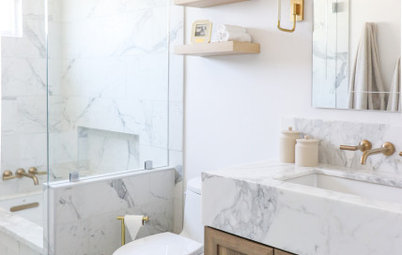
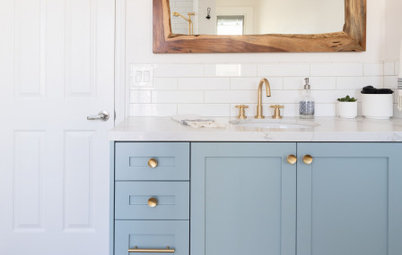
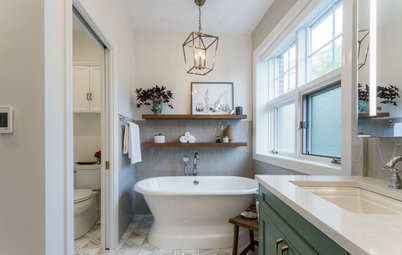
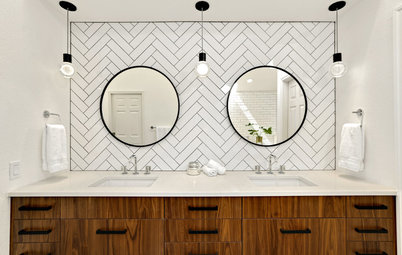
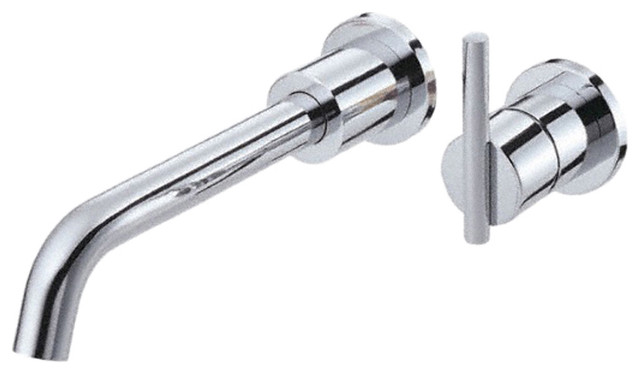
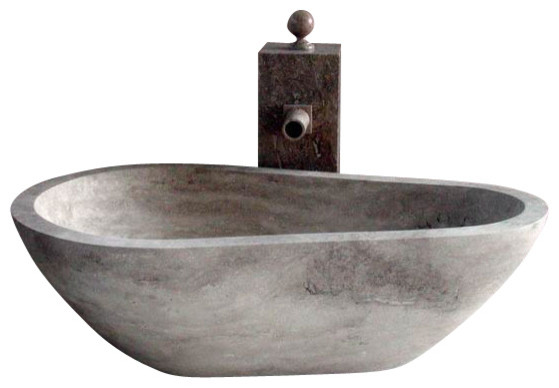
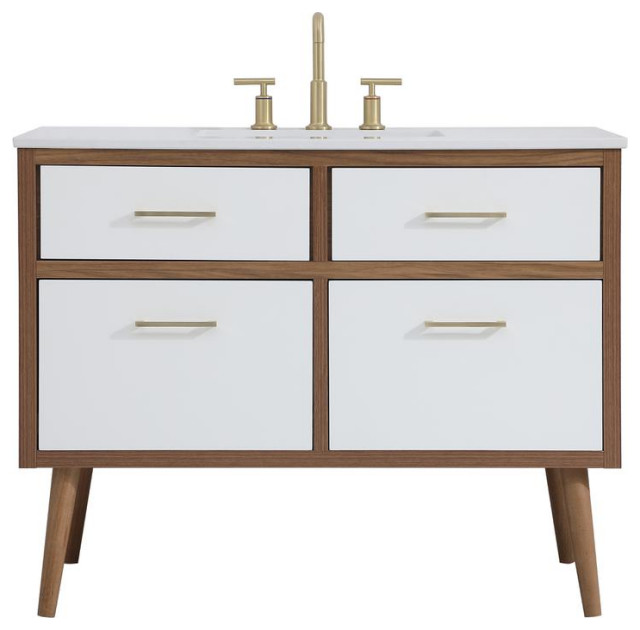
The new double vanity is custom and has a floating shelf along the bottom for extra towels and toilet paper. The cabinet facing is bookmatched wood veneer. Vessel sinks allow for dramatically high faucets.
The reflection in the mirror shows how Simpson transformed a small existing closet in the room. He removed the door and trimwork around it, then squared off the opening to create an open alcove. Wood shelves inside provide extra storage and play off the vanity.
Wall paint: Intense White, Benjamin Moore; quartz: Venatino polished, Vicostone
Find a local cabinet pro
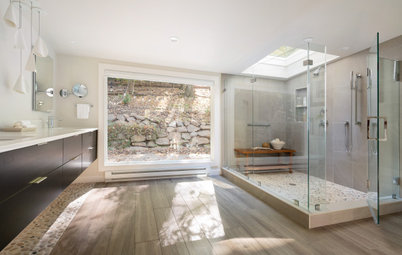
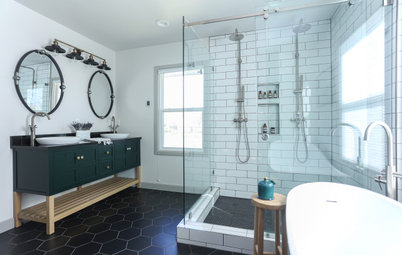
The biggest change to the shower, besides an extensive new waterproofing system, is that it’s now curbless, or zero-threshold. “It’s often quite a challenge to put in a zero-threshold shower when remodeling,” Simpson says. “It’s ideal to put one into new construction or an addition because in those cases you don’t have to work with a home’s existing framing.” Adding a curbless shower to an existing space is not always possible.
In this case, Simpson was able to demo the floor down to the joists and create the slope required from the shower door to the linear drain along the back of the shower. Curbless showers need to slope toward a drain to prevent water from flowing out onto the bathroom floor.
Browse modern matte black shower heads in the Houzz Shop
Before: This photo was taken during the tiling phase of construction. The flooring is a large-format ceramic tile in white. It’s from the R-Evolution line by Ceragres, which has a modern cement look. The tile appears to extend seamlessly from the bathroom floor onto the shower floor. This was tricky, because there are some seams. “One of the biggest challenges here was what we call ‘bending the tile’ from the flat area around the toilet to the sloped floor inside the shower,” Simpson says. “While we don’t literally bend it, we have to make cuts in the tile between the flat and sloped floors while still giving it a continuous look.”
In this photo, the foot is pointing toward these cuts in the floor tile, which were later covered by the shower’s glass enclosure. This clever cutting gives the tile a continuous look through the room into the shower stall.
Grout: 77 Frost, Mapei
In this photo, the foot is pointing toward these cuts in the floor tile, which were later covered by the shower’s glass enclosure. This clever cutting gives the tile a continuous look through the room into the shower stall.
Grout: 77 Frost, Mapei
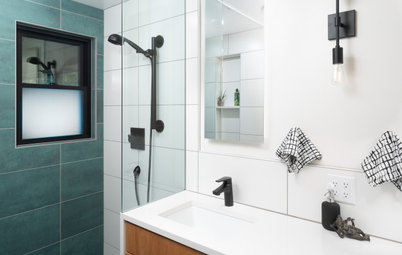
After: All the plumbing fixtures in the shower are matte black, befitting the high-contrast design strategy. Simpson capped the pony wall and bench in the same quartz used on the vanity counter.
It’s a little hard to see the shower’s bench in the “after” photo because of the reflection in the glass. So this photo taken before the shower enclosure was added provides a better view. The bench is built in with a quartz top that matches the vanity. The base is covered in the cement-look floor tile. There’s also a shower niche built into the pony wall next to the bench. The inside of the niche is lined in matching teal tile.
Oval mirrors and the faucets throw some dramatic curves into the clean-lined room.
This plan shows how everything fits into the 68½-foot space. Elements like the white paint, continuous large-format floor tile, glass shower enclosure and floating vanity make the room feel much larger than its modest size.
More on Houzz
Read more bathroom stories
Browse bathroom photos
Find a bathroom designer
Shop for your bathroom
More on Houzz
Read more bathroom stories
Browse bathroom photos
Find a bathroom designer
Shop for your bathroom


Bathroom at a Glance
Who lives here: A couple
Location: Ottawa, Ontario
Size: 68½ square feet (6⅓ square meters)
Contractor: Cory Simpson of Gilded Contractors
Designer: Vanessa Papadas of VI Designs
Before: Simpson guesses that the existing bathroom was the result of a DIY remodeling job. “The shower was leaking down into the basement and there was mold,” he says. “When we demolished it we could see that no waterproofing had been installed in the shower.”
Find a local bathroom remodeler on Houzz