


How to Handle Client Installs During the Pandemic
Taking the time to be extra organized can help ensure everyone’s safety and put your clients at ease
Beth Whitlinger
May 11, 2020
Beth lives in south Orange County with two teenagers and two rescue dogs. Her house is always under construction.
Beth lives in south Orange County with two teenagers and two rescue dogs. Her house... More
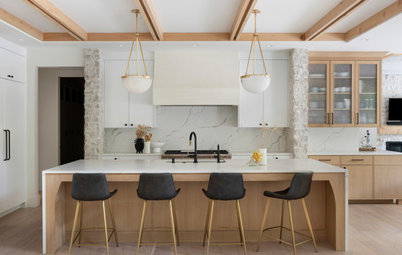
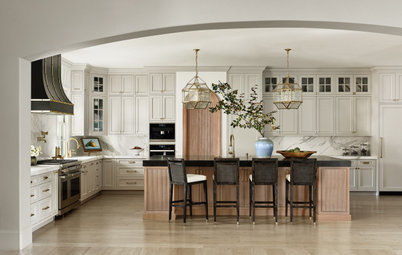
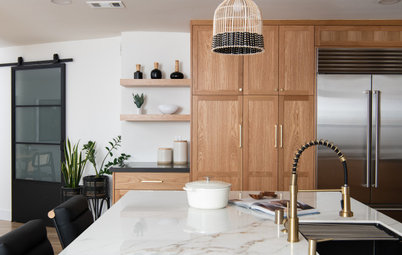
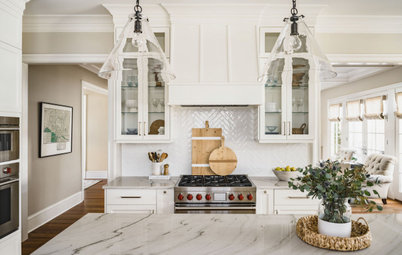
In many parts of the country, delivery and installation companies associated with the design industry are considered essential services and are still open for business. Most are experiencing a slowdown (if not an all-out stoppage) of work and would likely welcome your business as a designer needing their services. Here is how I recommend you handle client installations right now.
Make Sure Items Are Still Available
First, verify the items you have ready to install. If some product is not available due to longer lead times or factory closures, you may still want to move forward for your clients’ sake. People have been stuck at home and some may feel quite desperate to make changes to their surroundings.
Proceed According to Your Clients’ Comfort Level
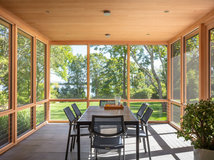
New construction and unoccupied homes are obviously less complicated than occupied homes when it comes to installations during a pandemic. If your clients are living in their homes, follow their lead. If they don’t feel comfortable having a team in the house, postpone the install and advise them of any fees they will incur to keep their items stored at the receiver. If they do feel comfortable moving forward, a few precautions will ensure that everyone is kept as safe as possible.
First, verify the items you have ready to install. If some product is not available due to longer lead times or factory closures, you may still want to move forward for your clients’ sake. People have been stuck at home and some may feel quite desperate to make changes to their surroundings.
Proceed According to Your Clients’ Comfort Level
New construction and unoccupied homes are obviously less complicated than occupied homes when it comes to installations during a pandemic. If your clients are living in their homes, follow their lead. If they don’t feel comfortable having a team in the house, postpone the install and advise them of any fees they will incur to keep their items stored at the receiver. If they do feel comfortable moving forward, a few precautions will ensure that everyone is kept as safe as possible.

Plan Out the Details for a Safe Install
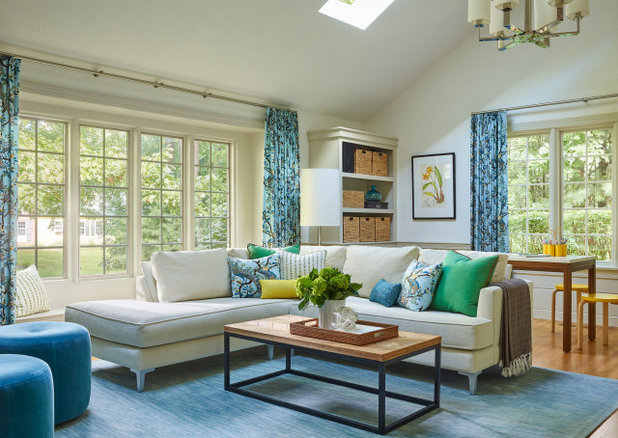
If the home is occupied and your area isn’t experiencing inclement weather, make arrangements in advance for the family to relocate to the backyard for the day. If that option isn’t available, another area of the house that might not be affected by the installation could also work well.
For the duration of the installation, ensure that all other trades are kept off the property. This not only helps to maintain social distancing, but it minimizes the potential for damage to new furniture and accessories. Do verify that your install team will be wearing masks and gloves. Foot coverings are also a good idea and will ensure that new floors are kept relatively clean.
The best installers split their team into two: The exterior team off-loads to a protected staging area, while the interior team brings the pieces inside. This helps minimize traffic inside the home.
Stay Organized and Provide Clear Instructions
As with all installs, even when a pandemic isn’t a factor, organization is key. Consider using room numbers rather than names. For instance, the first-floor rooms could be labeled 101, 102, 103 and so on, while the second-floor rooms could be labeled 201, 202, 203. Alternatively, a color-coding system can make it super easy for the installers. Make sure any signs marking each area of the home are large enough to be clearly read from a distance.
Also place a large-scale whole-house drawing at the entrance of the home that shows how your coding system corresponds to each room or area. And at the entrance to each room, include not only an image of the layout for that room, but also the coding system that corresponds with the whole-house drawing. A tagging system typically works best. We use F-01, F-02 and so forth for furniture pieces and A-01, A-02 and so on for accessories. Then we add the room number after the furniture or accessory number to make it super clear what goes where. For example, F-01-101 would be the furniture piece marked F-01 going on floor 1 in room 01.
An experienced installation crew will know how to read these drawings and place your furniture to plan. Also having a master spec format that includes a photo, description, vendor, part number and your internal tag for each item, and including that along with the labeled house drawing, can help the installers immensely.

Take Extra Steps to Ensure Protection Now
To limit your exposure to the workers, consider asking the installation company to do some predelivery organization at its facility. Provide the warehouse with your coded drawings and detailed master spec list so it can tag each piece accordingly. Expect to be charged for this service, as it will take them some time to pull and mark all the pieces.
If you haven’t already been doing this, I do suggest providing this type of coded furniture, fixtures and equipment (FF&E) list to your receiver for all your projects going forward, well ahead of your installations, so they can mark pieces as they arrive at their warehouse. If this is the way you roll for all your projects, chances are the receiver won’t bill you for the process. Regardless, you can easily build this into the project costs you pass along to the client, as it will increase the efficiency of your installations and enable you to spend less time at the job site.
Completing the Installation: Photos, Cleaning, Florals
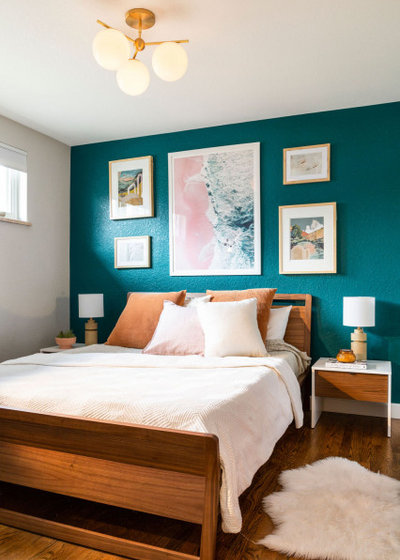
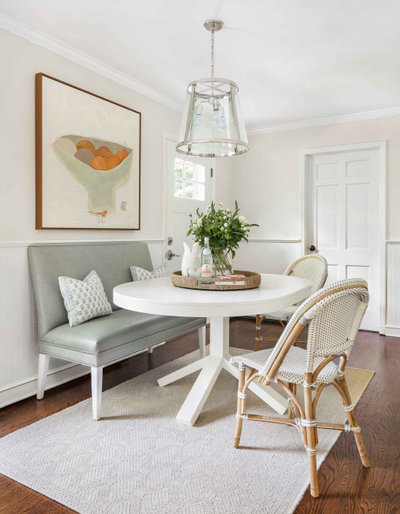
Once everything is placed as planned, our next step is to document the installation with photos. Often, though, the site is not “camera-ready” after the install. I suggest having a cleaning team follow the installers to make sure everything is perfect. They too should be wearing protective gear and should ensure that areas are sterilized and thoroughly cleaned. Often clients wish to utilize their own team. If this is the case, make sure you review any items that require special care. Once cleaned, our team adds finishing touches, like fresh flowers and camera props, and then we take our photos.
Once you’ve taken the shots, always leave behind something lovely. The fresh flowers from your photo shoot, a bottle of spirits, an edible treat or a simple accessory all make great thank-you items for your client. Typically we do a walk-through with the client at this point. We explain the functionality of appliances and other specialized items, point out particular design elements and answer any questions about care and maintenance. One option is to do this with at least 6 feet of distance between you and your client. Alternatively, you can do this remotely if you or your client prefers.
More for Pros on Houzz
See more from our Resilience series
Learn about Houzz Pro business software
Browse millions of photos for inspiration
Talk with your peers in the Pro-to-Pro discussions
Join the Houzz Trade Program
Related Products
We believe that the transition of a house into a home is a sense of history and a piece of the future. It tells... Read More
Related Stories
Latest News for Professionals
Builders Share Ways Designers Can Help Them Deliver Great Work
Contractors on Houzz offer tips on how architects and interior designers can help residential projects run smoothly
Full Story

Industry Research
Pros Remain Somewhat Optimistic Despite Slowed Activity
More construction and design firms expect business growth than expect a decline, the Houzz Q2 2024 Barometer shows
Full Story
Latest News for Professionals
Designers Share 4 Ways Builders Can Help Deliver Great Work
Architects and interior designers on Houzz offer tips on how contractors can help residential projects run smoothly
Full Story
Latest News for Professionals
10 Spring Home Upgrades to Recommend to Your Clients Now
Boost business and customer confidence by suggesting home improvements that are tailored to the season
Full Story
Latest News for Professionals
Outdoor Flooring, Turf and Tile Products for 2024
By Julie Sheer
See the latest materials for patios, decks and yards on display at the recent Surfaces trade show
Full Story
Latest News for Professionals
Homeowners Spend More on Remodels Despite Slight Dip in Activity
Also, planning time far exceeds building time and pro hiring remains strong, the 2024 U.S. Houzz & Home Study reveals
Full Story
Latest News for Professionals
6 Pros Share the Time-Saving Practices They Rely On
Want to be more efficient with your time? Pros reveal the indispensable methods and tools they turn to again and again
Full Story
Latest News for Professionals
Design Pros Share 10 Favorite Creamy White Paints
By Becky Harris
These off-white color choices include versatile tones, warming hues and pleasingly soft shades
Full Story
Latest News for Professionals
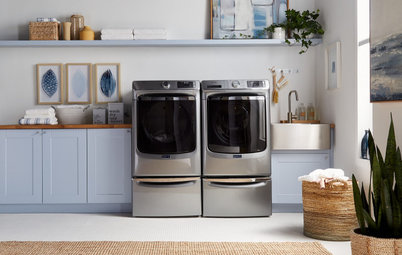
5 Fresh Laundry Appliance Trends for 2024
Check out the lean, green, powerful and smart washers and dryers showcased at the KBIS 2024 trade event
Full Story
Latest News for Professionals
5 Trends in New Engineered Countertops and Surfaces for 2024
See the latest styles and features for quartz, porcelain and sintered stone showcased at the recent KBIS 2024 trade show
Full Story
Thank you for the article. It is insightful and worth every bit in times like these.
thanks we'll also implement some of your advice into our workflow.
Much appreciated! Juggling everything right now is definitely a challenge, and these are helpful things to think about.