Neat Little Project: Make a Simple Garden Tote
Build a handy harvest helper with just a few pieces of wood and some common tools

It never fails that when working in the garden you need one more little tool, or just something to help you carry the unexpected harvest. You can avoid extra trips by building this handy garden tote.
The interior measures 7¼ inches wide, 18 inches long and 4¾ inches deep on the long sides. You can carry a lot of vegetables and herbs and a few tools all at once.
Even small bags of fertilizer, plant food or soil amendments can fit inside this tote, along with several tools.
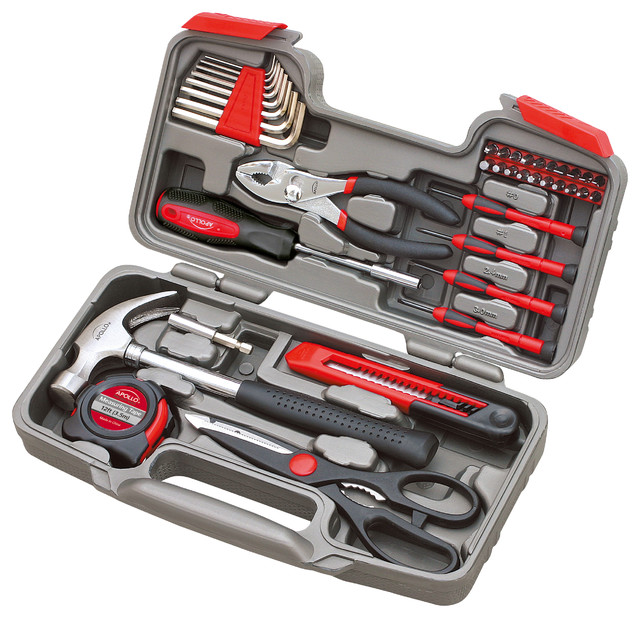
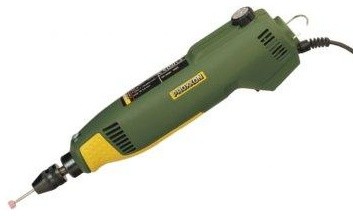
Tools
Make sure you've got a handsaw and either a jigsaw or miter saw. You'll also need a drill with a 1-inch Forstner or spade (paddle) bit, a ¼-inch bit and a ⅛-inch bit. It'll help if you've got a couple of 24-inch bar clamps as well.
Make sure you've got a handsaw and either a jigsaw or miter saw. You'll also need a drill with a 1-inch Forstner or spade (paddle) bit, a ¼-inch bit and a ⅛-inch bit. It'll help if you've got a couple of 24-inch bar clamps as well.
Materials
- 1-by-6-by-4 board (I used pine)
- 1-by-8-by-4 board
- 1-inch round dowel (at least 2 feet long)
- ¼-inch round dowel (as short as you can find)
Create the Ends and Handle
Use Figure 1 as a guide for creating the two ends, which are cut from the 1-by-8 and measure 7¼ inches by 11 inches. Mark the position of the handle opening and drill the hole using a 1-inch Forstner or spade bit. You can cut 45-degree corners using a handsaw, jigsaw or miter saw.
Drill ⅛-inch pilot holes as shown. These will be for the #7 by 1⅝-inch deck screws used later during assembly.
Cut the handle to 21½ inches long from a 1-inch round dowel, and use Figure 2 as a guide for drilling two ¼-inch holes ⅜ inch deep near each end. You will insert a section of ¼-inch dowel in these holes in the next step.
Insert the Handle and Attach the Bottom
Use Figure 3 as a reference. Insert the ends of the handle through the 1-inch holes in the ends so that
¾ inch of the handle extends outside of the holes. To make this a bit easier, sand down the tips of both ends of the handle. Another tip: Apply a bit of wax to the ends, which will allow them to slide more easily through the holes.
Cut two pieces of ¼-inch round dowel to ⅜ inch long to create the pins. You can use a handsaw or utility knife to cut these parts. Insert the pins into the holes in the handle.
Cut the bottom from the 1-by-8 to 18 inches in length. Insert the bottom between the two ends as shown in Figure 4 and clamp the pieces in place. Attach the bottom by driving 1⅝-inch screws through the pilot holes in the ends and into the bottom.
Create and Attach the Sides
Use Figure 5 as a guide for creating the two sides, which are cut from the 1-by-6 and measure 5½ inches by 19 inches. Drill ⅛-inch pilot holes for the 1⅝-inch screws as shown.
Use Figure 5 as a guide for creating the two sides, which are cut from the 1-by-6 and measure 5½ inches by 19 inches. Drill ⅛-inch pilot holes for the 1⅝-inch screws as shown.
Position the sides as shown in Figure 6 and attach them by driving 1⅝-inch screws through the pilot holes in the sides and into the bottom and ends.
Finishing Touches
Sand any rough corners and edges. You can leave your wooden tote unfinished, or you can paint it, stain it, apply a color wash or simply apply a clear protective coat.
Sand any rough corners and edges. You can leave your wooden tote unfinished, or you can paint it, stain it, apply a color wash or simply apply a clear protective coat.
As the summer months carry on and your garden starts producing more and more, this spacious garden tote will come in handy for handling its bounty.
More:
How to make a little wood stand
How to make your own color wash
How to grow summer crops
More:
How to make a little wood stand
How to make your own color wash
How to grow summer crops