


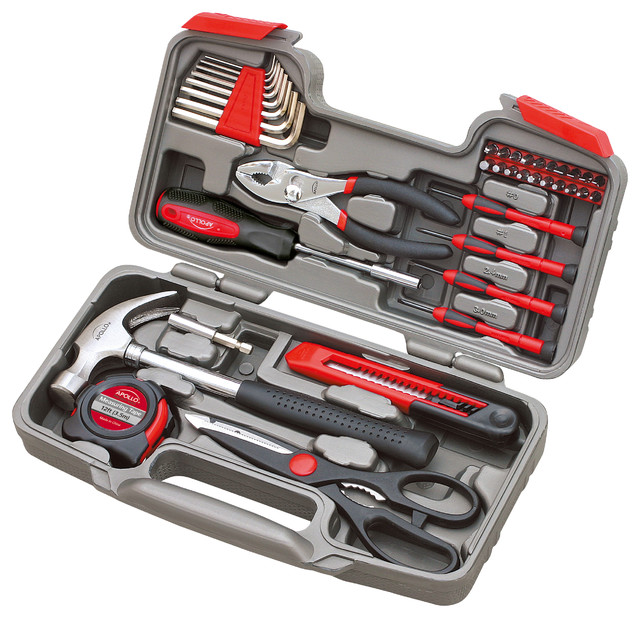
Get a Grip: Create Handle Openings With Just 2 Tools
Show off your DIY skill by cutting a custom handle opening in a tray or furniture piece, using a drill and a jigsaw

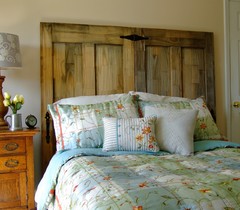
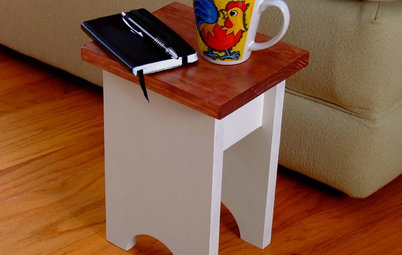
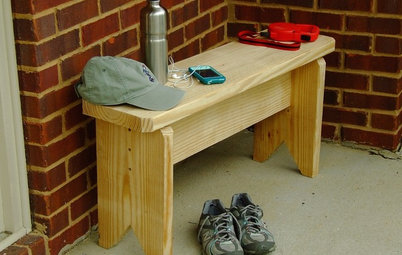
Trays, totes, stools and even some benches feature handle openings that allow you to carry them easily and comfortably. You can attach mass-produced handles or knobs to these items, but they often stick out, ruining a sleek profile. Plus, it's often difficult to center them exactly.
By creating your own handle opening, you're not only adding a nice functional feature, but you're also highlighting a bit of skill and customizing a project.
By creating your own handle opening, you're not only adding a nice functional feature, but you're also highlighting a bit of skill and customizing a project.
Drill the Holes
Drill both holes as accurately as possible. To help with this, and particularly if you're not using a drill press as shown here, press the center point of the drill bit into the center mark for each starter hole. This will help line up the bit. Keep the drill perpendicular when drilling so that your hole doesn't wind up being drilled at an angle.
Drill both holes as accurately as possible. To help with this, and particularly if you're not using a drill press as shown here, press the center point of the drill bit into the center mark for each starter hole. This will help line up the bit. Keep the drill perpendicular when drilling so that your hole doesn't wind up being drilled at an angle.
Cut the Opening
Mark a line along the outer edges of the holes from one end to the other. This is your guide for cutting the remainder of the opening.
Use a jigsaw and do not cut right on the line, but rather just to the inside of it. Then sand the opening nice and smooth to the exact width.
Next: Use this tip to make a cool serving tray
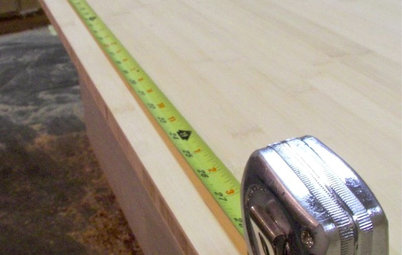


Exact measuring and marking are crucial to create a handle opening. Start by marking center points for two starter holes that are equidistantly spaced from the center point of the board. Leave at least a ¾-inch space between the handle opening and the top edge of the board. For a 1-inch-wide opening, that means marking a center point 1¼ inches from the edge.
A good rule of thumb for the size of a finished handle opening is 1 inch wide by 5 inches long. When drilling the starter holes (which are 1 inch wide) for this size opening, make sure the center points of the starter holes are spaced 4 inches apart. When the holes are drilled, the final opening will be 5 inches wide.