


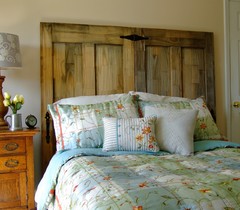
Neat Little Project: Make a Basic Wood Stand
See how to make this handy table to hold your book, coffee or plant — then use the skills you learn to build something else later

Most woodworking projects can be streamlined down to simply making a box. That's essentially what they are. A good way to enter into the world of hand crafting your own decor and bits of furniture is to start with a basic project that features the elements inherent in the vast majority of things you are most likely to attempt. The stand below is exactly that.
Build It
To create the legs, I find it easier to cut a hole (in this case 4 inches in diameter) in the center of a board. To do this, cut the 1-by-8 board to 22⅝ inches long and mark a center line across the width at 11 5/16 inches. Mark an “X” on this line 3⅝ inches from the edge. Use a compass like you did in school, using this starting point to mark a 4-inch circle.
If you don't have a compass and are using a 4-inch round lid, make marks in four different directions 2 inches from the “X,” line up the lid with those marks and mark the circle.
Drill a pilot hole near (but not touching) the inside of the circle big enough to allow the jigsaw blade to enter. Cut along the inside of the circle but not on the line.
Now cut the board in half at the center line and sand the cuts.
From the remaining part of the 1-by-8, cut a piece 8¾ inches long to create the stand's top, and from the 1-by-4, cut two pieces 4¼ inches long to create the rails.
Use Figures 1 and 2 as a guides for positioning the parts. You'll first want to position the rails and legs as shown in the figures (make sure you apply glue to the ends of the rails) and attach them by hammering in the 1¼-inch brads. A clamp or two would be ideal for holding these in place, but if you don't have any, you can manage by attaching the rails to one leg at a time.
Apply glue to the top ends of the legs and the top edges of the rails, and attach the stand's top using the brads.
Paint and Protect It
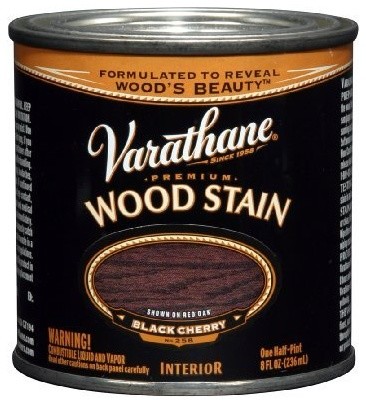
After the glue has dried and you've sanded, you can paint or stain the table. If you're applying two different colors, place masking or painter's tape along the various edges while painting. This project uses a solid white for the legs and rails, and a color wash, which mimics the look of a stain, for the top.
Apply a protective coat as the final step, either a spray polyurethane or clear spray finish.
More: 20 Tools Every Homeowner Should Have
Apply glue to the top ends of the legs and the top edges of the rails, and attach the stand's top using the brads.
Paint and Protect It
After the glue has dried and you've sanded, you can paint or stain the table. If you're applying two different colors, place masking or painter's tape along the various edges while painting. This project uses a solid white for the legs and rails, and a color wash, which mimics the look of a stain, for the top.
Apply a protective coat as the final step, either a spray polyurethane or clear spray finish.
More: 20 Tools Every Homeowner Should Have


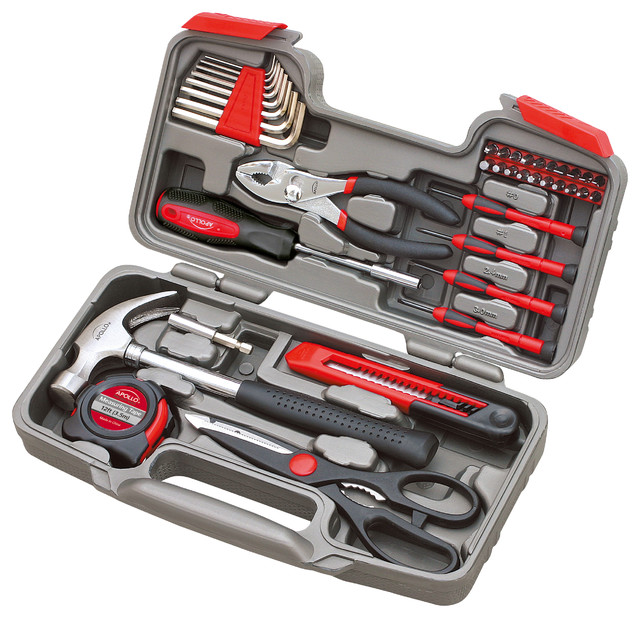
Tools
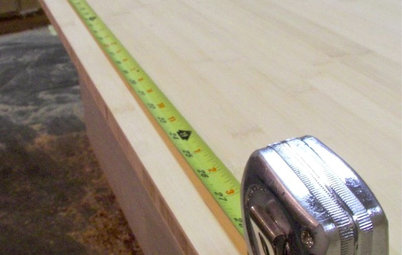
This project features a small rounded cutout at the bottom, but if this is more than you want to handle to start, just skip it, as you'd need a jigsaw and a drill to create it. For the rest of the project, you can get by with a handsaw and a hammer. A circular saw or chop/miter saw will make cutting faster and easier. Also make sure you have a measuring tape, a straight edge (a wooden ruler works very well), a pencil, a compass or 4-inch round lid, a paintbrush and some rags.
Lumber and Supplies
At home improvement stores you can pick up craft boards that can easily fit in a car or have longer boards cut shorter. For this project you'll need a 4-foot-long 1-by-8 board and a 2-foot-long 1-by-4 board. At some stores you can actually have an employee cut the parts to the length you need, but that takes some of the fun out of it.
Also grab a bottle of wood glue, a small box of #17 by 1¼-inch brads, and some sandpaper or a sanding sponge. Pick out some paint or stain and masking or painter's tape if you don't already have some at home. For a small project like this, an 8-ounce sample size is perfect.
See how to mimic stain with a DIY color wash