


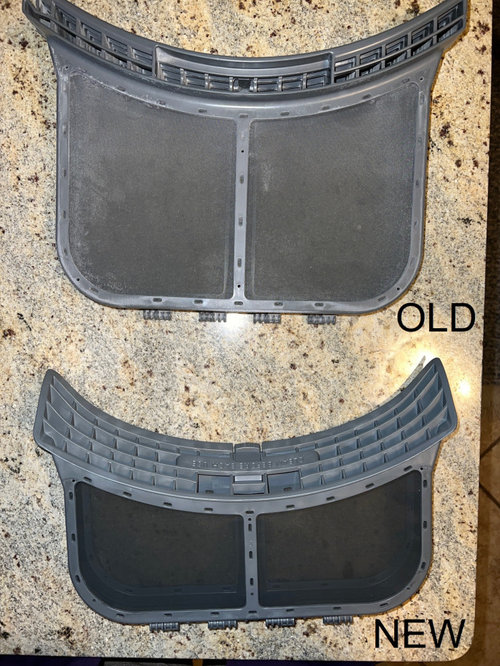
Issue with Electrolux dryer 527 lint filter replacement
chellefnp
11 months ago
Related Stories

REMODELING GUIDESContractor Tips: Advice for Laundry Room Design
Thinking ahead when installing or moving a washer and dryer can prevent frustration and damage down the road
Full Story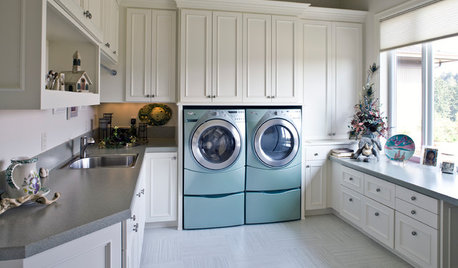
LAUNDRY ROOMSOne of the Biggest Building-Code Offenders in the Laundry Room
A dryer vent specialist shares what to do — and what to avoid — to keep things safe and efficient
Full Story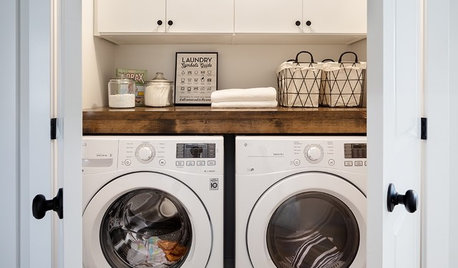
LAUNDRY ROOMS10 Small-But-Mighty Laundry Stations for an Easier Washday
See how to get an efficient and attractive washer-dryer setup by tucking it in a closet or a multipurpose room
Full Story
PETSSo You Want to Get a Cat
If you're a cat lover, the joys outweigh any other issue. If you haven't lived with one yet, here are a few things to know
Full Story
INSIDE HOUZZA New Houzz Survey Reveals What You Really Want in Your Kitchen
Discover what Houzzers are planning for their new kitchens and which features are falling off the design radar
Full Story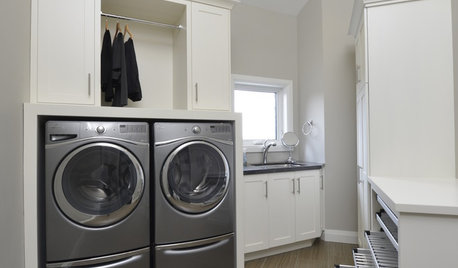
MOST POPULAR10 Smart Ideas for Your Laundry Room Remodel
Make washing and drying easier and more comfortable by considering ergonomics, storage and special features
Full Story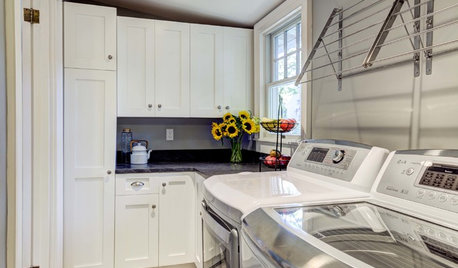
THE HARDWORKING HOMEWhere to Put the Laundry Room
The Hardworking Home: We weigh the pros and cons of washing your clothes in the basement, kitchen, bathroom and more
Full Story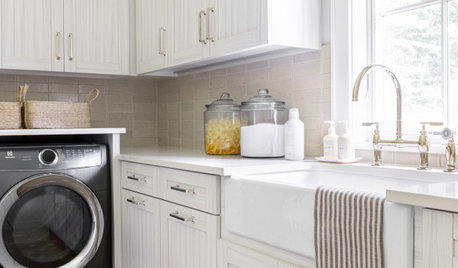
LAUNDRY ROOMS7-Day Plan: Get a Spotless, Beautifully Organized Laundry Room
Get your laundry area in shape to make washday more pleasant and convenient
Full Story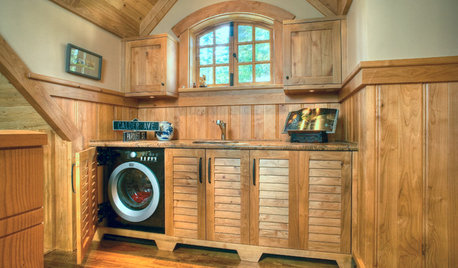
LAUNDRY ROOMSClever Ways to Hide a Laundry Station
When you don’t have a whole room to devote to the wash, use these solutions to tuck the machines out of view
Full Story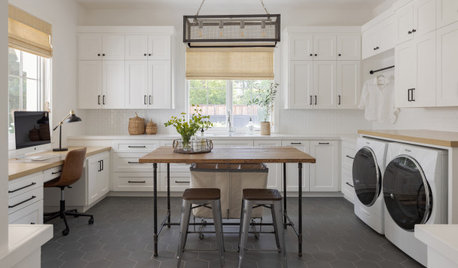
HOUSEKEEPINGHow to Clean Your Washing Machine
Cleaning your washer once a month will ensure that it stays spick-and-span along with your clothes
Full Story
amy stivens
Related Discussions
Do you find the lint filter inside the door creates less mess?
Q
Electrolux Washer & Dryer: Load Weight issue?
Q
Blomberg condensing dryer filter sponge--cleaning and replacing
Q
Deciding between LG 3700 washer /dryer or Electrolux 627
Q