


Hello. I need a white/off-white paint color for our new build home.
autopod
last year
last modified: last year


Featured Answer
Sort by:Oldest
Comments (15)

autopod
last yearRelated Discussions
please tell me your paint colors in white/off-white kitchens?
Comments (16)My Mom's is more transitional than traditional so we are trying to layer textures and pattern and add some drama with colour. Kitchen is a featurless interior room in an 80's build high rise condo. It has no window so shooting it can be tricky, my Mom sent me these today to show me the new central light installed: Just daylight (it was overcast and snowy today) and the flash with 3 different light sources (flash, the light and daylight), yikes too man light sources!: I find the whites are more accurate in the first shot while the colour of the walls is more like in the second one. It is BM "Rusty Nail in a flat Aura paint while the ceiling is BM "Cloud White" in the same finish and paint. This is in daylight with a flash but no overhead light: This is last night with the overhead and under cabinet lights on and the flash: It's a strong colour that sort of frames the cabinetry but there isn't a whole lot of it. Backsplash (inset backsplash in both sides of the "L" only no side splash) will be a 1x1 mosaic in off whites and soft beiges. My Mom didn't have a huge budget so she wanted to go a bit bolder and take advantage of some of the fun patterns and textures available in man made materials like laminate and sheet flooring. It isn't a space that lends itself to a cottagey white kitchen, old world elegance or sleek and modern so this was ideal and suits my Mom perfectly....See MoreSaying hello as we start the process for our new build
Comments (8)Was this an architect or a draftsman? It does make a difference! Think LONG and hard about those exterior black windows. They are very trendy right now, but will someday date your house; white will never do that. I personally don't like them on houses that are channeling a farmhouse-look. A true farmhouse might have had dark green trim, but never black, The obsession with black has come from some very, very high end building/remodeling done using steel/bronze metal windows. They are absolutely stunning - very thin muntins (steel is strong!), and a bit of an "industrial" look. I very much wanted to replace an above-the-sink large bay window with steel windows and I could have...for $20,000. Not happening! I ended up painting the muntins INSIDE black (easy to do as they were old Pella snap-ins), but left the outside white like all my other windows. It was a good compromise and easily changed if I tire of it. But exterior muntins? The entire point of them being aluminum-clad is never having to paint them, a very large expense. Dark vinyl is said to fade (think how that great navy blue Izod shirt looks after a few washings - just never again quite the same), and that would make the house look awful. Look around you at true NE farmhouses and keep to a traditional look....See MoreNeed help finding the right color floor for our new home build
Comments (26)well of course install would be bit more if you're comparing it to a click and lock type of vinyl. But are you aware they also have floating click/lock wood floors?? doesn't have to be a glue or nail down. this wouldn't be any more to install and you'd prob find exactly what you want, color-wise. https://jenwoodhouse.com/how-to-install-engineered-hardwood-flooring/ you could always install it yourselves. malibu wide plank click/lock french oak- home depot https://homedepot.sjv.io/kv990 BuildDirect And I'll bet you dollars to donuts the average homeowner would like this much better than vinyl. (but I guess it would depend where you live. somewhere in podunk NE prob wouldn't care as much as a metropolitan city area. Same issue w/home prices. places like MS where you can buy a home for 80K isn't going to be the same in a city where similar homes go for 600-800K. The latter will expect wood as opposed to vinyl) So if you live in a city where homes are super inexpensive, then I guess vinyl wouldn't be an issue. I mentioned this type of engineered flooring because you're the one who has said they've looked for over a month and couldn't find what's in that picture. this one is the finished flooring from HD from JenWoodhouse....See MoreCost to paint new build white vs a single color
Comments (7)The builder should have given you the specs for the paint he is quoting. The Brand and line of the Primer that will be used. Information on the Paint that will be used: The Brand (Most builders use Sherwin Williams) The Line (Some Sherwin Williams lines are Emerald, Duration, Super Paint, Cashmere) The Sheen - how shiny the finish is (Ceilings are usually flat, walls Eggshell, Trim Satin or gloss) Method of application (Rolled, Brushed or Sprayed) This is what he has used to base the cost. Color is added to a can of Sherwin Williams Super Paint Eggshell finish paint. You can pick black, gray, white, purple, orange or green and the cost is the same for the can of Sherwin Williams Super Paint Eggshell finish paint....See Moreautopod
last yearautopod
last yearautopod
last year
chispa
last yearwdccruise
last year
tracefloyd
last yearlast modified: last yearwdccruise
last year
Ahmad Shabbir
last yearlast modified: last yeartracefloyd
last year

Related Stories
EXTERIORS10 Off-White Paint Colors for Home Exteriors
Pros share the off-white shades they used to complement the architecture of these remodeled and new-build homes
Full StoryLATEST NEWS FOR PROFESSIONALS10 Off-White Paint Colors for Home Exteriors
Pros share the off-white shades they used to complement the architecture of these remodeled and new-build homes
Full Story
MOST POPULARMust-Try Color Combo: White With Warm Off-White
Avoid going too traditional and too clean by introducing an off-white palette that brings a touch of warmth and elegance
Full Story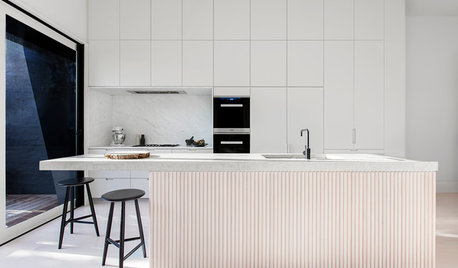
HOMES AROUND THE WORLDHouzz Tour: A White-on-White Home Radiates Scandinavian Charm
Pale woods, black accents and an abundance of white shine in this Australian-Swedish family’s renovated row house
Full Story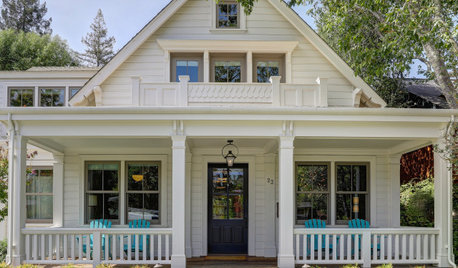
EXTERIORS10 Wonderful White Paint Colors for Home Exteriors
Pros share the white shades they used to complement the architecture of these remodeled and new-build homes
Full Story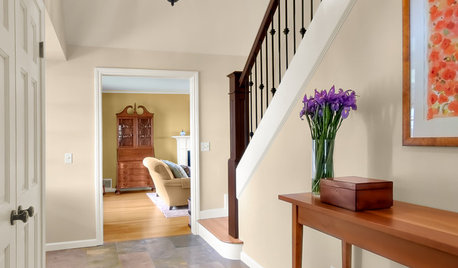
MORE ROOMSWarm Up Your Rooms With a Beautiful Off-White Paint
White paints warmed with a hint of color create radiant backdrops for countless interior design options
Full Story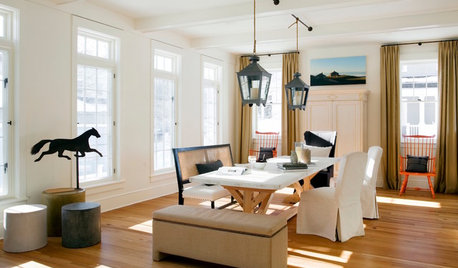
WHITEDesigner Secrets: 10 Pros Share Favorite Off-White Paints
From creamy white to barely beige, these hues will warm up your room
Full Story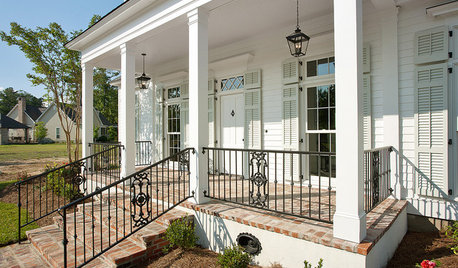
EXTERIORSTake It Outside: How to Use White on Your Home’s Exterior
The right shade of white on walls or just trim will make your house look crisp and clean
Full Story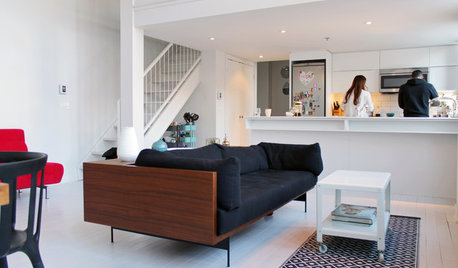
HOUZZ TOURSMy Houzz: Color Hits the Spot in a White-on-White Scheme
Bright red furniture strikes a dramatic pose against snowy walls and floors in a Montreal loft
Full Story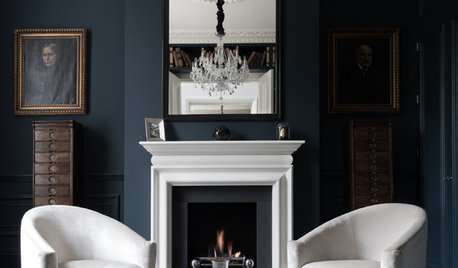
COLORDiscover White’s Surprising Power to Energize Every Room
Using white in different ways gives you limitless options for light, color and creativity
Full Story


Sabrina Alfin Interiors